
We seem to be in some sort of odd loop: complete a project/re-do the project…. To wit, we removed and then replaced some of the hull liner fabric on the ceiling in order to find and repair the last (fingers crossed…) of the tiny pinhole leaks in the roof. I recently made new curtains for the trailer due to how badly the original ones (made in 2015) had faded, plus how poorly they fared after going through the washing machine. So with these projects under our proverbial belts–again–that brings us to the latest déjà vu moment: replacing the flooring in the trailer.
While we liked the vinyl plank flooring we installed in July 2015, we were kind of disappointed to see that a few of the tiles were separating, leaving tiny gaps between them. These were put in as tightly and securely as possible, but perhaps the temperature extremes in the trailer–from summer heat to winter cold–was more than this tile was rated for. Dunno. Wayne suggested that we put down sheet vinyl for all over, seamless coverage, so that became the plan for this re-do.
It seemed safe (and obviously much faster) to put the sheet vinyl over the planks instead of trying to remove them. From front to back in our custom interior, the floor is exactly 6 feet, so we bought a roll of sheet vinyl that was 6′ x 9′. I was intimidated by the thought of just taking it in and cutting it, so we bought sheets of poster board and Wayne made a pattern of our small, unique floor space.


After all the sheets were connected with spots of tape, we applied more duct tape to make sure that nothing shifted or distorted when we moved the pattern out of the trailer.


We put the poster board pattern on our kitchen floor, wrong side up–and quickly realized that we needed to clean the floor before going any further! Whoops! 😉

Next, we laid the vinyl on the (cleaner) floor–wrong side up–and placed the pattern on top of it, also wrong side up.


With everything taped down, it was very easy to trace around the pattern with a pencil, and we used a strong pair of scissors to cut it out.
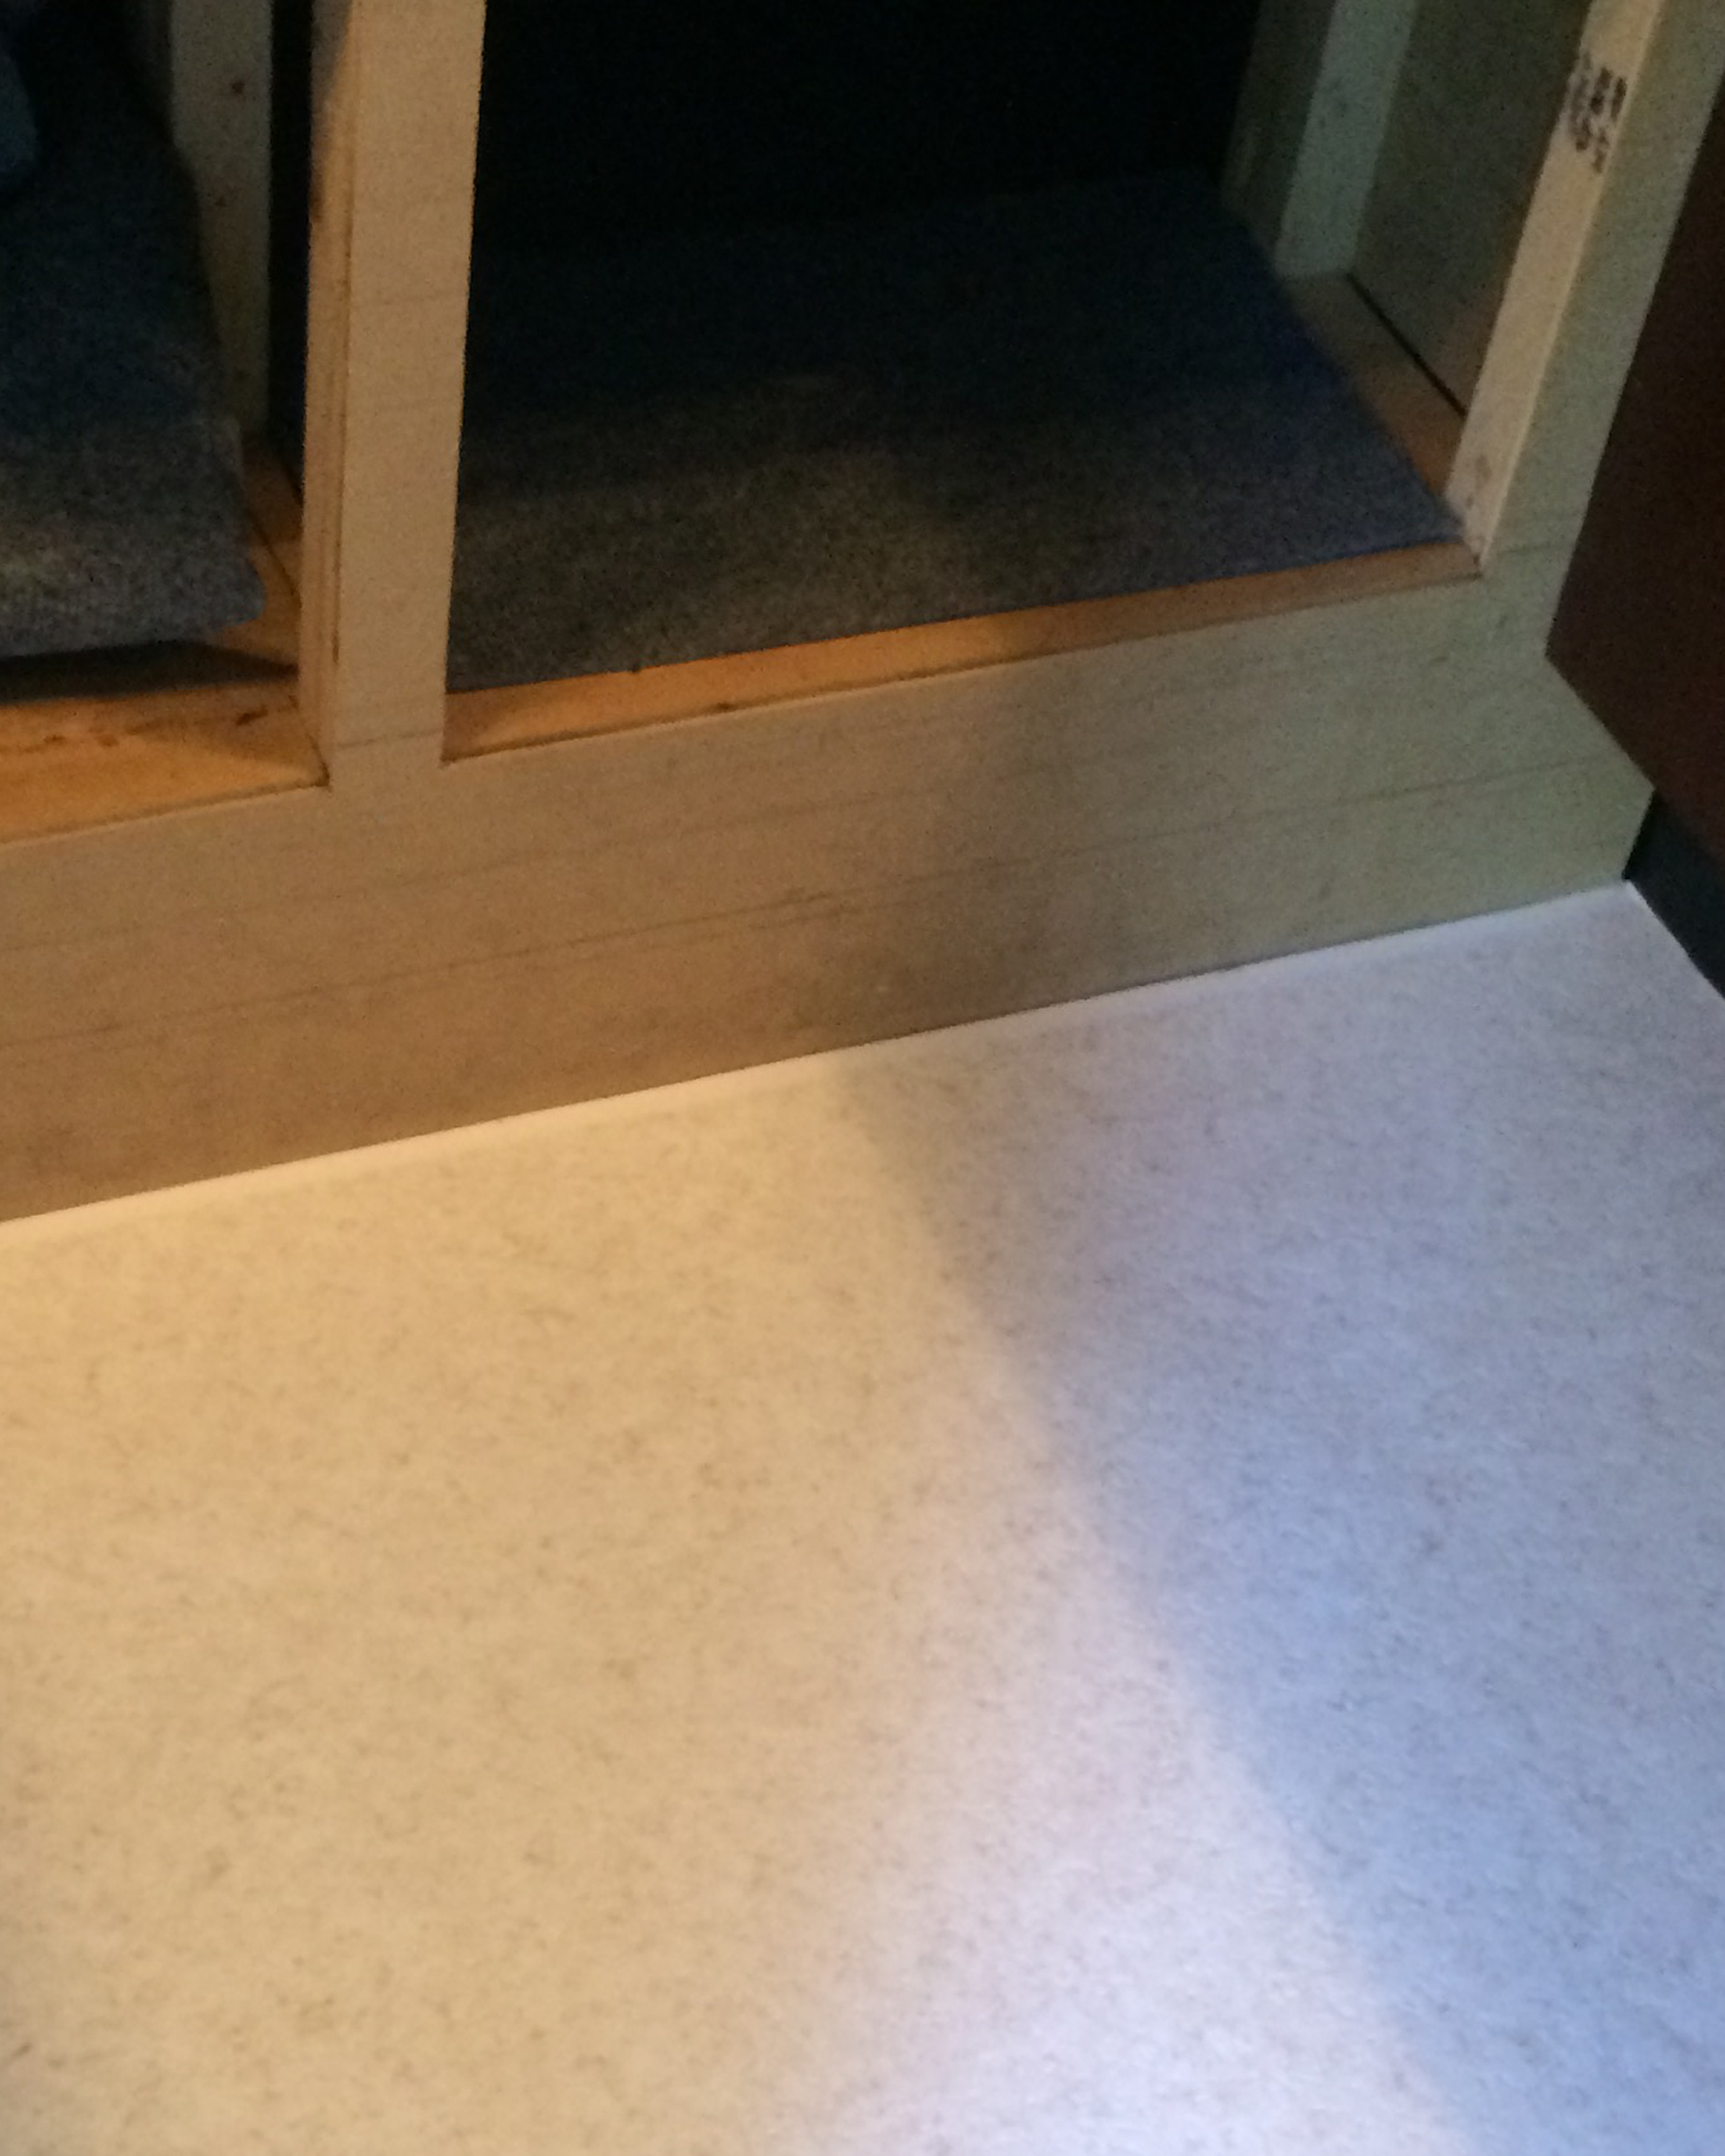
Before putting it in, I had to remove the threshold under the table, and the one at the door.


The one under the table was easy–I just used a cordless screwdriver in reverse and the screws came right up. The one at the door, however, proved to be more problematic….
I knew we’d taken it off when we put the first floor in, but I couldn’t figure out how on earth to get it off this time! Maybe there were screws under the weatherstripping, so I ripped it off. Nope, there weren’t any screws there. I used a flashlight and mirror–and ultimately my camera–to look for screws under the threshold. Nope. No screws there, either, though at some point there were probably rivets.

Finally, I just started pulling it, gently tapping it with a hammer, etc., and–at last!–I was able to “simply” pull it off. Well, THAT was easy. (Not).
Okay, on to the vinyl…. Even though I knew we’d been careful with the template, I was still astounded when I rolled it out. It fit the space almost perfectly!


This was literally all that I trimmed:

After a couple of hours, I went back in the trailer and carefully applied some adhesive for sheet vinyl just along the edges (not all over the floor). And a while after that, I reinstalled the threshold under the dinette table and at the doorway.

We might be able to re-use the weatherstripping that I ripped off, but Wayne said he thought we had some that would work better. I’ll leave that part up to him.
Yes, the light floor will show every bit of grass or dirt that’s tracked in, but the added brightness is kind of nice.
That said, at this point I don’t think we’ll go with a lighter color for all of the wood in the trailer, but with all of these other project re-do’s, you just never know! 😉