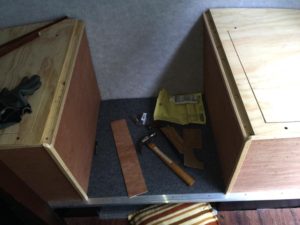
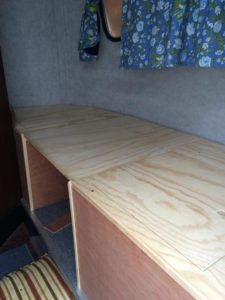
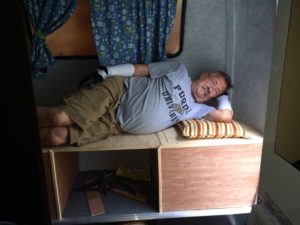
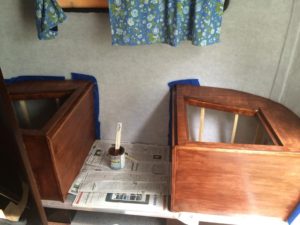
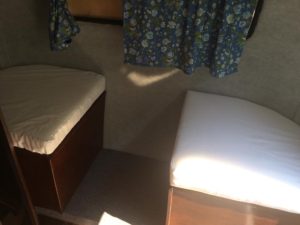
After Wayne finished building the benches for the dinette, I put a couple of coats of stain on them using the gloss version of the American Chestnut color we’d used on the rest of the wood in the Scamp. I really love this deep, rich color!
Towards the end of May we’d ordered a 30″ x 70″ sheet of 4″ foam, along with upholstery grade polyester batting. To get started on the cushions for the dinette, we placed the top of each dinette seat onto the foam, traced around them (they were slightly different in shape/size), and used an electric carving knife to cut out the pieces.

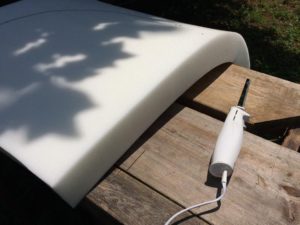
We then sprayed upholstery adhesive to each piece of foam and attached the batting.
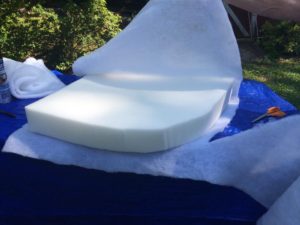
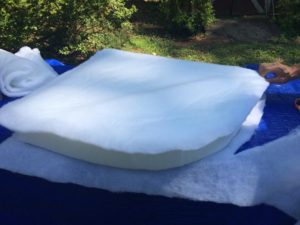
As a relatively new “sewist,” I had some serious concerns about my ability to make cushion covers, so I decided to practice by first making sewn-on covers from sheet material. I placed each batting-wrapped piece of foam onto a folded piece of thin white fabric (“wrong” sides together–not that I could tell which was “right” and which was “wrong”) and traced around it. Then I drew another line 1/2″ beyond my traced line for the seam allowance. When I cut through both layers, I had the top and bottom piece for each cushion. Next, I cut a long strip of fabric that was 5″ wide for the sides of each cushion, calculating 4″ tall cushion + 1/2″ + 1/2″ for the seam allowance on each side = 5″.

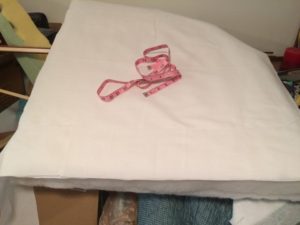
It was interesting to learn how to keep things reasonably even when sewing around the curves. By making small snips along the raw edge of the side panel, it could be gently pulled to align with the curves on the top and bottom pieces as it was sewn together. As a final step, I put the cushions inside of the covers and hand-sewed the seams closed.
I’m glad I took the time to make the practice covers. Having some clue as to how this worked gave me a bit more confidence when I started on the real covers!

The “good” fabric–a sturdy, durable outdoor material in Kiwi green–had become quite wrinkled since we’d purchased it, but I learned the hard way that it shouldn’t be ironed! Whoops! Lesson learned, for sure….

But once again I put a folded piece of fabric on the floor (wrong sides together), placed the cushion on top of it, traced around it, and then measured and drew another line 1/2″ beyond the traced line for the seam allowance. I cut long 5″ wide strips for the side pieces, but I also cut two 5″ x 32″ side pieces to make a zipper panel for each cushion.
AND I cut a 1-3/4″ wide long, long strip of fabric, folded the strip in half, and sewed in what seemed like miles of cotton cording to make piping. Crazy as it sounds, I really do enjoy learning how to do new things (even when it’s challenging), and I figured if I was learning how to make cushions, I might as well learn how to do piping and zipper panels at the same time!
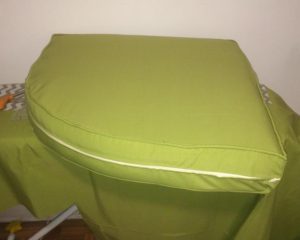

After I (finally) finished the passenger/curb side cushion, I *thought* it would be easier to do the second one. Nope, I actually had more trouble with that one, and I had to take it take it off the cushion, turn it inside out again, and sew a wider seam allowance on the bottom panel to make it fit more snugly.
So were these cushion covers “easy” to make? No, not really; at least not for me. I understood the whole process in theory, but especially by adding the zipper, AND the piping, AND by having curves to work around, it was all pretty challenging. They certainly aren’t perfect, but you know what? They actually turned out pretty darned well!
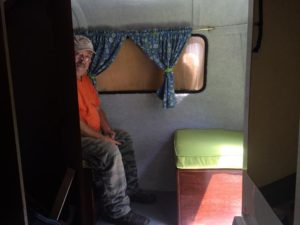
We still need to design and make the table, plus I need to make two smaller cushions that will be backrests and/or the rest of the mattress, depending on whether the front is used as a dinette or as a single bed. For now, though, I’m very pleased to have the big, curved covered cushions DONE! 🙂

