New (again) Fabric on the Ceiling

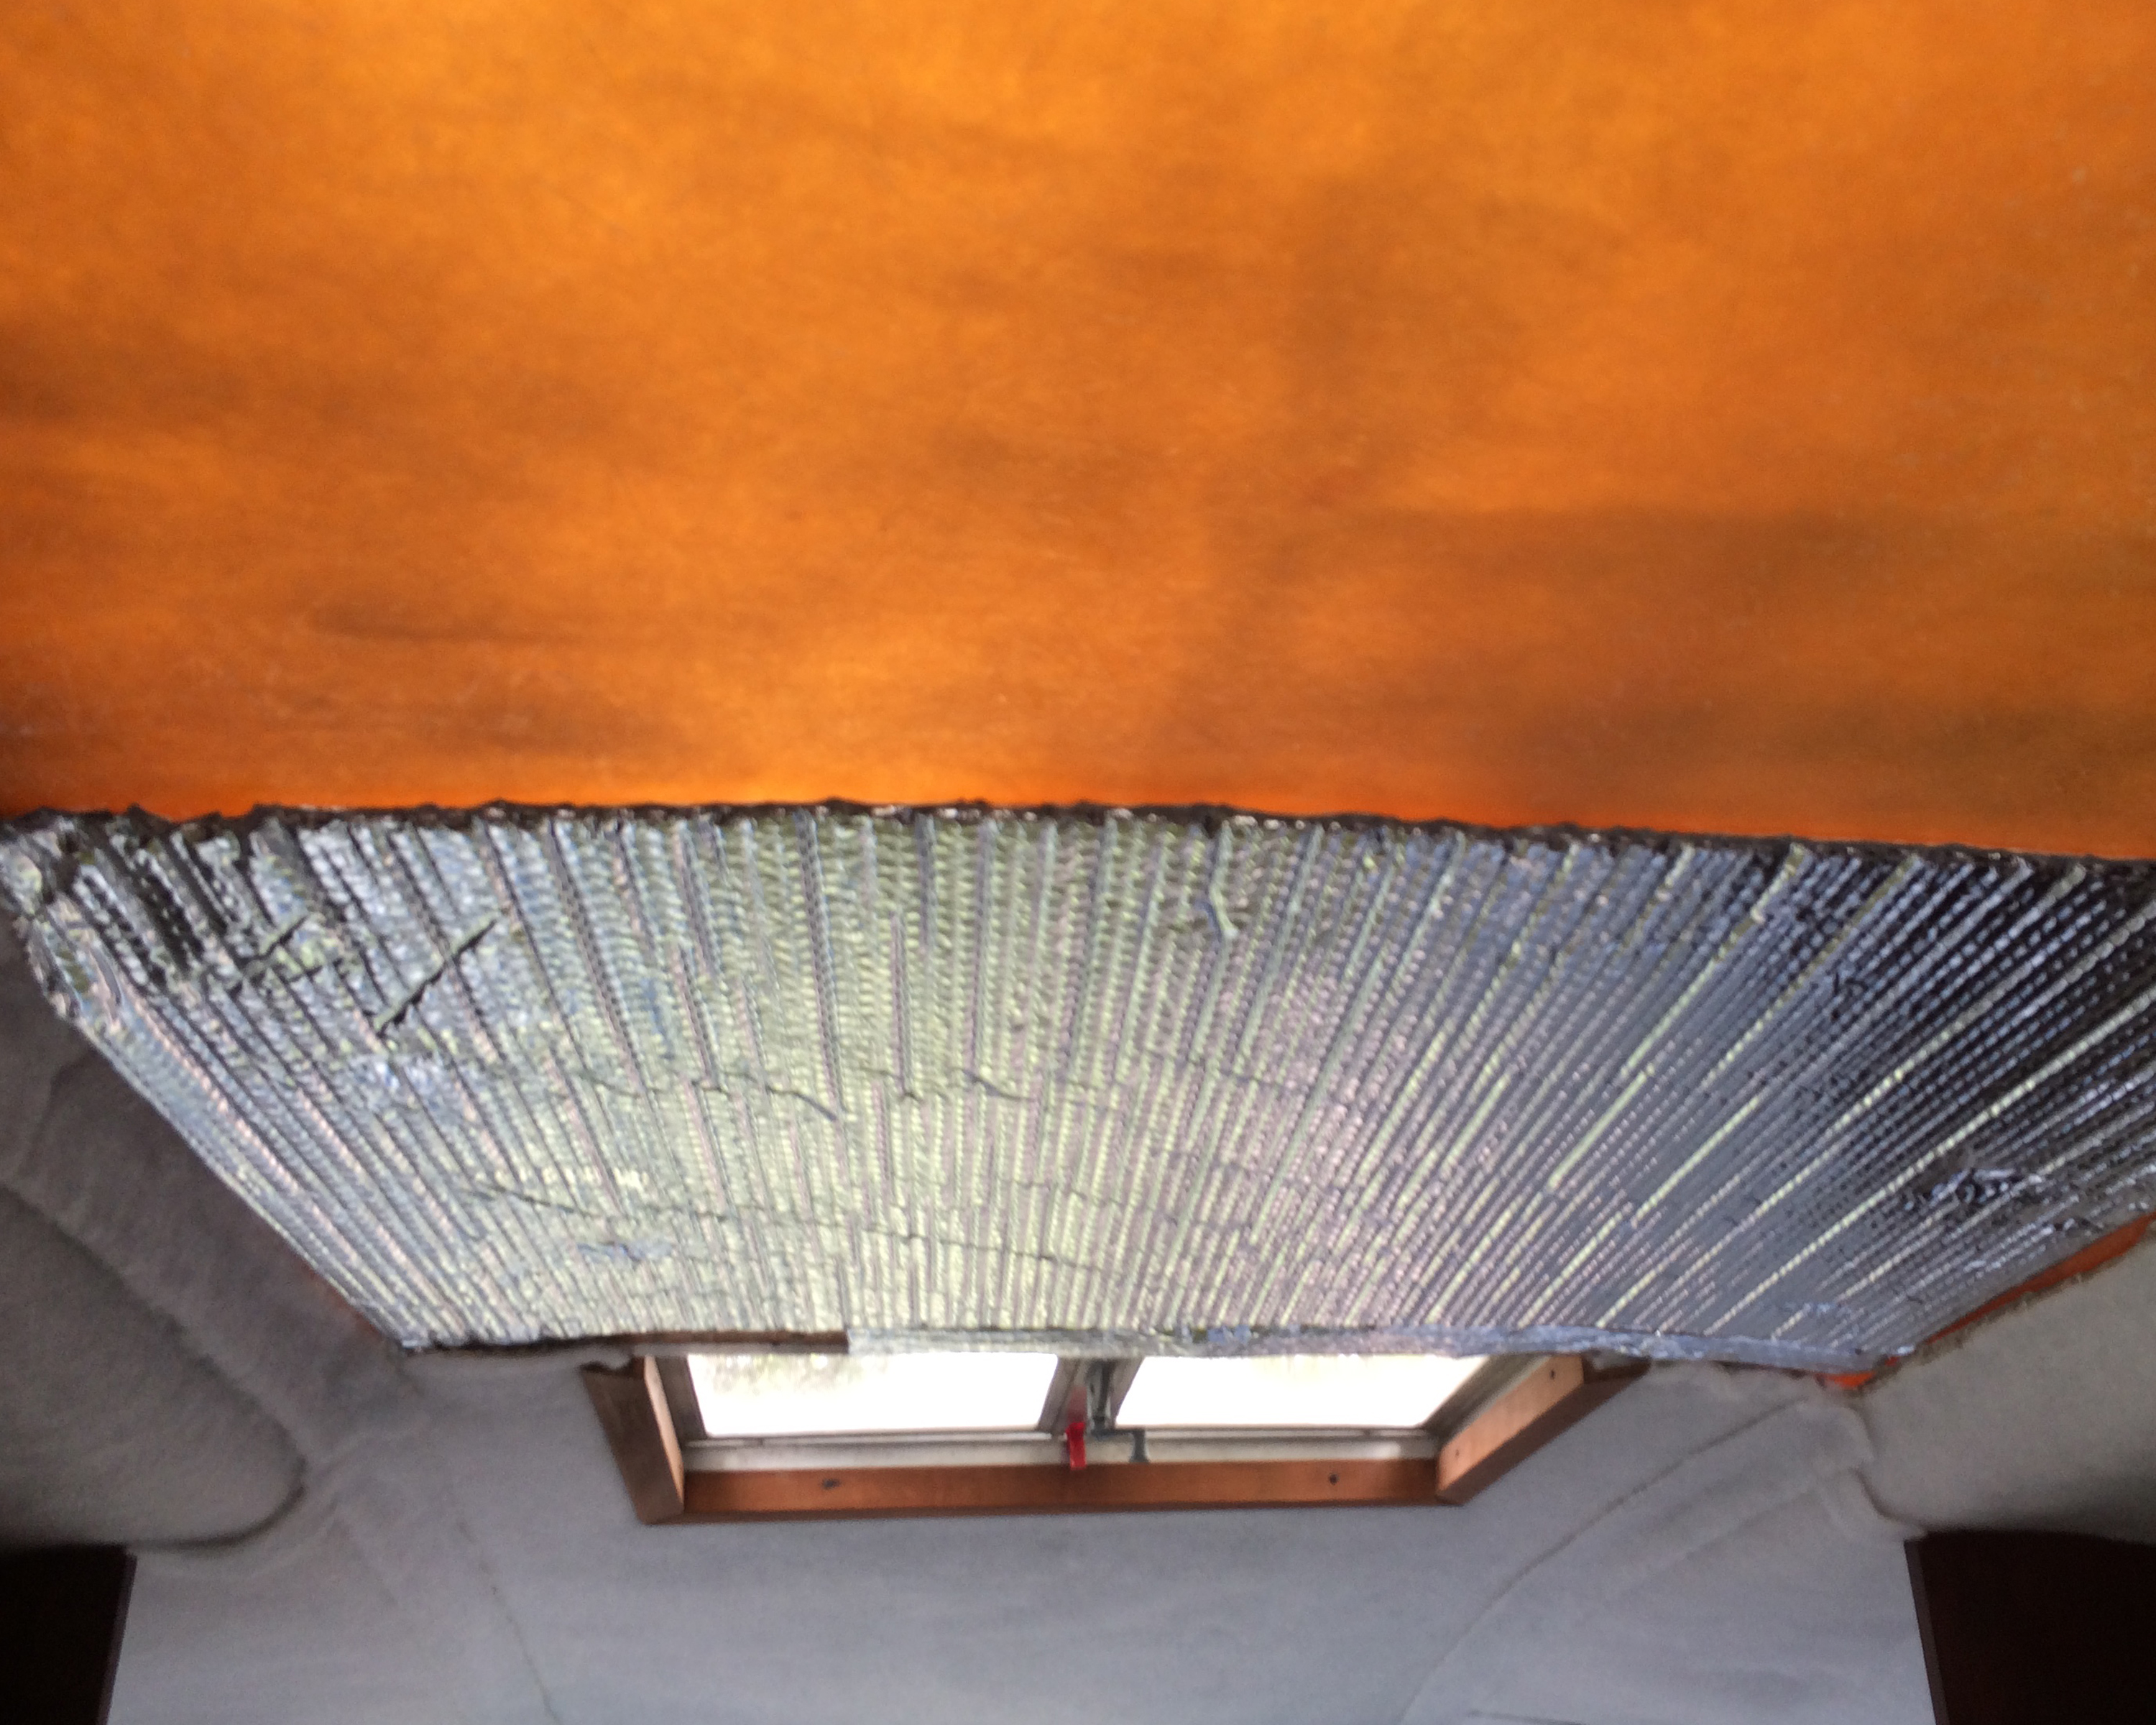
On Saturday afternoon, April 28th, we put up new marine-grade hull liner fabric on the ceiling.  For a variety of reasons, we decided to use three relatively short pieces instead of one long piece as we’d done the first time.  (I’m SO glad we initially ordered a little extra fabric!)

The first piece (forward from the vent) went up quickly.  While we DID have a bit of a gap at the sides, this picture makes it look wider than it actually was:

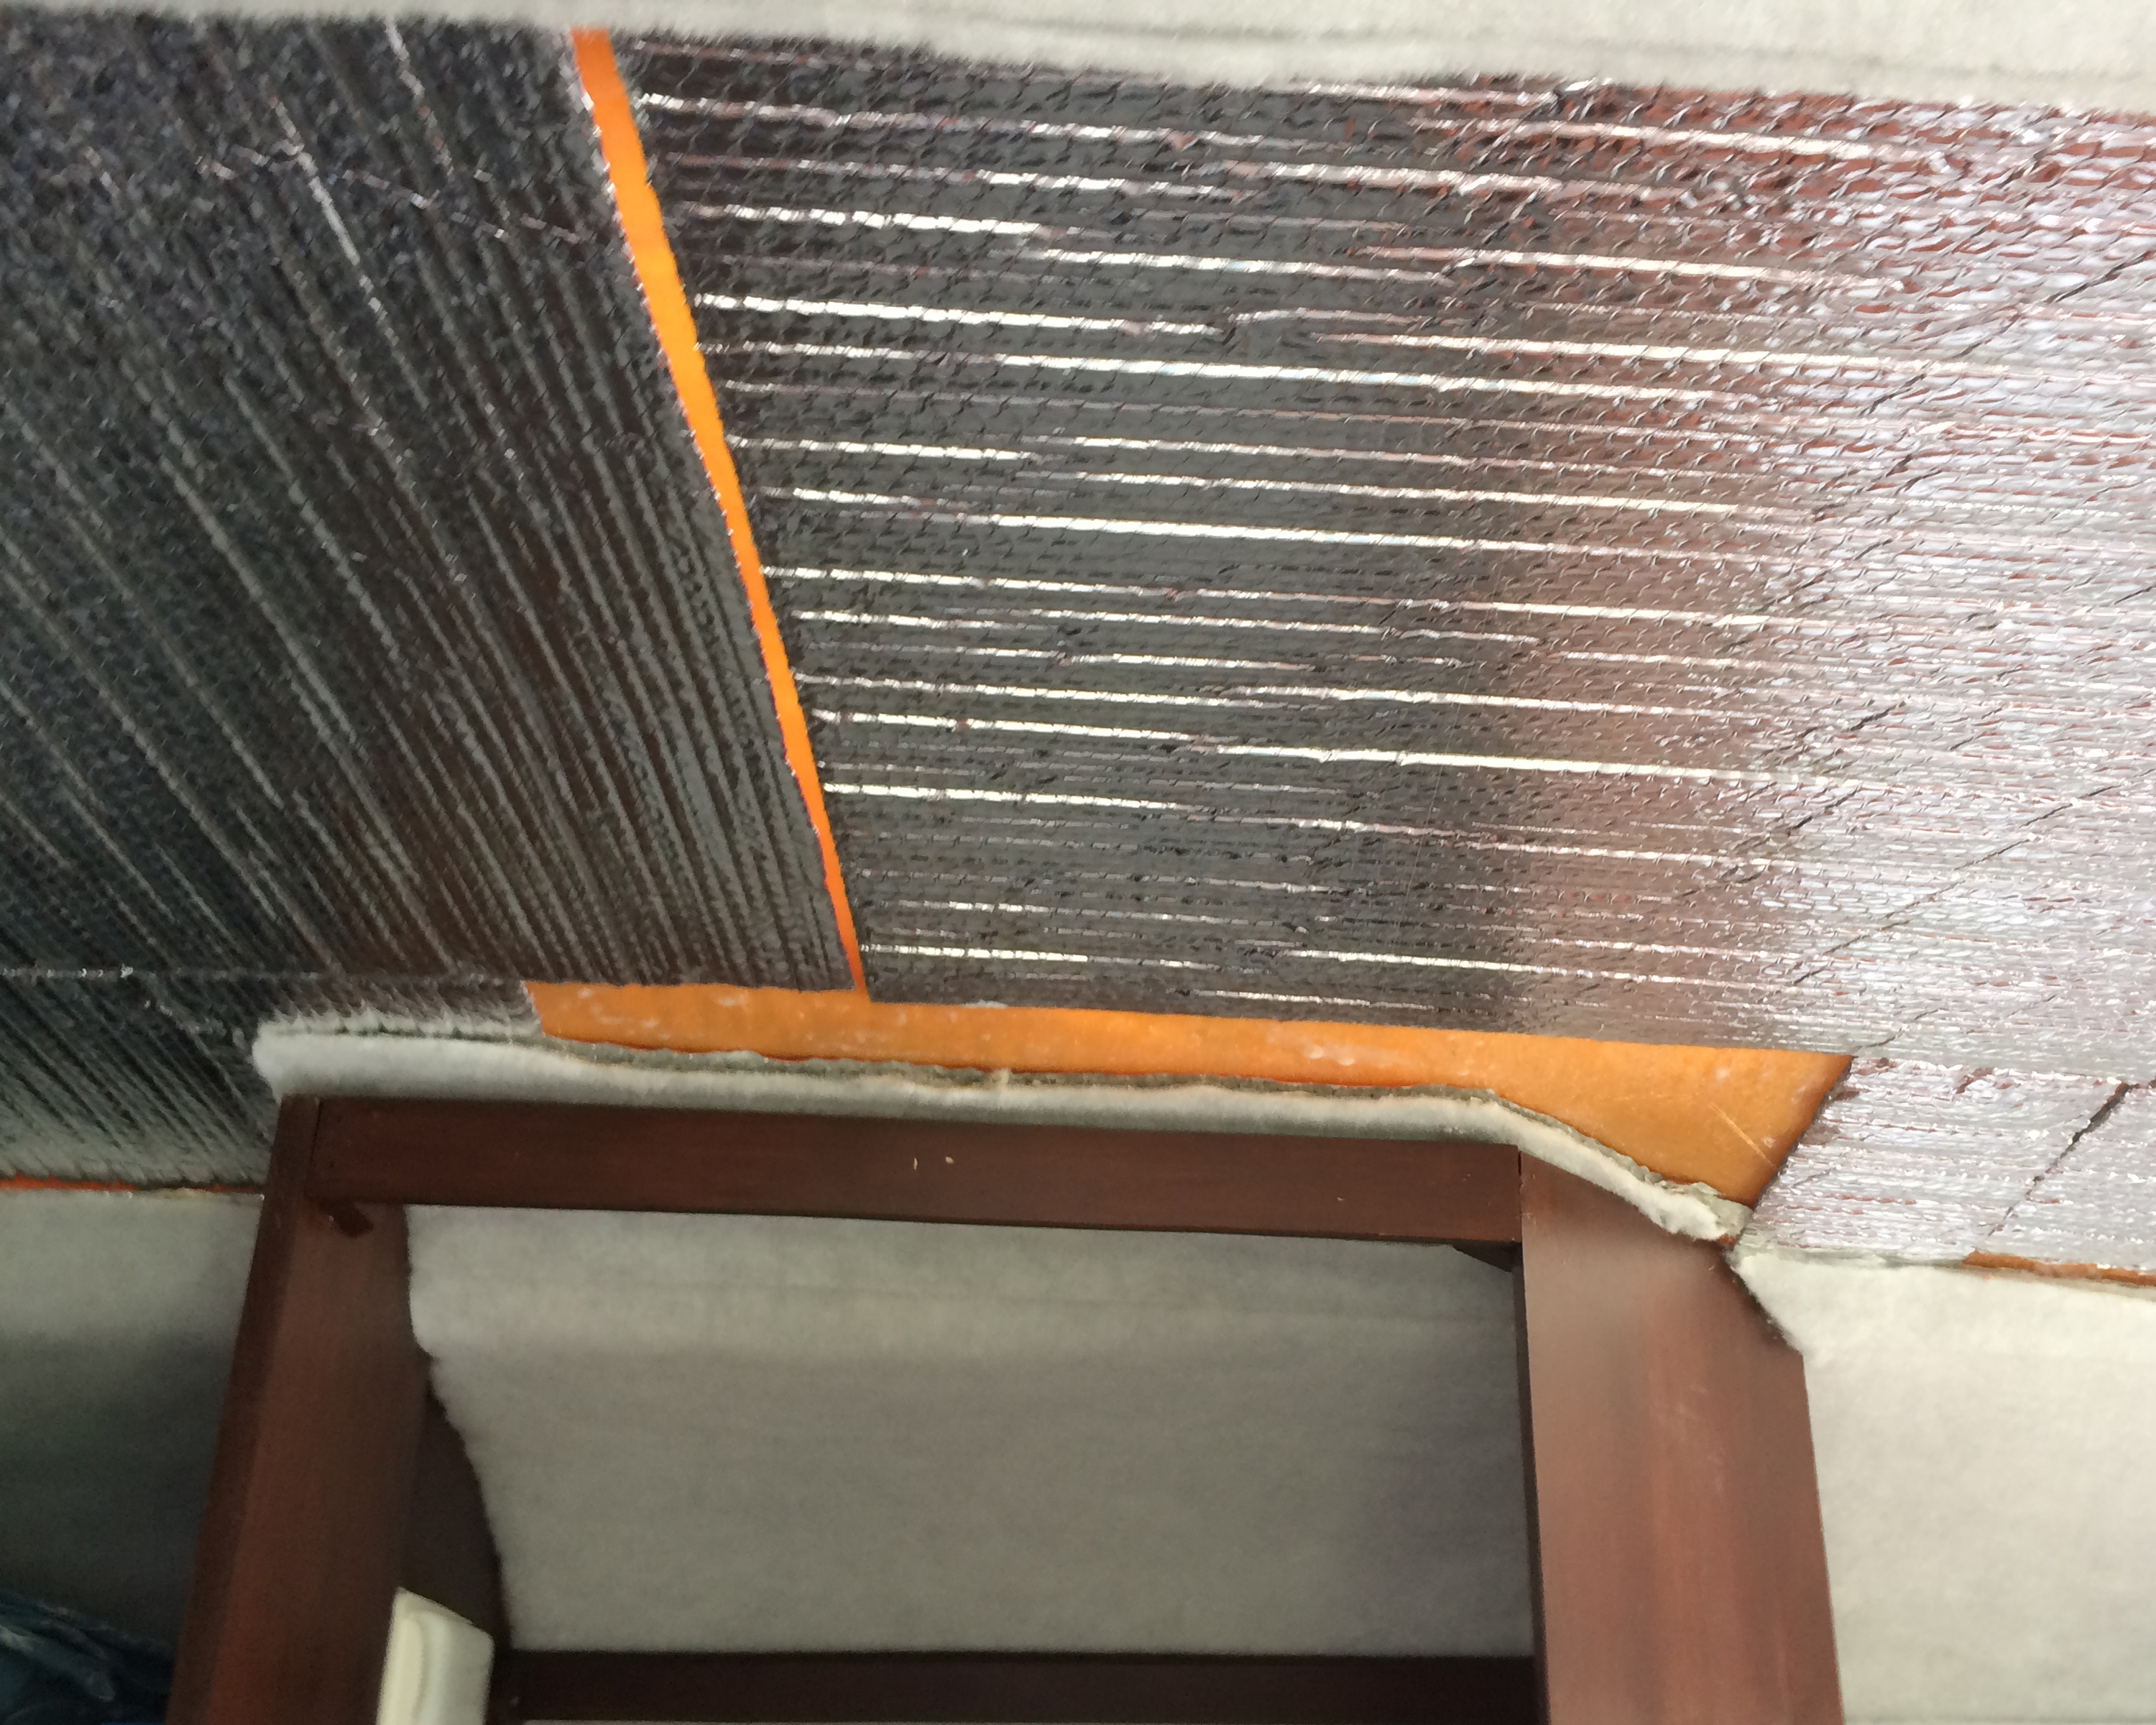
The next piece butted up to the previous one:

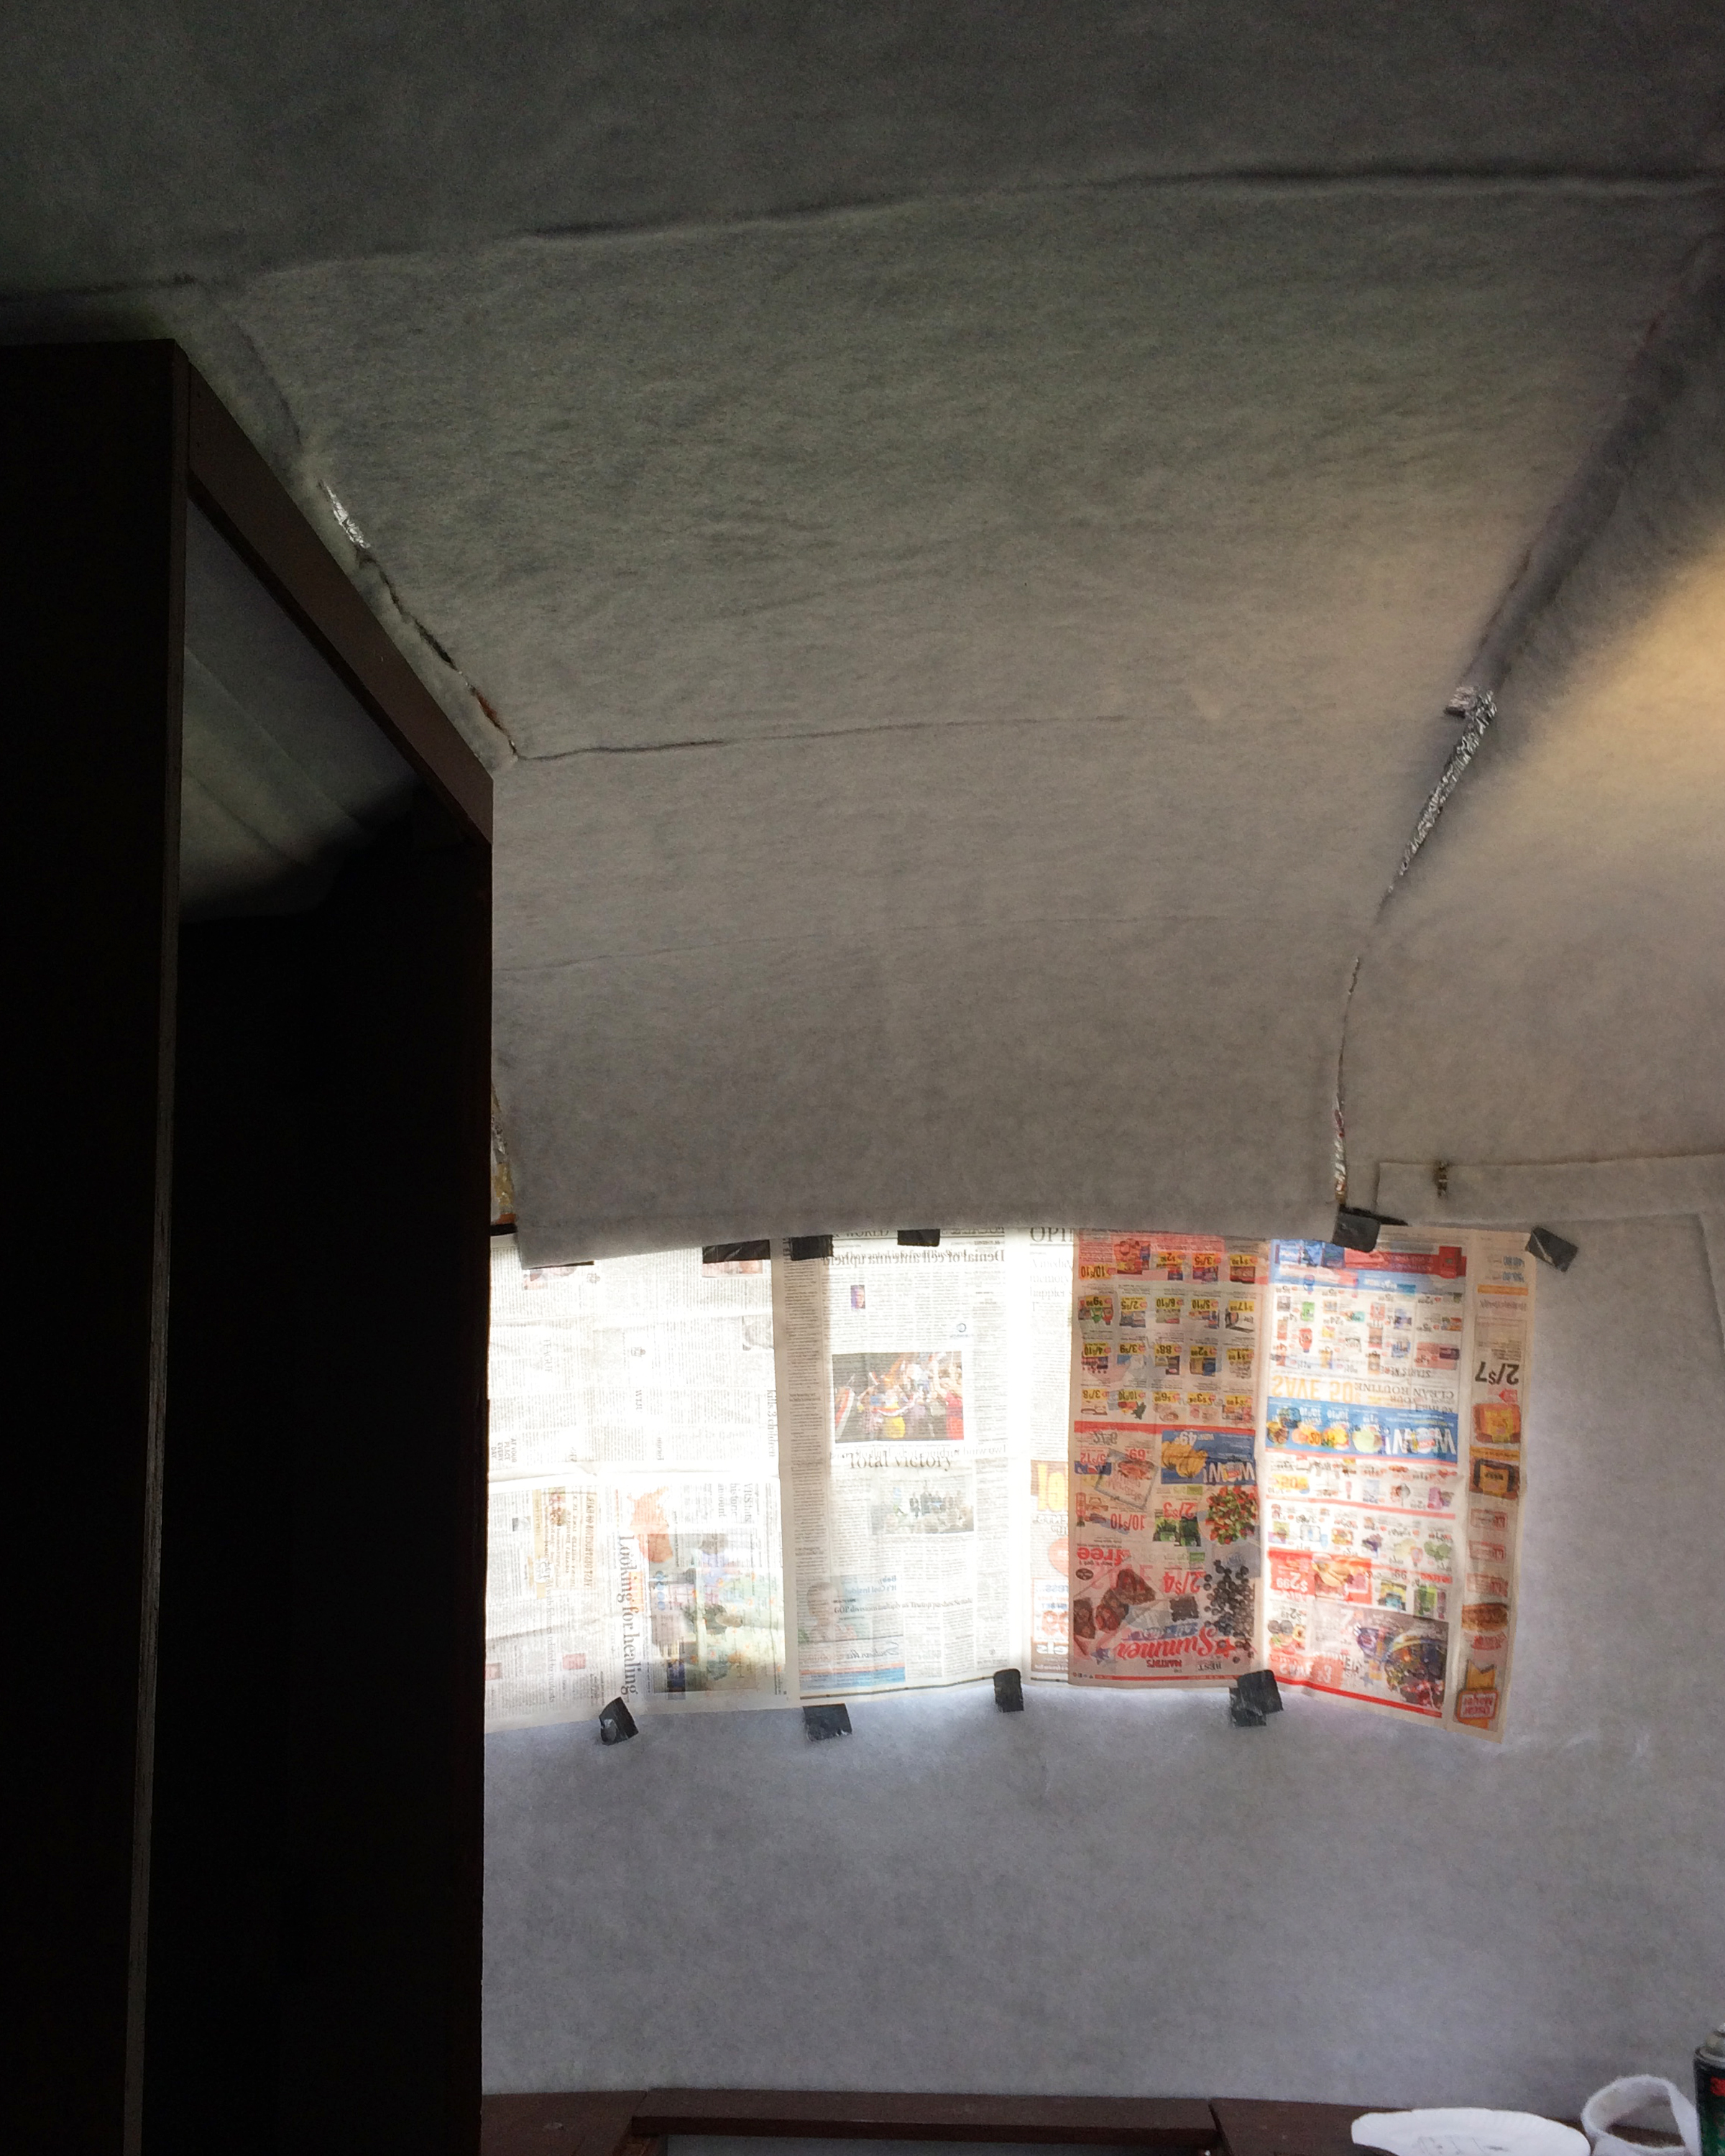
The third piece was a bit more challenging because we had to cut an angle to accommodate the shape of our “bathroom.”  Also, since this piece would go to the top of the front window (which we’d covered with newspaper to protect it from the spray adhesive), we opted cut it a little longer than necessary and not glue the last couple of inches of fabric.  This way we could glue it after we had precisely trimmed it.

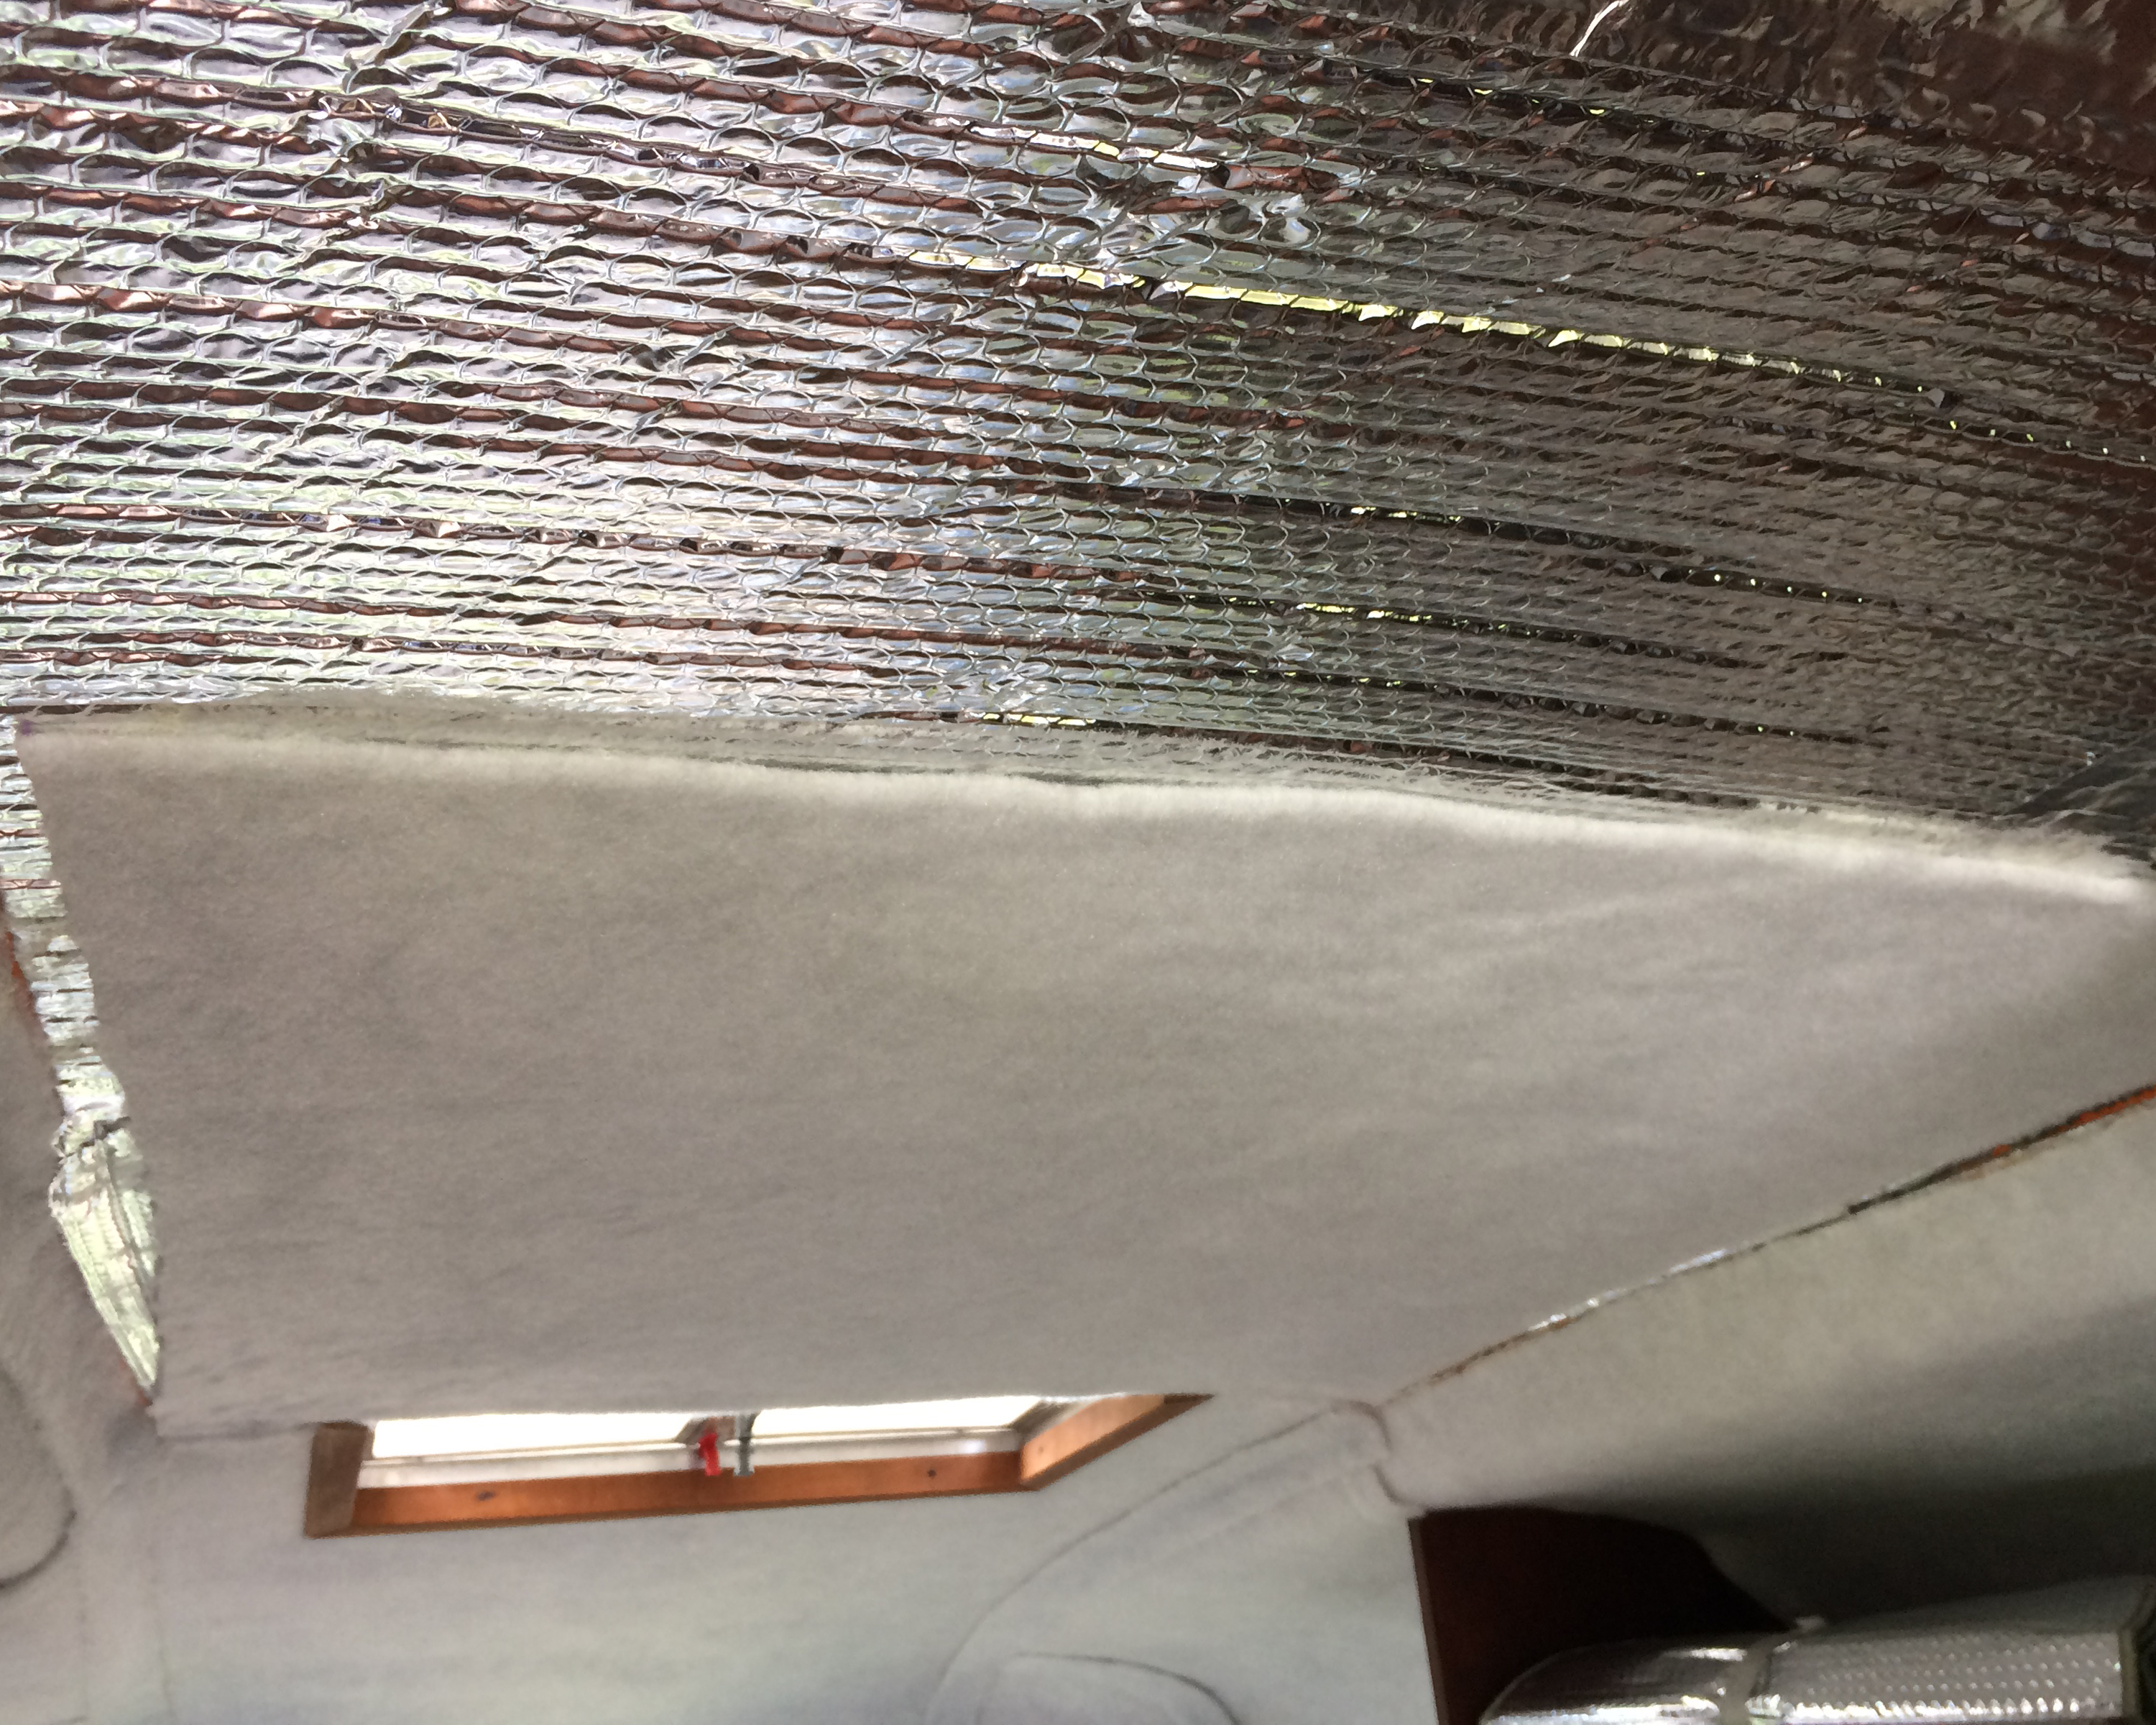
Crazy, but what took the longest was getting the seam cover pieces cut and in place.  By using shorter sections of fabric on the ceiling, we certainly had more seams, but I don’t really mind the look at all!

In my last post, I was considering ripping out fabric towards the rear of the trailer where there’s some sag.  Nope, not happening now.  If we find we DO need to fix this in a year or so, I’m almost certain that we can do it without removing everything.

We still have several projects and upgrades in mind, but for now I want to get the trailer thoroughly dusted and vacuumed, get the curtains washed, and put the clean sheets and blankets back on the bed.  We need to get the trailer inspected, but soon (I HOPE!) we’ll be good to go. 🙂

New Reflectix Insulation

The torrential rain we had last weekend confirmed that we HAD found all of the leaks in the trailer forward from the ceiling vent.  And, indeed, it was the loose curtain rod bracket that had caused the largest leak in the front dinette area!

Armed with a can of 3M Hi-Strength 90 spray adhesive, I put up new Reflectix insulation on April 22nd.

I purposely used small pieces of Reflectix instead of trying to run long pieces from front to back.  For one reason, I was working by myself and didn’t want to have something so long that I couldn’t easily handle it easily by myself.  More importantly, I felt that multiple “small” pieces would stick better and be less likely to pull down once the weight of the hull liner was added.

While I’d hoped not to deal with tiny pieces, some of those had to be added, too:

So in the center of the roof–from the vent to the front window–new and extremely-well adhered Reflectix is in place.

While we could probably add new fabric (marine-grade hull liner) by next weekend (a much more challenging project since I will want to use large pieces to avoid lots of seams), I’ll need to make a decision….

There’s some sagging behind the vent to the rear window–and along the rear quarter on the driver’s side.  I’m wondering if I should just rip out the old Reflectix and the not-that-old fabric and start from scratch.   🙁

While the thought has zero appeal (I keep saying I’d rather go camping with the trailer on a free weekend instead of renovating or repairing something!) it might make sense to go on and do it.  Ack.  Always something….

Waiting for the Rain….

On Saturday, April 14th, we tentatively planned to buy a taller ladder to allow easier access to the Scamp’s roof.  We figured we needed this in order to patch the spots I’d identified last month as the source of some small leaks.  But I guess frustration was starting to take its toll regarding the ongoing work on our trailer, because we impulsively made a trip to Ashland, VA to visit a couple of RV dealerships.

If money were no object–or if I didn’t have a problem with the thought of financing a brand new travel trailer for 10 years–I would love to have an R Pod.  These are the best-selling travel trailers under 23 ft. in the country now, and after getting a firsthand look at several different models, I can see why!  With their funky, aerodynamic exterior design, rubber torsion axles, and an assortment of convenient features in a small package, these are incredibly cool little campers!

At the next dealership, we were most interested in a 2015 Jayco Jay Flight SLX 185RB.

The price and features were good–and the salesman really worked with us regarding the price and financing options.  For a relatively small trailer, the interior was spacious and open, and its weight was well within the towing capacity of my small SUV.

We both really liked the trailer.  It would be all we’d need for an extended cross-country type of camping adventure with its A/C, furnace, 3-way refrigerator, propane stove, microwave, bathroom, permanent bed, side dinette, and abundant storage space.  But–bottom line–we just didn’t love it.  🙁

Compared to our Scamp–and even the R Pods that we’d just toured–the Jayco seemed so big and boxy and … rectangular….  We looked at it a second time and continued to talk numbers with our salesman, but in the end we decided that it would make an absolutely wonderful camper for someone–but not for us.

On Sunday afternoon, we took the tarp off our Scamp and leaned a foam-padded extension ladder against the exterior (since we still don’t have a step ladder tall enough to reach the roof!)  The pinholes on the top aren’t visible at all (which is why this has been so frustrating), but by measuring and comparing the circled spots on the ceiling with the corresponding locations on the roof, Wayne was able to add another generous coat of Tropi-Cool roof sealant on the suspicious areas.  For good measure, he used some “Seal-All” inside on the ceiling.


As I’ve said previously, these little pinholes still can’t explain the water that’s appeared on the front dinette bench.  Even though we used butyl tape under the screws when we mounted the brackets for the curtain rods, when I checked one of the brackets, I was shocked to find that it was loose–like wiggly loose!  Could something this simple be the source of the leak in the front dinette?

Wayne tightened both screws in the bracket (yes, we could have used a shorter screw…), and we also found a couple more that weren’t as snug as they should be.

So now we wait.  With heavy rain and storms moving in, I am hopeful that our little trailer will stay completely dry inside!