This Weekend was Brought to You by the Letter “B”

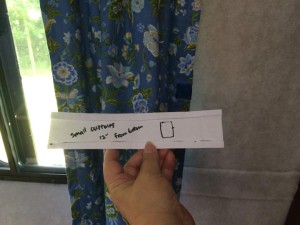
Saturday, July 25th, actually started out with the letters “A.D.D.” as we weren’t really sure which way to jump first!  I need to make some sort of curtain “band” (not really a tie-back) so that I can gather each panel when we have the curtains open, but I haven’t decided on the best way (okay, the *quickest* way) to do this.  Ribbons with spots of Velcro might be the solution…

Tiebacks-072515-01

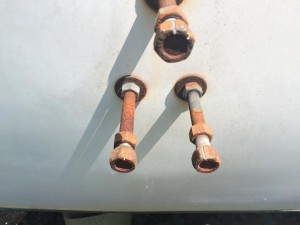
Being indecisive about the curtain bands, I decided to turn my attention to the badly rusted bolts that stick out from the back of the trailer on which the spare tire will be mounted.  The nuts were absolutely rust-fused to the bolts, and previous (repeated) uses of WD-40 hadn’t done a thing.

Bolts-072515-1

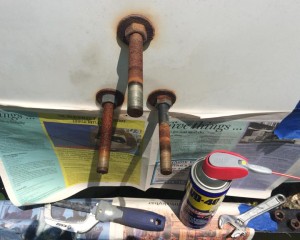
The sun was up high and it was HOT on that end of the trailer when I started on this project, so there I was–with my bandanna and hat and hacksaw and chisel–bent on creative destruction…

Sharon-072515-1

But lo and behold, it worked!  Between sawing, spraying with WD-40 and a little light tapping with a chisel, they finally came off.

Bolts-072515-2

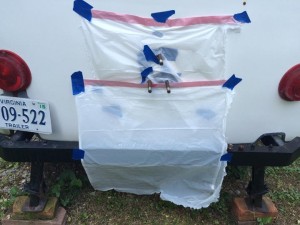
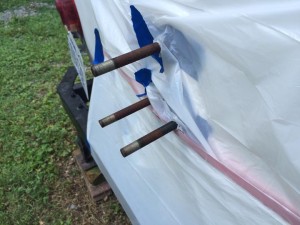
Next I taped around each bolt and then taped plastic bags to the end of the trailer to use a different and more powerful “rust buster” product.  After spraying that on, letting it work for a while and then using a wire brush, I’m pretty sure we’ll be able to get a spare tired mounted and secured to the bolts.  Yay!

Bolts-072515-3 Bolts-072515-4

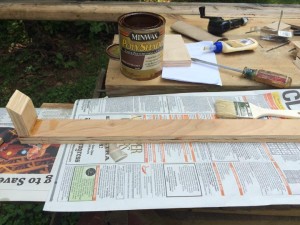
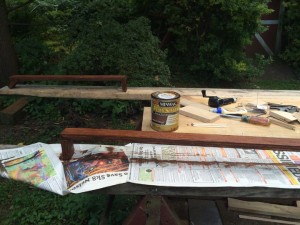
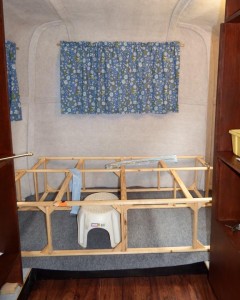
In the meantime, Wayne had made two cross pieces of wood to connect the walls of the “bathroom” for extra support.  Ultimately all of the things that are built will be connected, back to front.  My job was to stain the pieces before he put them in place:

Stain-072515-1 Stain-072515-2

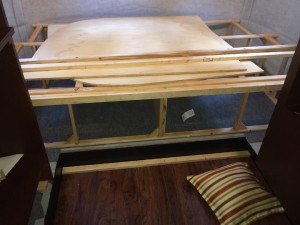
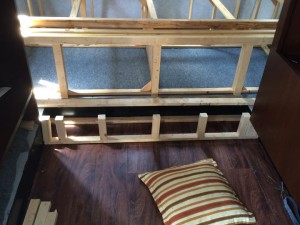
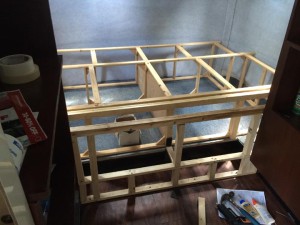
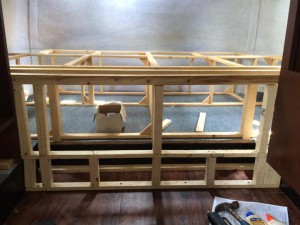
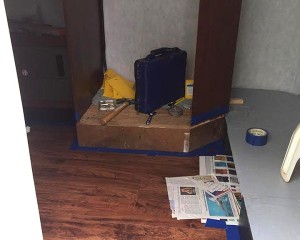
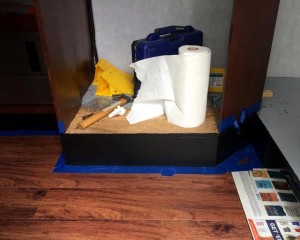
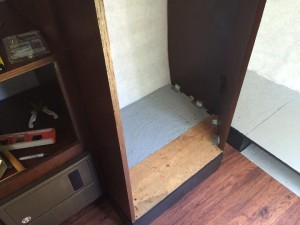
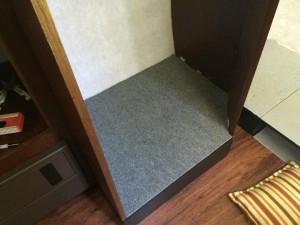
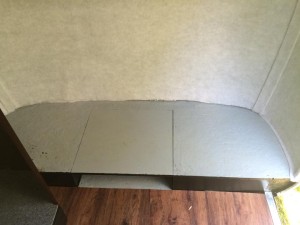
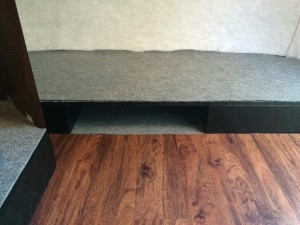
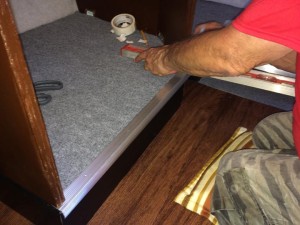
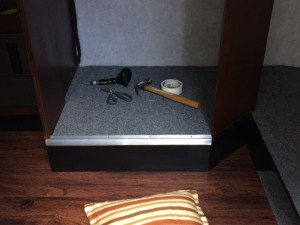
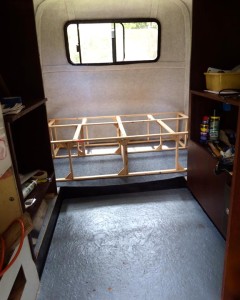
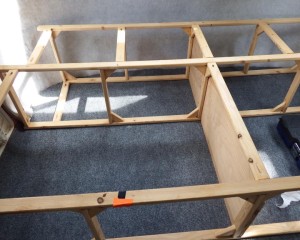
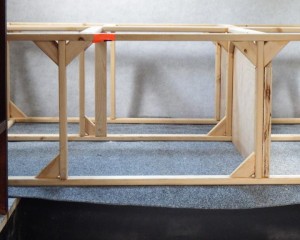
The main project over the last several days, however, has been the bed extension.  Wayne has done a lot of creative engineering to figure out the best way to do this, so that it offers plenty of strength and support, while still allowing access to the storage areas underneath:

BedExtension-072315-1 BedExtension-072615-1

BedExtension-072615-3 BedExtension-072615-4

It’s exciting to see how much progress he’s made!

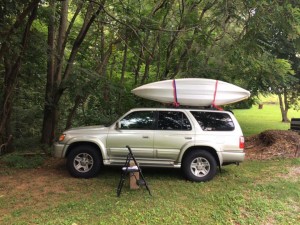
By 2:00 pm on Sunday, however, it was 90 degrees in the trailer and definitely time to take a break.  We thought about going to Lowes (to get more materials for the bed extension project) and to Michael’s (to check about ribbon for the curtain bands).  But then we also thought about the kayaks that we’d loaded onto the 4Runner early in the day….  Hmmm…..

00-Kayaks

Decision made, we spent the rest of the hot, summer afternoon paddling around beautiful Beaver Creek Reservoir Park  🙂

04-Sharon 09-Wayne

“It’s Summertime, Summertime, Sum Sum Summertime”

With full summer upon us, we’re still holding on to the hope of being able to use the trailer before the school year starts up again in mid-August.   Anything we can do to get “ready enough” for camping is a good thing at this point, and while some work may appear to be simply “cosmetic,” each thing we do helps us move towards the goal of “usability.”

Recent work: We closed up the space under the “bathroom” extension, using scrap pieces of Masonite.

Door-Interior-071215-1  Bathroom-Baseboard-071715-01

Since the metal frame of the trailer (that looks like a “baseboard”) is black, I painted the Masonite black and also gave the rest of the “baseboard” a fresh coat of paint.

Bathroom-Baseboard-071715-02

On Saturday, July 18th, we cut a piece of indoor/outdoor carpet (like what’s under the bed) to go inside of the “bathroom”.

Bathroom-071815-1  Bathroom-071815-2

The floor in the front “dinette” area is quite uneven, so we decided that carpet would be our best bet there, too, as well as in the little storage space below the dinette. Ultimately, we’ll have benches and a table in the front, so the carpet will really only be visible under the table.

Dinette-071815-1      Dinette-071815-3

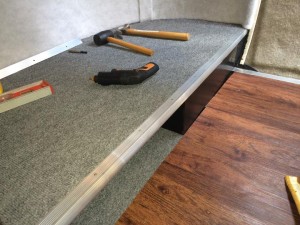
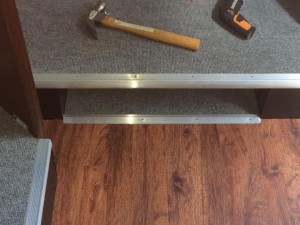
On Sunday, July 19th, Wayne installed the thresholds and trim pieces.

Bathroom-071815-3  Bathroom-Threshold-071915-1

Looks very nice; we were quite pleased with the way this turned out!

Dinette-Threshold-071915-1  Dinette-Threshold-071915-2

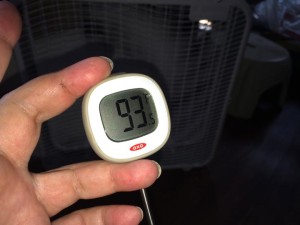
As we were working in the trailer on Sunday when it was so ridiculously hot and humid, we realized that we should have gotten the A/C built into the closet BEFORE it got so hot!  Talk about 20/20 hindsight…. Even with two fans running in the trailer, it got very, very uncomfortable by 2:00 p.m.; 93 degrees according to a meat thermometer!  By the time the temp hit 95 inside, we decided we’d baked long enough; in fact, we were quite “well done.”

Temperature-Trailer-071915

An hour at a local lake–simply standing in neck-deep water–helped immensely!

MintSprings-071915-1

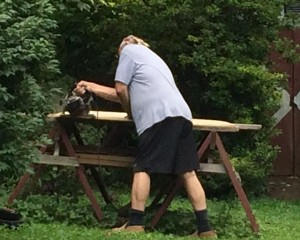
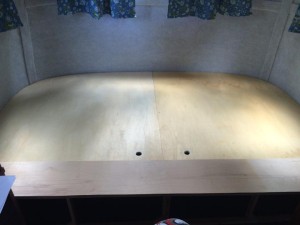
When we got home, it wasn’t much cooler, but there were still some things we hoped to accomplish.  Wayne wanted to get some measurements for the bed extension (to make it a full double), and when we put the plywood pieces back on the support frame, we were surprised to discover that they no longer fit!  The addition of the marine hull liner fabric had added just enough thickness to the walls to change how the plywood pieces fit onto the platform.  Well darn!  This led to more measuring, cutting, and sanding, but finally the plywood slipped into place.

Bed-Wayne-071915  Bed-Platform-071915-1

As you can see in the picture above, the back yard has totally gotten away from us this summer since we’ve been so busy with other things–including working on the trailer.  With the overgrown bushes, tall grass and weeds, my mother would have said that it just looks “snaky.”  Well, given that Wayne saw a big blacksnake just outside the basement door Sunday morning, I guess that “snaky” is a fair and accurate description!  Yikes!

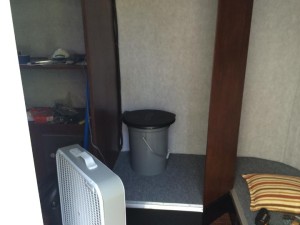
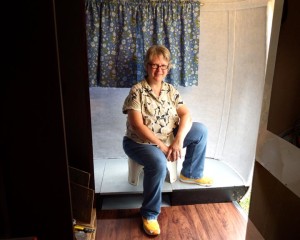
While he continued to work on the bed platform, I decided it would be in our mutual best interest for me to mow–at least in the areas where we’re most likely to be. Before taking on that task, however, I put the “Luggable Loo” (a 5-gallon bucket with a toilet seat on top) into the “bathroom.”  We’ll still have to find a good way to secure it (I’m thinking two small hooks on the wooden back wall with a bungee cord to hold it in place when the trailer is moving), but at least we know that there’s enough space for it.

Bathroom-Potty-071915

But really, having a porta-potty as the first thing you see when you open the door of the camper probably isn’t the best design plan–especially since we have no bathroom door in the works yet!  Aesthetics aside though, it’s a good place for it, because if we’d moved this towards the back of the trailer, just in front of the bed, the wheel well would have interfered.  Eh, we’ll figure out something….

So by the end of the long, hot evening–when we were both about as tired, sweaty and “fragrant” as we’d ever been–I’d succeeded in mowing the front yard and part of the back yard, and Wayne had cut out finger holes in the plywood to make it easier to lift the panels to access the storage space under the bed, plus he’d roughed in the board for the extension.

Bed-With-Fingerholes-071915

There’s still more work to be done, but it’s exciting to know that we’re getting much closer to being “done enough” for our first camping trip in the Scamp!

Busy Weekend, But WOW!

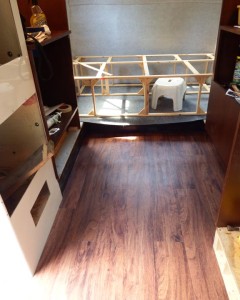
Our first project of the weekend involved putting in the flooring.  On Saturday morning I primed the floor with a product called Henry Bond Enhancer for self-stick tile.  I bought a quart of it at Home Depot and had PLENTY left.  It dried much more quickly than I expected, and it left the floor surprisingly shiny.

Floor-071115-1

Saturday evening we got a little more than half of the 6″ x 48″ vinyl plank-style tiles in place, and we finished up on Sunday morning.  The reddish tones of the cherry flooring really work well with the deeper chestnut color of the cabinets.  Although the picture doesn’t really show how “rich” the color is, we’re VERY pleased with how it turned out!  (By the way, the drooping edge of carpet under the bed platform will be supported by the extension Wayne will build to make the bed 54″ wide; a full double.)

Floor-0711215-1

After the flooring was in, Wayne put in a piece of rubber door seal under the threshold.  There had been a gap there, and the seal helped to close it up much better.

Door-Interior-071215-1

We have some scrap pieces of Masonite that will be used to finish the area under the bathroom “closet” (straight ahead in the picture above).  Once that’s up, it will be painted black to match the baseboard–the metal frame that’s visible in the rest of the trailer.  We also talked about how to finish the bathroom (which in reality will just house a porta-potty).  The original plan was to use a curtain on a tension rod, but now that everything else is looking so good, I’m wondering about the feasibility of putting in a real door.  That might come later….

After getting this far (and since the day was heating up and getting VERY humid) we made a trip to Lowes to buy some paint for the baseboard, as well as another small piece of indoor/outdoor carpet like we have under the bed.  The carpet will go on the raised future dinette area in the front, and another piece will go in the small open storage space under the dinette.  While we were there, we went on and bought a threshold to bridge the vinyl and carpet on the floor, and a trim piece to come over the edge of the dinette area.

As soon as we got home (when it was only marginally cooler–but even MORE humid–and when the air was filled with hundreds of bloodthirsty mosquitoes), we started in on another challenging project: putting up the curtain rods.  The trailer apparently had curtain rods–and curtains–at some point, because there were patched, filled-in holes around each of the windows.  Wayne used a very thin, awl-like screwdriver from outside of the trailer to push through the holes, through the caulk (or whatever), and then through the insulation and the marine hull liner fabric.  It was a slow process, but ultimately we were able to get all of the curtain rods mounted.

Curtains-071215-1

Next, I hung up all of the curtains that I MADE (!!) last week.  I hadn’t hemmed them and needed to see them in place before deciding how much to take them up.  The 2- or 3-inch hem that I anticipated will just be 1″.  But too cool; so glad I’m finally learning how to sew. 🙂
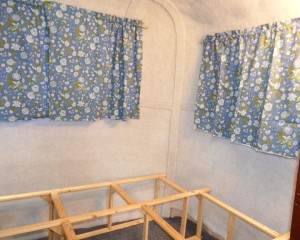
Curtains-071215-2

Curtains-071215-3

Curtains-071215-4

So all in all, it was a really productive weekend, with big, bold positive changes!  We’ve still got a lot to do, but being “finished enough” to use the camper before the end of the summer is certainly getting closer to being a reality!

Sharon-071215-1


Multiple Projects and Skill-Building….

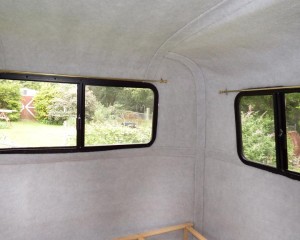
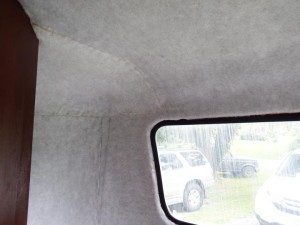
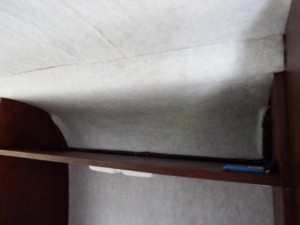
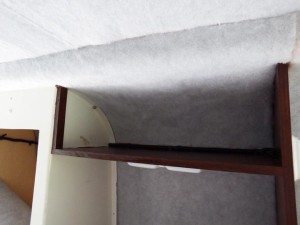
We still need to put up the fabric strip seam covers to give the interior a finished look, but we’re so pleased to be ALMOST finished installing the marine hull liner on the walls.  What a nice difference!  I love the bright silver/gray fabric, and it looks really nice with the dark cabinets.

Fabric-070515-01

Front driver’s side.

Fabric-070515-02

Driver’s side upper cabinet.  (We’re still thinking of some sort of back splash in the lower section.)

Fabric-070515-03

Curb side upper cabinet and closet. (Back splash will probably go in the lower section on this side, too.)

Fabric-070515-04

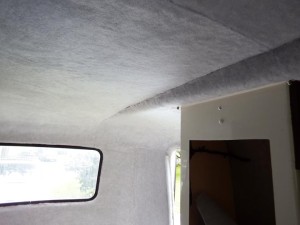
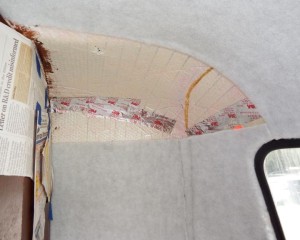
Ceiling and front wall, looking towards the door.

In preparation for putting down the flooring as soon as we can, last night I went out to the trailer to try to remove some very old (years old…) tape that had been stuck on the floor for some unknown purpose.   For the first time we decided to connect the power cord to “shore power” (i.e. our house), and when we started to take out the 25 ft cord, we only got about 10 ft before it stopped.  We weren’t sure if the rv guy who did the electrical work put in a shorter cord or if it was tangled.  We still don’t know for sure because we have no access to the area under the driver’s side cabinet where the cord is stored, and the rv guy is out of the country until July 20th.  Bummer.  For now we can connect the trailer’s power cord to a heavy gauge extension cord, but ultimately we’ll need to cut a hole in the cabinet and put in a door.  (Add that project to the list…)

At any rate, it was the first time I’d been in the trailer at night with the lights on and I LOVED it!  I could really “see” how much we’ll enjoy using this before too long.  So cool!  This was my view from the floor:

Lights-070615

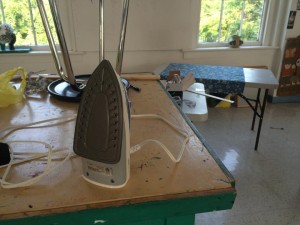
I mentioned “skill building” because I’m in the process of making curtains.  This statement is almost laughable.  Okay, it IS laughable.  I don’t sew (with a sewing machine), I don’t iron, I didn’t even own an iron until a few days ago, but I’m absolutely determined to learn how to sew this summer AND to make curtains for the Scamp.  Could I find someone to make them for me?  Yes, probably–but what fun would that be? 😉

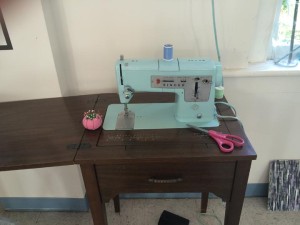
Last spring (with trailer curtains in mind), I bought a “vintage” used Singer sewing machine from a woman who listed it on Craigslist.  After buying it, I took it to my classroom at school.  In addition to wanting to acquire sewing skills for myself, I want to be proficient enough by the end of the summer to be able to offer some machine-sewing art or craft projects for my students.

Yesterday morning I went over to school for Sewing 101.  One of my co-workers graciously helped me get the machine set up with the right color of thread, and with her (patient) assistance, I was ultimately able to sew some relatively straight seams on scraps of fabric.  Yay!  I wanted to practice some more, and shortly after she left things started getting really messed up.  Like REALLY messed up. After untangling the needle thread and bobbin thread several times (with no clue as to why anything was happening), I came home to regroup….

I decided to print out the entire online manual and suddenly things started to make a bit of sense:  “OH–okay, I need to tighten this!”  “Oh, this should be on THIS setting…”  Armed with more knowledge and heavy laden with my newly-purchased sewing accessories (pins, pin cushion, seam ripper, seam gauge, iron, ironing board, decorative fabric, liner fabric, etc.) I went back this morning–and my co-worker came over for a while to help again.  This time after she left, things continued to go alright.  And even when they didn’t, I understood why the thread broke or the bobbin tangled.  Knowledge is a good thing.

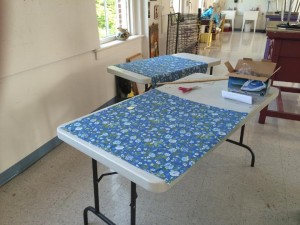
I would like to say that I whipped up all of the curtains for the trailer this afternoon.  Truth told, I barely got beyond cutting out the two “decorative fabric” panels for the rear window, ironing them, and stitching a narrow seam on the raw sides of each one.  I am certainly building skills, but it’s a painfully slow process!  Tomorrow I’ll probably try to cut the fabric that I’ll use as a liner, and see if I can get one set of curtains finished before midnight! 🙂
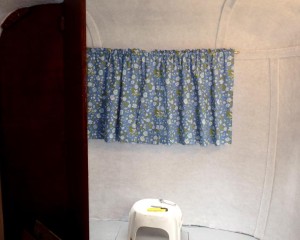
SewingCurtains-070715-1

SewingCurtains-070715-2

SewingCurtains-070715-3

(BTW, I’m saving all of the “scrap” pieces of the decorative fabric–it would make a pretty quilt for the trailer!)


Holiday Weekend Progress

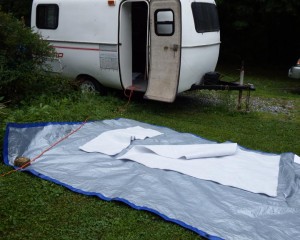
It’s so nice when we both have time off to work on the trailer and when the weather basically cooperates!  On July 3rd, we measured, cut and attached more of the marine hull liner fabric on the walls.  Our work area for spraying adhesive on the fabric is a tarp in the front yard.  We had to stop at one point when it started sprinkling….

Fabric-070315-01

Fabric-070315-02

Fabric-070315-04

I neglected to take pictures of these areas after they were finished, but it all looks pretty good. At this point we just have some small pieces of fabric to put in the upper cabinets, as well as putting on the seam cover strips. Yay!  I’ll be glad when this part is over!

On July 4th, Wayne started the process of reinforcing and extending the bed platform. The center divider will help to strengthen the platform, plus it will allow items that are put in from the side storage area to stay where we can reach them.  He also added some vertical supports at various places along the platform. Two pieces of curved plywood form the sleeping surface, and we don’t plan to permanently attach them so that we can access everything under the bed.  That said, we’ll probably use the front areas more than those in the far back on the driver’s side.

Bed-070415-1

Bed-070415-2

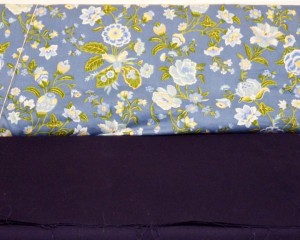
Last week we bought a print fabric for the curtains.  I’m not quite sure if we have enough to do all the windows, but my goal is to make curtains for the large front and back windows, first, and use a coordinating fabric for the side windows, if necessary.  The dark blue fabric will serve as a liner, offering privacy, as well as helping to block incoming morning light.  I think the fabric is much prettier in real life than it is in this picture, by the way!

Curtain-Fabric-070415

Making the curtains should be a very interesting project for me.  While only simple seams are required, I don’t sew.  Seriously.  I don’t own an iron or an ironing board (yet).  I bought an older used Singer sewing machine last spring–which is in my classroom at school–and one of my co-workers gave me about a 30-minute lesson a couple of months ago.  I honestly don’t know if I can even remember how to thread the bobbin!  Various YouTube videos have helped me understand the mechanics of measuring, hemming and cutting the fabric to make the kind of curtains I want, but lack of familiarity with the machine could, indeed, be a challenge.

When we get ready for cushions for the front dinette, we’ll probably use a dark blue fabric, but with the colors in the curtains, we could even do a bright green.  Or if I’ve somehow morphed into an exceptional seamstress, maybe I’ll whip up some cushions that are blue with bright green piping!  Guess we’ll figure it out when we get there…

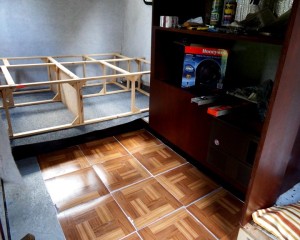
And so that brings us to flooring….  We’ve looked at Allure vinyl “planks” and at other vinyl peel ‘n stick tile patterns, but today I wondered if I could use some vinyl tiles that I have left over from some household renovations.  We spread out about a dozen to see if it would be too “orange” against the chestnut cabinets.

Flooring-070415-1

It’s not awful–and it would save some money to use something we’ve already got–but I really don’t like the color or the pattern that well for the trailer.  Guess we’ll keep on looking.