
When we started renovating our Scamp, I admired some of the fancy spare tire covers. With money being tight, though (and geared for renovation necessities), I opted for a plain white vinyl one. (Functional, but boring….)

I thought about crocheting a cover for it. Several people offer free crochet patterns, and there are also crocheted covers available for purchase on Etsy. Really love these bright pops of color and all the designs! 🙂

Yesterday while searching for something else, I found a post in a Scamp forum about a woman who had sewn a tire cover for her trailer using a cute vinyl tablecloth as the fabric. Hmmmm……. Sewing…..
And that’s all it took for me to start figuring out how to make a cover for the spare tire on our trailer. Since I really like the fabric I used for the new curtains in the Scamp–and since it’s an indoor/outdoor fabric–I decided to give it a try!
Sunday morning I bought 1-1/2 yards of fabric and a 2.5-yard package of 1″ elastic. When we got home, I measured the diameter of the tire (24″), and added an inch for the seam allowance. Instead of just jumping in and cutting the fabric, I made a pattern out of poster board, first.
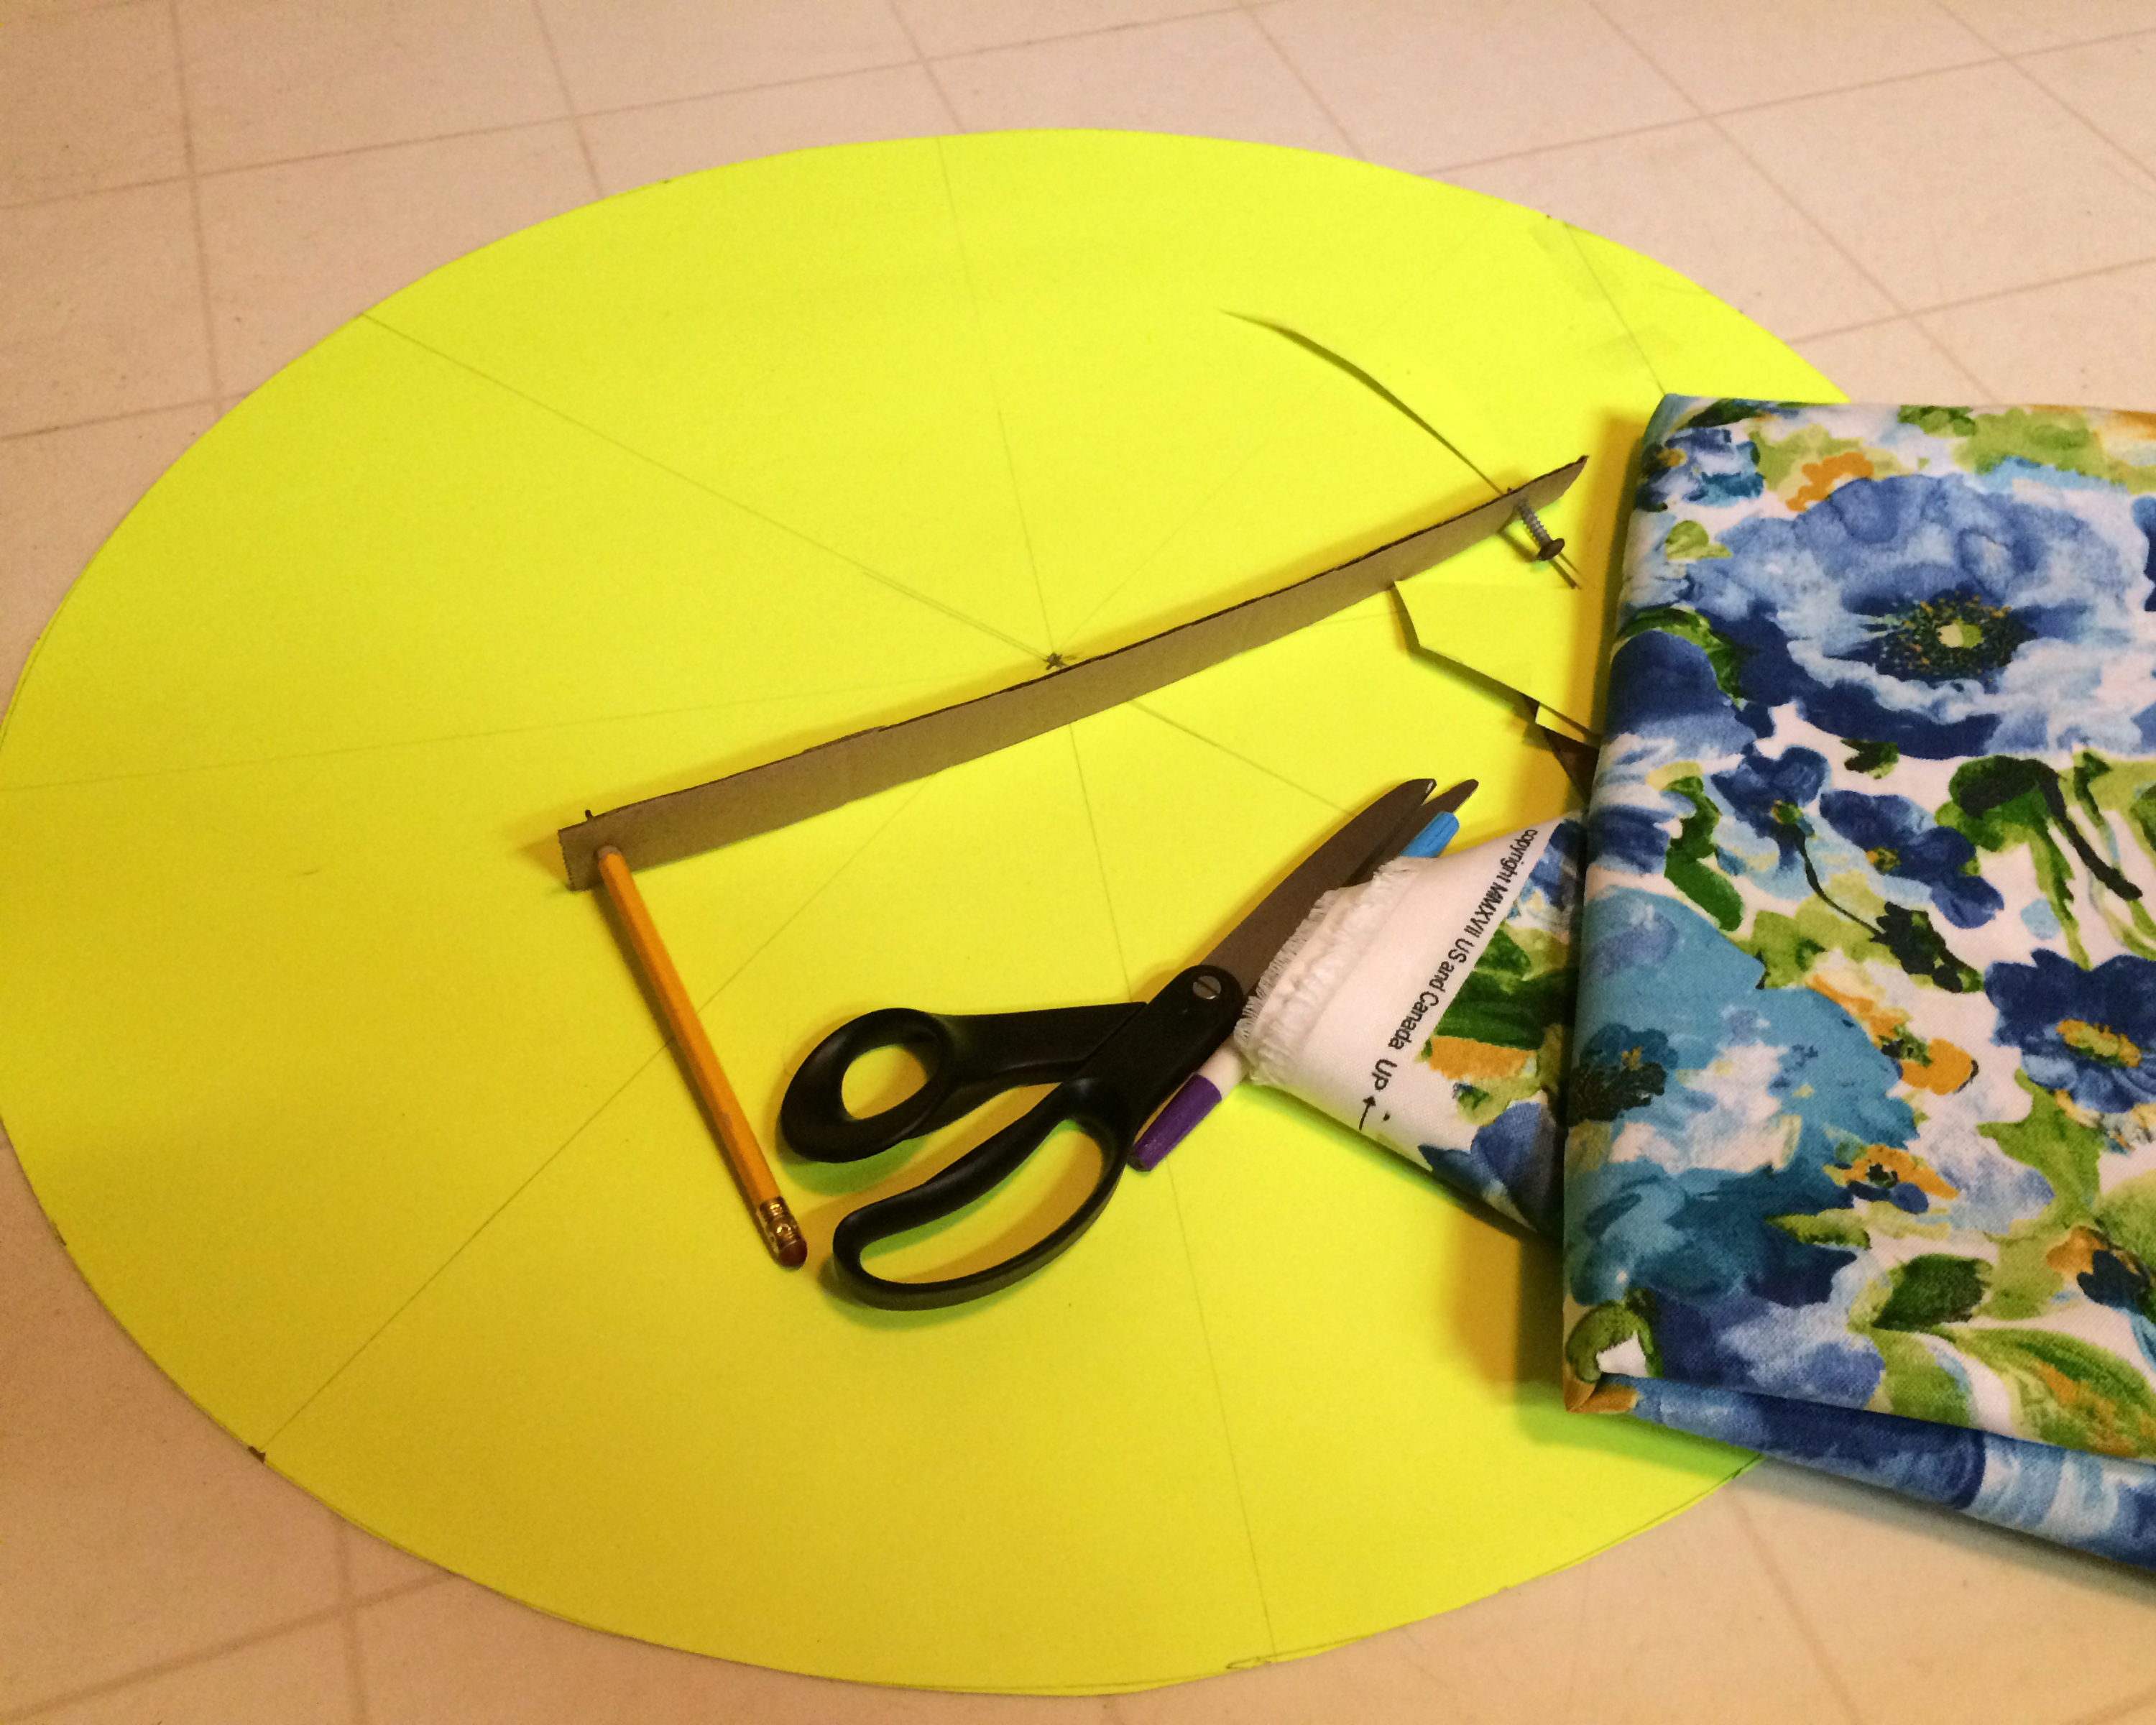
The poster board I had was 22″ x 28″ so I cut 3″ off the long end and taped it to the short end to make a 25″ x 25″ square. I made an X from corner to corner to find the center, and poked a hole in the center with a screw. I used a piece of cardboard to make a “compass,” measuring 12.5″ from the screw in once end of the cardboard, to a pencil at the other end. I placed a piece of cardboard under the center (to protect the floor from the screw) and simply turned the pencil and cardboard around to make the circle. (This can be done by using a string tied to a pencil, but I wanted to be as accurate as possible for the pattern, and the cardboard offered a better option.)
Once I was pleased with my pattern, I spread out the fabric on the floor, wrong side up. My self-appointed supervisor was very vocal and kept offering suggestions. 🙂


I traced around the circle on the fabric, cut it out and set it aside. Next I needed to do the “gusset” to go over the top of the tire, with enough to go over the edge to the back. The woman who’d made the cover out of the tablecloth said she’d made this strip 9″ wide, so I figured that would be a good place to start. But how LONG to make the strip? That info hadn’t been provided….
I sat on the floor with the fabric on my lap and pondered this for a moment. (My “supervisor” was happy to take a break.)

I knew I’d want to overcompensate and make the strip longer than necessary, so after finding the circumference of the circle mathematically AND measuring around the tire, I opted to make the strips 90″ long (54″ fabric width + another 36″). I knew it would be way too long, but it seemed like a good idea–at the time.
I sewed the two strips of fabric together to make a piece 90″ long, then–with right sides together–I pinned the strip to the edge of the circle. I sewed it all the way around the circle using a 1/4″ seam allowance, but I had to cut a lot off. All this length also made joining the two ends of the strip a little tricky since it was already attached to the circle. So here’s what I should have done:
For my tire, I should have made a strip 9″ wide x (approximately) 79.5″ long. At this stage, I should have folded one long edge under by 1/4″ and stitched it down.

Next, I should have sewn the two short ends of the strips together using a 1/2″ seam allowance to make a loop of approximately 78.5″ around. THEN I should have sewn the loop to the circle (right sides together, matching raw edges) using a 1/4″ seam allowance.
But with the strip (ultimately) attached to the circle, I took it outside to see how it fit on the tire. It seemed to be okay, so I think it’s safe to say that a 1/4″ seam allowance here works.
When I brought the cover back inside, the next step was making a casing for the elastic. I folded the edge of the strip over 1-1/2″ and used a combination of pins and clips to hold it in place. I stitched along the previous line of stitching (from the turned under part) to make a casing about 1-1/4″ wide.

I left an opening in the casing of about 2″, cut a piece of elastic 63″ long, and threaded the elastic through the casing by “inch-worming” it along with a large safety pin. (I pinned the other end of the elastic to the fabric to avoid having it slip into the casing–which would have meant doing this step all over again. Been there, done that; experience is my best teacher. 😉 )
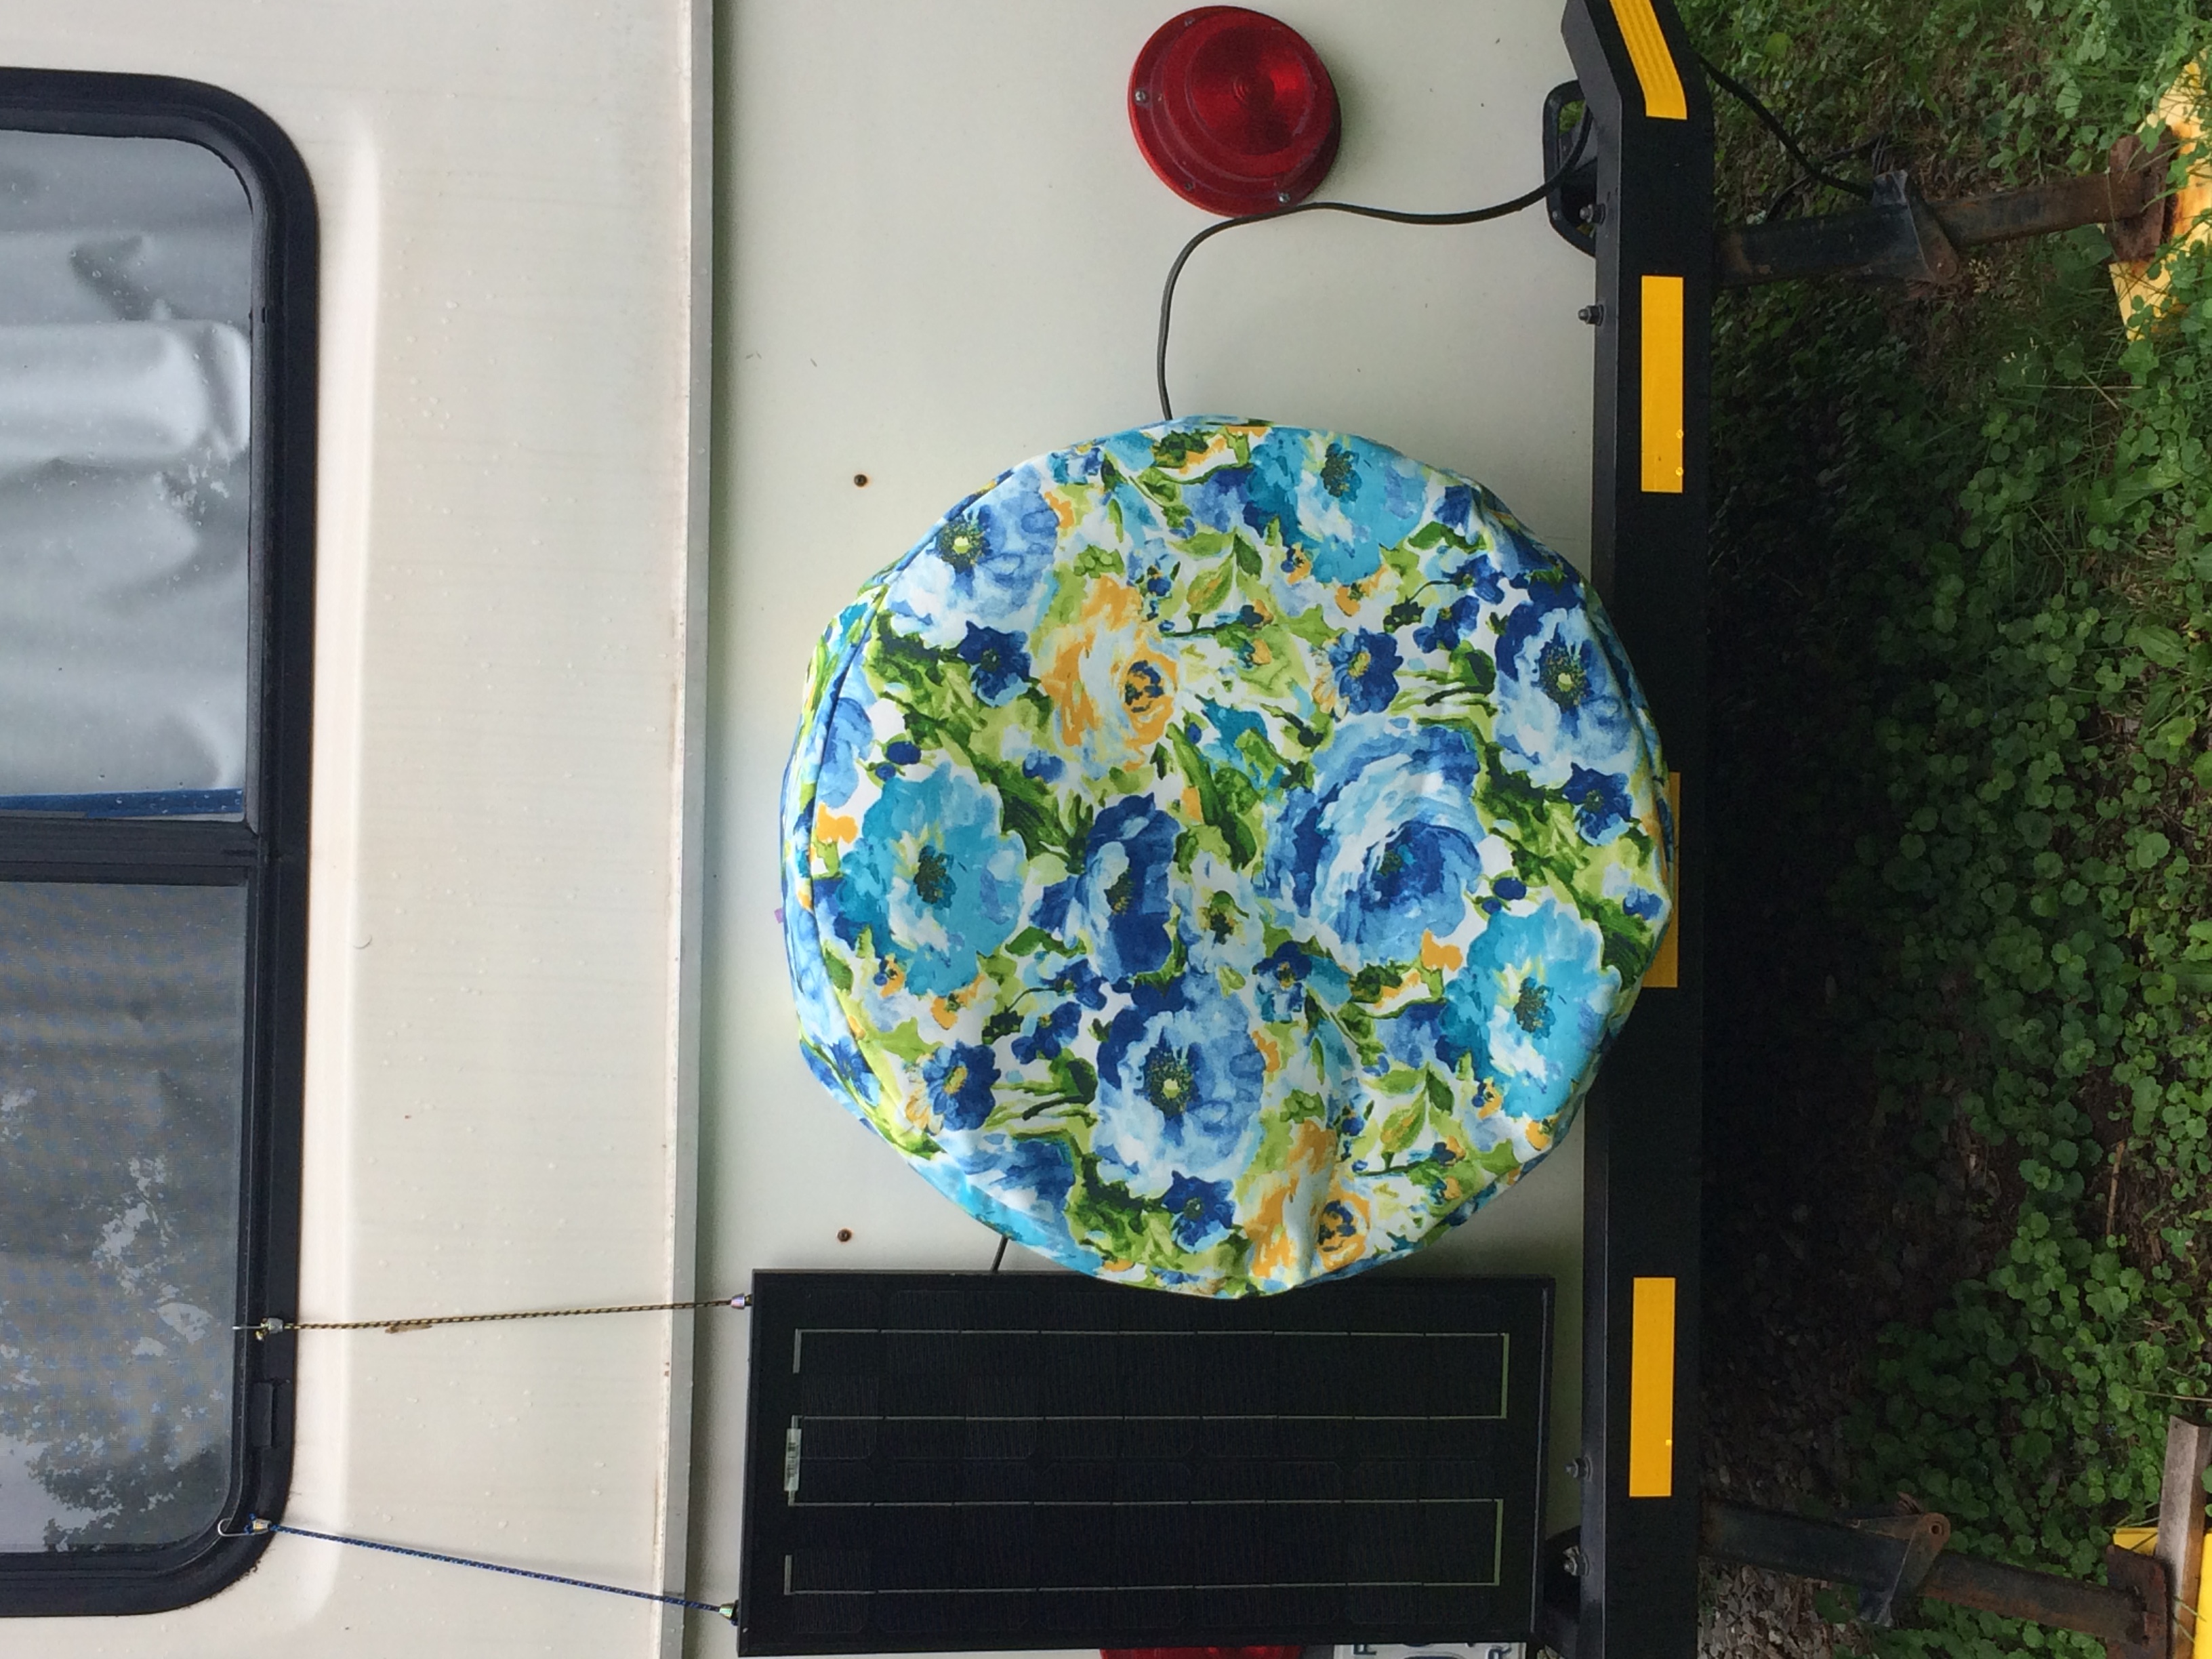
When I finally got the safety pin and elastic all the way around and back to the opening, I overlapped the two ends of the elastic by 1″ and sewed them together. I took it out to try it on the tire again. I was pleased (very pleased!) with the way it fit, so I sewed the casing shut.
Done!!

Yay, me!

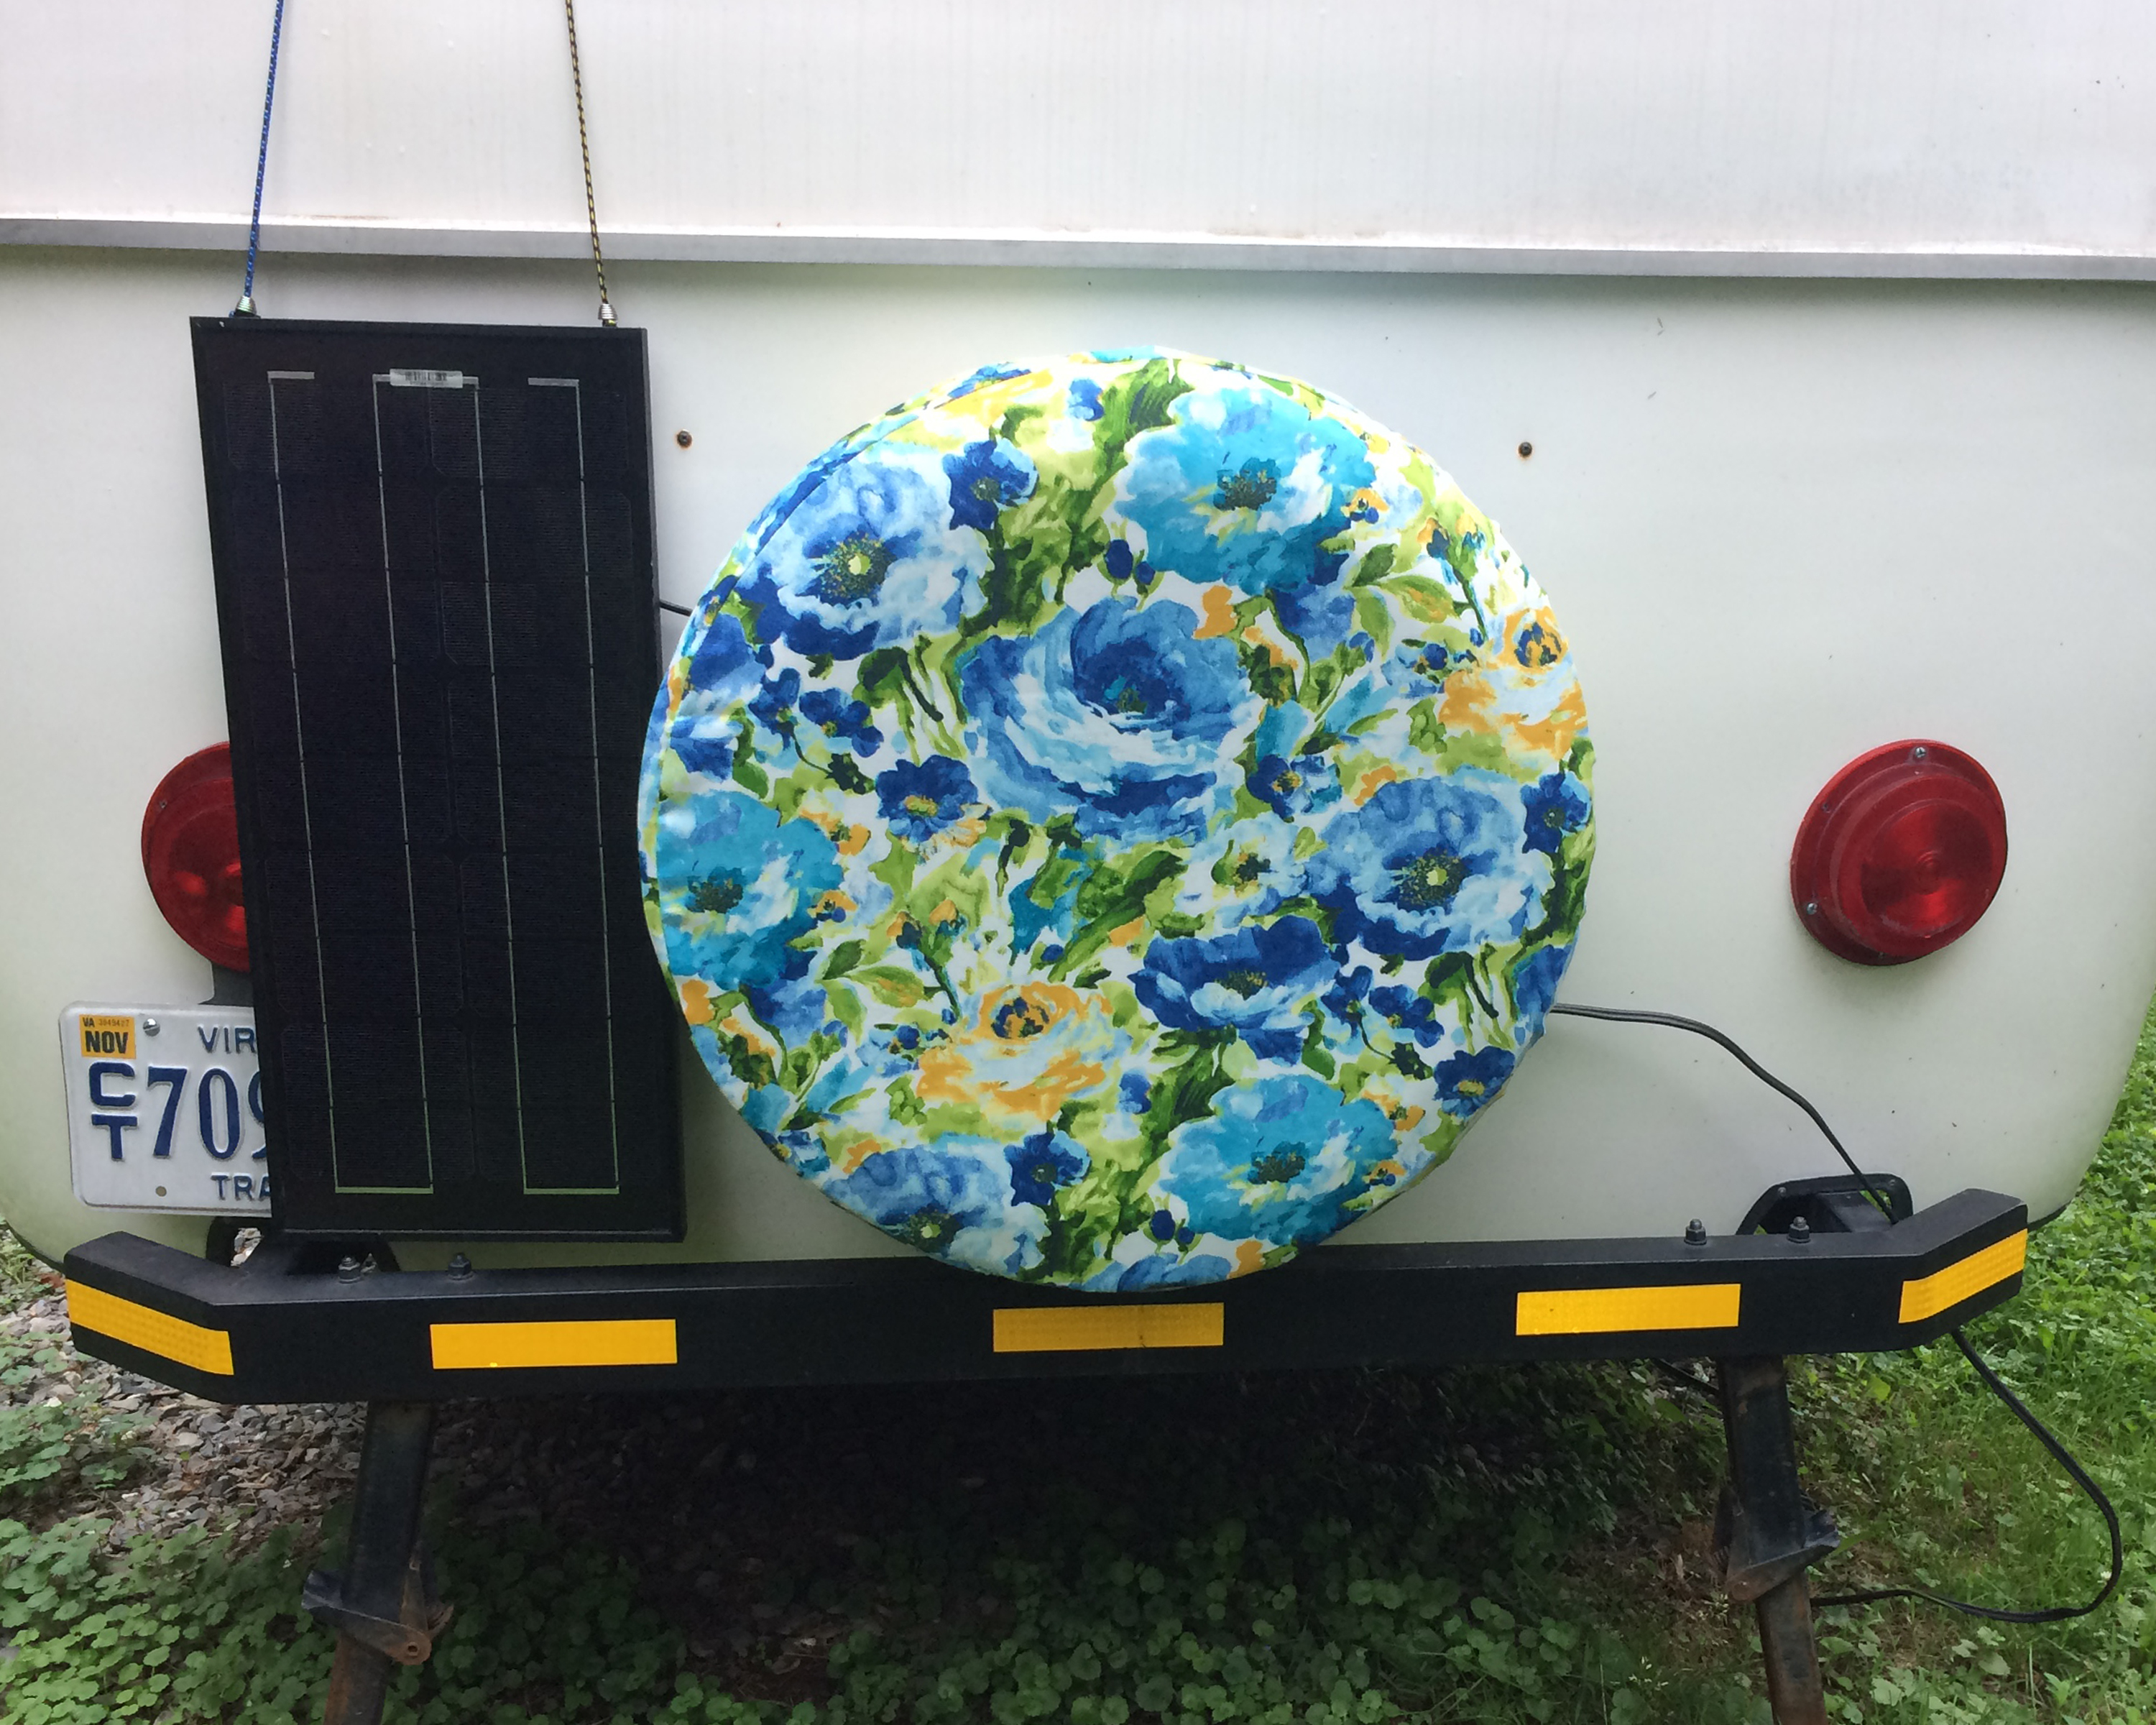
Of course I have no idea how well this will hold up, but it IS indoor/outdoor fabric. It’s designed to deal with the elements, so I hope it will do okay on the back of a travel trailer!
And while this floral fabric may not suit everyone (“glamping,” anyone?), now that I’ve figured out how to sew a tire cover for the back end of our trailer, it opens up a whole lot of possibilities! Yes, I’ll be making others. 🙂
Again, my thanks to the woman in the Scamp forum who inspired this!