I’m still a relatively new “sewist,” but I felt ready to tackle a pattern for a cross body bag from Pink Sand Beach Designs. I liked the look and the size of the bag, and I hoped I would learn a few new techniques in the process of putting it together.
When I received the pattern and looked at the instructions, however, I was completely overwhelmed. There were so many pieces! And so many steps! I’ve made a variety of purses over the last year, but I’d never seen anything quite like this one….
Encouraged by the number of positive reviews written by people who had successfully completed this project, I finally just started cutting out the pieces. (I opted to use three different fabrics–a floral, the pink and the black–instead of the five that the pattern called for.) Then I carefully followed the instructions line by line, step by step, without reading ahead or really trying to anticipate how all of the pieces and parts would fit together.
By the time I got the front and back pieces done, I realized it was actually a very well-thought-out design, with very clear, precise instructions. The pictures that were included in the pattern were quite helpful, too, though I wish I could have found and watched a video tutorial before I started; sometimes I need to *see* in order to more quickly understand…
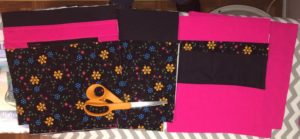
Feeling a bit more confident, I decided to make an adjustable strap. I’d never made one before, and it wasn’t an option in the pattern. That said, the pattern had directions for an attached strap (but I wasn’t sure which length would be right for me) and it also had directions for making a detachable strap. Had I followed the directions for making a detachable strap–and then made it adjustable–I would have saved myself some trouble….
Instead, I wanted to make an attached adjustable strap, and I went to Jo-Ann Fabrics and Crafts to buy the hardware for it. To my surprise they didn’t have exactly what I needed in the store, so I decided to improvise….
Well, trip #2 to Jo-Ann’s (the same day!) involved getting more hardware…. Despite carefully pinning and testing the position of the strap before sewing it to the bag, I still manage to twist it! Of course I didn’t know this until I turned the bag right side out when I was completely “finished”! Darn!!
To fix this, I had to cut the strap, untwist it, and then re-connect the two strap pieces by sewing them through a piece of hardware that matches the hardware on the other side of the bag. Kind of looks like I planned it that way. 😉
But hey, it all WORKED and my “Barbados Bag” is finished!
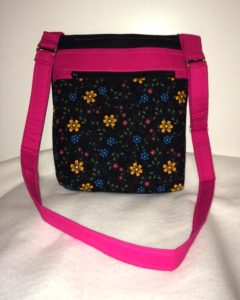
There are pockets everywhere! There’s a “hidden” slip pocket, as well as a zippered pocket on the front:
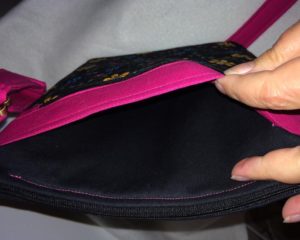
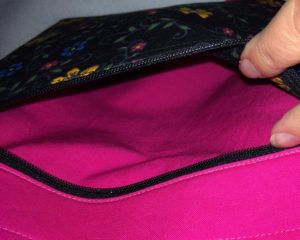
There are two slip pockets on the back, as well as two slip pockets inside. The top of the bag has a zippered closure.
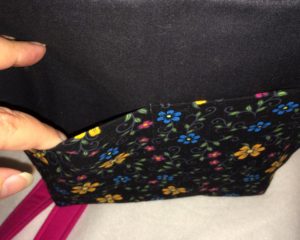
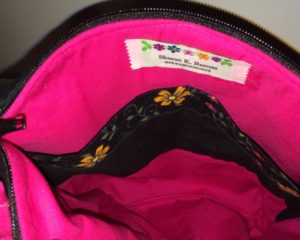
The finished size is 10-1/2″ wide x 10″ tall x 2″ deep. It’s a good “every day” bag, as well as a perfect “vacation” bag, with room for everything.
Will I make it again? Maybe. It’s one that takes a lot of time to put together, so it’s not something I anticipate making to try to sell. But would I enjoy playing with other color combinations and fabric patterns? Oh, yes! 🙂
Update: June 21, 2016:
I used this bag exclusively on a week-long trip to TN and FL and I LOVE it! I was able to fit my over-sized wallet/checkbook combo in it, as well as my cell phone, keys, portable pharmacy and much more. I’ll probably make another one as soon as I get a chance. 🙂
