Decorative Boxes
This project started with pre-cut pieces of wood that were kindly furnished by our school's woodworking teacher. Five pieces of wood were needed for each project: two side pieces (5x8 inches), two end pieces (4x5 inches), and a piece of masonite (that would serve as the bottom of the box). The side and end pieces (which were 1/2-inch cherry) were cut with a 45 degree angle on each side, and with a narrow groove along one edge. The groove was just wide enough to accommodate the edge of the masonite.
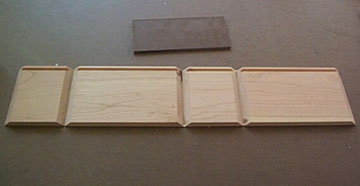
Students carefully arranged the pieces, alternating the sides and ends, with the grooved side down. Next they taped these pieces together with one-inch wide masking tape, making sure that the grooves all lined up.
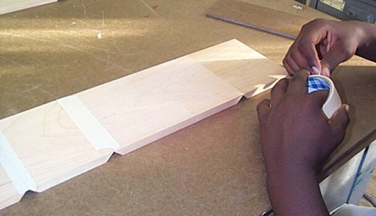
When they were satisfied that their pieces were perfectly aligned, they flipped them over so that the grooved side was up, and applied a small amount of wood glue to the beveled edges where the pieces would join. The masonite was placed (but not glued) into one of the side pieces, and they simply folded the box together. They applied glue to the remaining side to close the box, and taped it shut.
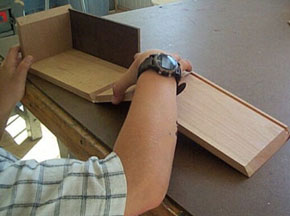
Students used damp paper towels to wipe excess glue from the boxes, and made adjustments, if necessary, so that the edges fit together evenly. (The pieces were cut so well that this wasn't much of a problem!) Then the taped boxes were set aside to dry.

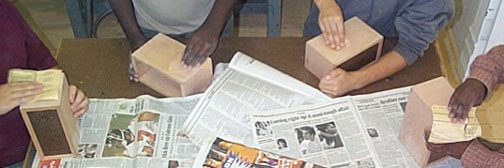
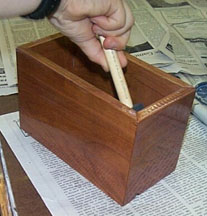
The next step involved sanding, using very fine sandpaper. The first area that students worked on was the top edge where the pieces came together.
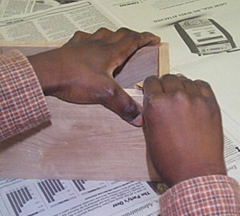
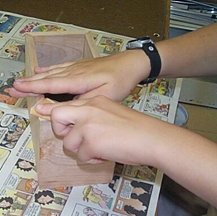
They were amazed at how quickly they could get a smooth finish. Encouraged by this, they began sanding the sides and "seams" of their boxes, with equally good results.
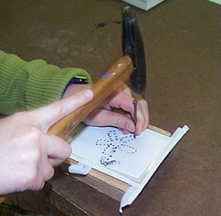
Students had already been working on a punched tin design that would go on their box, so the next step involved taping the pattern to the tin and using a nail to carefully punch the holes.
Students had the option to either paint their box or to stain it using a cherry stain.

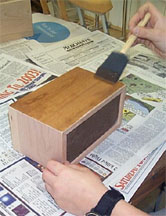
If they chose to stain their box--or to leave it as natural wood--the next step involved applying two coats of water-based Polycrylic, using a foam brush. This gave the wood a nice smooth, gloss finish.
Students remarked that working on their boxes was the "funnest" thing they'd ever done in art!