Advanced Art students used recycled paper for a variety of projects during the 2004-2005 school year. After learning the basics about papermaking and doing a variety of papermaking and paper casting projects, we embarked on a new adventure: paper pulp painting.
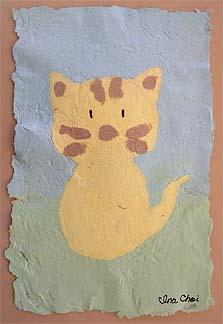
Denise Fleming, a children's book author and illustrator, served as inspiration for this project. Ms. Fleming has written and illustrated twelve books, including "In the Tall Tall Grass" and "Mama Cat Has Three Kittens". The illustrations in Ms. Fleming's books are created by "painting" with colorful paper pulp.

Working on a budget, we decided to forego purchasing special paper fibers and dyes and simply used colored copier paper to create our pulp paintings. We saved extra colored pulp in clean, recycled water bottles, and soon many "custom colors" were developed by mixing various pastel papers together.

Students used a couple of different methods to create their pulp paintings. In the first method, they carefully formed the "foreground" objects of their paintings using teaspoons, eye droppers and palette knives:


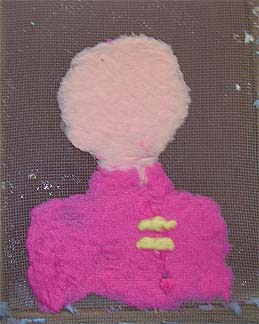
These objects were carefully removed from the screen and allowed to dry over night. The next day, students made a new sheet of paper in the background color of their choice, and placed the semi-dry foreground object onto the wet sheet. In most cases, the separate layers merged together as the paper dried.

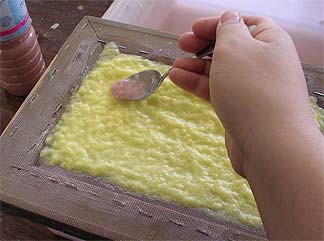
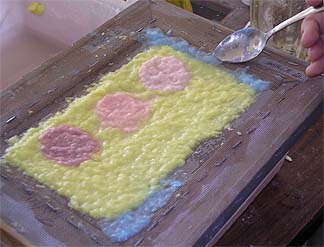
In the second method, students created the whole painting in one class period, again using a variety of unusual tools.

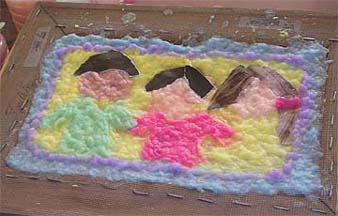
Problems arose when darker colors were needed. We found that brown paper towels mixed to a more watery consistency would work, although the texture of the paper was different and the fibers didn't bond together quite as well. Still, this student created an interesting piece using the paper towels to create the "mountains" under his rainbow:

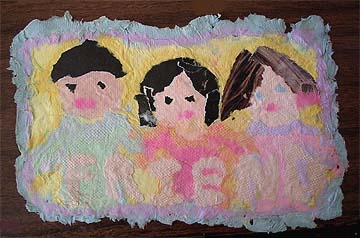
Finding something to use for black pulp became even more of a challenge. Construction paper bled onto the other colors and also stained the blender. Black silhouette paper worked somewhat better, but it still bled a little, plus it faded some as it dried.

It was difficult to find magazine pages with black on both sides (to grind to pulp), and so some students decided to "collage" pieces cut from a magazine in order to achieve a true black color.

Instead of pouring pulp directly onto the screen, it can also be poured into a strainer and then placed on the painting, as shown here.


Trying to get the pieces to dry flat has also been an issue, but sometimes warping has been avoided by weighting down the edges of the painting as it dries.

One of the things most fascinating and enjoyable about this project (from a teacher's perspective) has been the process and the trial and error experimentation that has taken place in the art room! Each student has discovered something new that "works" and no one has really been afraid to "make mistakes" because, at worst, the pulp can simply be remixed and the painting can be started again.


The students' artwork and Ms. Fleming's books were displayed in the children's section at our local public library in March 2005. One of the librarians commented that she was going to have to request additional copies of the books from their other branches because the artwork was attracting so much attention to the author! Please click here to see pictures of the exhibit.
www.denisefleming.com
www.arnoldgrummer.com