PAPERMAKING
While papermaking "recipes" vary, we used 1-1/2 to 2 sheets of shredded 8.5 x 11 paper (added gradually) to 3-4 cups of water in a blender to produce one sheet of handmade paper.

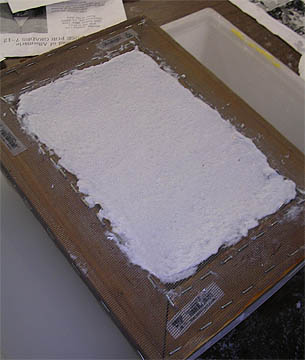
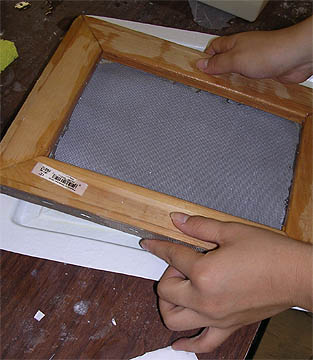
The paper and water were processed for a minute or so, then the mixture was poured over an 8x10 frame which had nylon screen stapled to it. To catch the water, the edges of the frame rested on a rectangular plastic container.

A plastic palette knife was used to scrape the pulp over the opening in the frame, and then a second screen was placed on top, sandwiching the pulp in the middle. A sponge was gently pressed (not wiped!) onto the top screen, pushing water into the pan below. The frames were flipped and sponged on the other side, too.

When the top screen was carefully removed, a new sheet of paper was on the bottom frame. All students were required to produce at least one sheet of plain paper in order to familiarize themselves with the basic technique and process before moving on to more challenging applications.
To read more about our early papermaking adventures, please click here. (This will open in a new window.)
PAPER CASTING (EMBOSSING)
The next project required students to make a small paper casting/embossing, using the flat pieces of styrofoam egg cartons. We lightly sprayed the table surface and the styrofoam form with PAM cooking spray (we've also used baby oil), and it worked well as a release agent.


They first blotted the paper, through the screen, pressing hard enough to see the form underneath:

After removing the screen, they used a "Handi-Wipe" towel to absorb more of the water.
The paper was covered with a towel and several layers of newspaper before weighting it down.

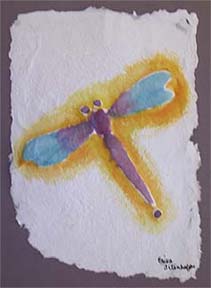
Finished Castings/Embossings


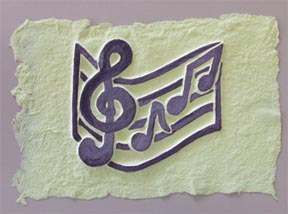


PAPER CASTING INTO MOLDS
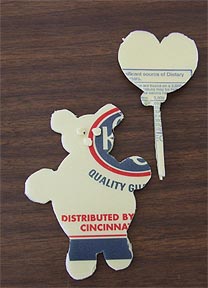
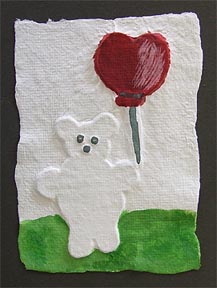
Students also created a papercasting using a commercial mold. The process was similar, but rather than inverting the paper onto a table, the pulp was pushed into a mold. PAM cooking spray was again used as a release agent, and despite the yellow look of the product, it didn't seem to discolor the paper too badly.


The molded paper was painted with acrylic paint.


Also see Paper Pulp Painting, with projects inspired by the work of author and artist, Denise Fleming.
www.arnoldgrummer.com
www.denisefleming.com