In November 2008, I attended a workshop on screen printing at our local community college. As an art teacher, I was always looking for new and exciting projects for my students, and I thought this would be a lot of fun. It was!
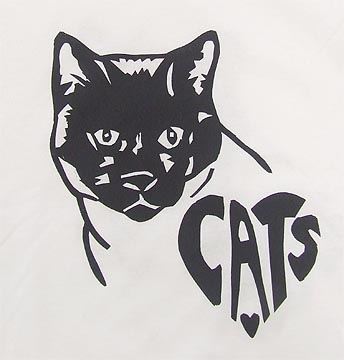
Our instructor, Fenella, quickly introduced the concept and materials, and we spent the first couple of hours working on a design and then coloring it in with marker (or cutting it out of black paper). I’d brought a photograph of one of my cats to use as reference (in retrospect, not the best of ideas–too complicated!) and I worked on simplifying and abstracting the image.
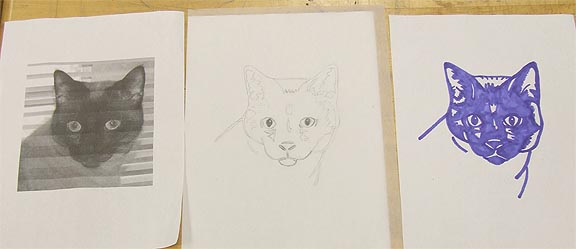
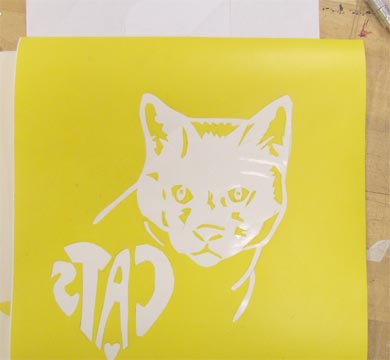
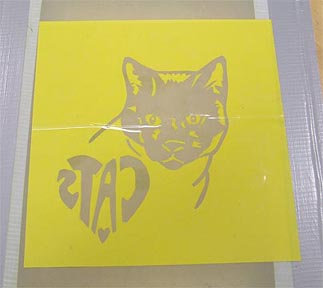
Once we had the design ready, we used carbon paper to transfer it to a product called “Mask-Ease”. We used X-acto knives to carefully cut away the areas that we wanted to print. The “Mask-Ease” has a yellow top layer and a white under layer. We were just supposed to cut through the yellow layer without cutting the white, so this was a bit tricky.
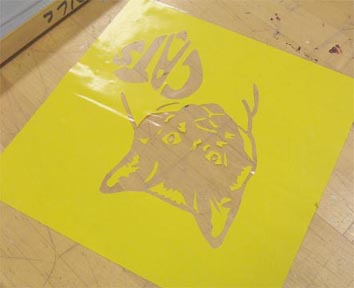
Like many print processes, the image reverses when it’s printed, but I neglected to trace my design onto the Mask-Ease backwards! Fortunately, I hadn’t added any words at that point, but then I decided to add some text in order to fill up the space a bit more and to experiment with lettering.
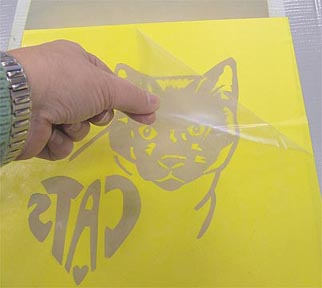
Once I’d cut everything out, the next step involved putting a piece of clear plastic adhesive over the design to help keep everything in place. After this step, the white paper backing was removed from the yellow sheet and the design was carefully stuck onto the flat side of the fabric screen.
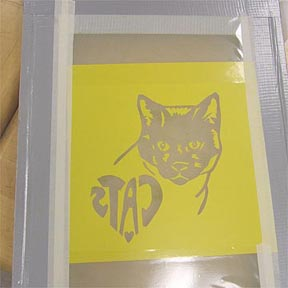
Once the vinyl was on the screen, the clear plastic adhesive was carefully removed.
Masking tape (and the salvaged clear adhesive) was used around all the edges
to make sure that the ink didn’t bleed around the vinyl.
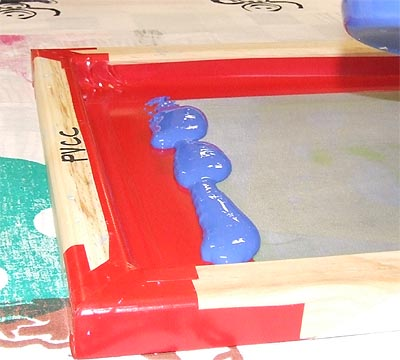
Permanent, water soluble screen printing inks designed for fabric were available in a wide variety of colors to use for the shirts.

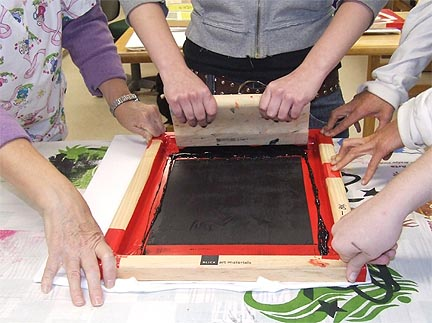
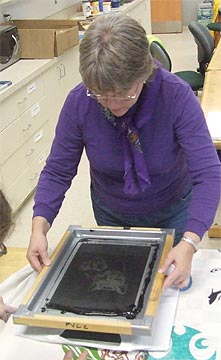
As I waited my turn to print, I photographed other workshop participants in order to document (and to help me remember!) the various steps in the screen printing process. A spatula was used to place ink along the top “inside” edge of the screen frame and a “test” print was made on scrap fabric.
If everything looked okay after the test print, the frame was carefully centered on a T-shirt (in which a heavy piece of matboard had been placed to prevent bleed-through!), more ink was applied (if necessary) and a squeegee was used to pull the ink from the top to the bottom of the screen. The squeegee was turned around, and the ink was then “pushed” back to the top of the screen. Again the squeegee was turned, the ink was pulled towards the bottom and then pushed to the top. After this, a “dry pass” was made across the fabric.

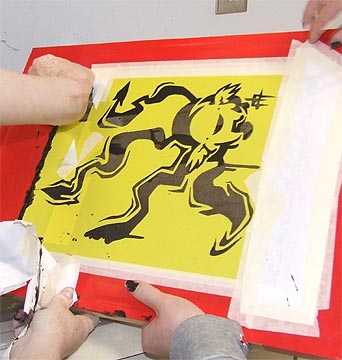
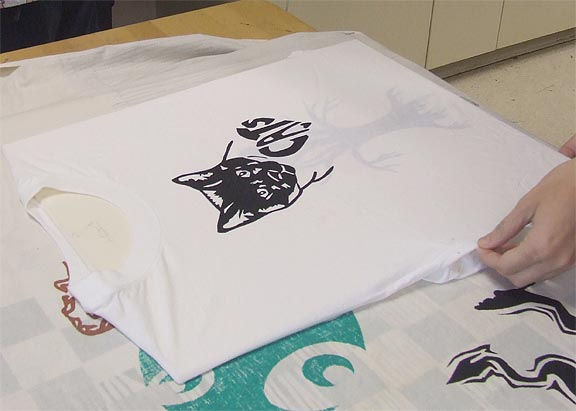
After the final dry pass, the frame was carefully lifted up, starting from the bottom.
Whoo-hoo! It worked!

The screens were taken to a sink where the tape was removed and all the “Mask-Ease” vinyl was peeled off and discarded. Both sides of the fabric screens were scrubbed with dishwashing liquid until no trace of ink was left on them….
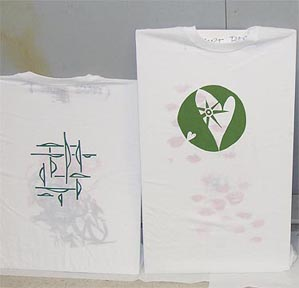
…and finished shirts were set in front of a fan to dry.

And then it was my turn! After making a test print, I centered the frame on a shirt and pulled and pushed the ink through the screen.
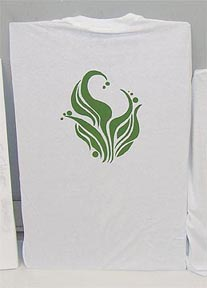
After the final “dry pass,” I carefully lifted up the screen to reveal a custom-made, screen printed T-shirt! Cool!
It was so much fun to learn a new skill in the company of several creative women, and many thanks to the instructor, Fenella! Attending this one-day workshop gave me the confidence to quickly introduce screen printing to my students!
I ordered supplies for my classroom from Blick Art Materials, but most items are also available on Amazon:
Mask-Ease is still available on Blick.