
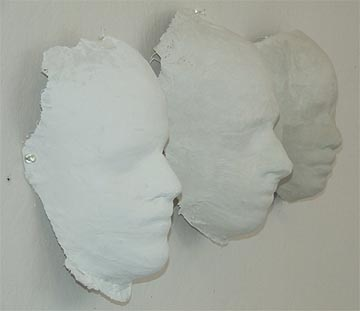
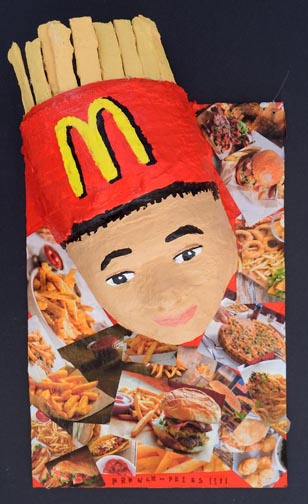
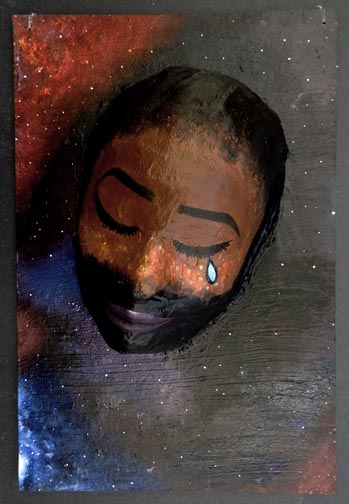
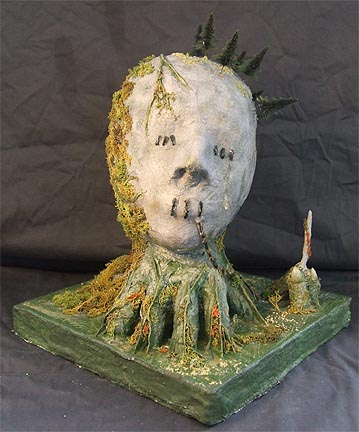
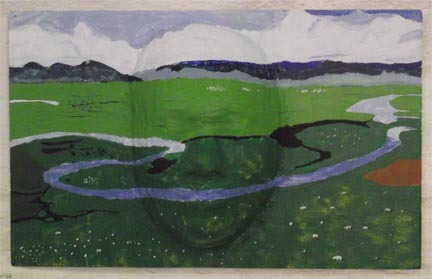
Plaster gauze mask-making was a project I offered every couple of years for many, many years as an art teacher. These were always SO much fun, and every time I was delighted with my students’ creativity, humor, problem-solving ability, insights, and craftsmanship.


We initially used rolls of medical plaster gauze, but later used craft plaster gauze from Amazon as it was more affordable.
A quick video of the mask-making process from 2012!
Introduction:
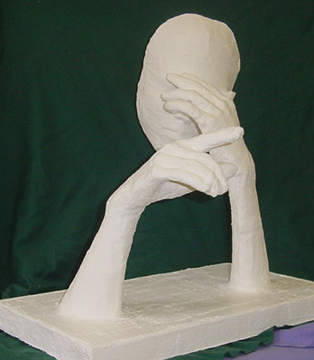
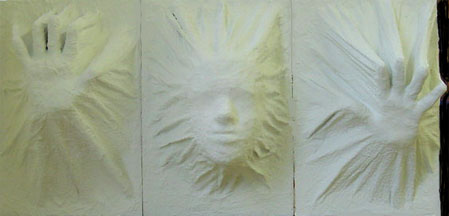
Research masks of various world cultures and/or becoming familiar with the work of artist George Segal (1924-2000), known for his plaster gauze sculptures.
Basic Materials:
Plaster gauze, cut into strips of varying lengths and widths
Scissors
Bowl, water (warm water is best, but cold works, too)
Paper towels
Plastic Wrap
Newspaper
Acrylic paint, brushes
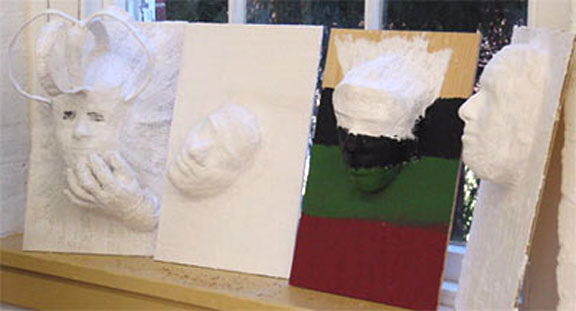
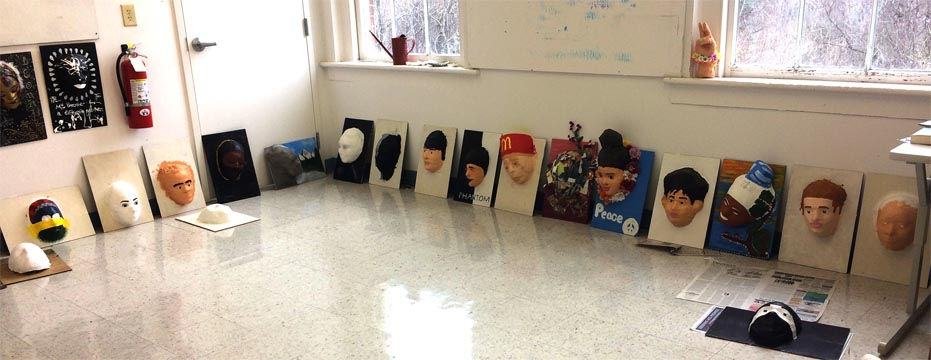
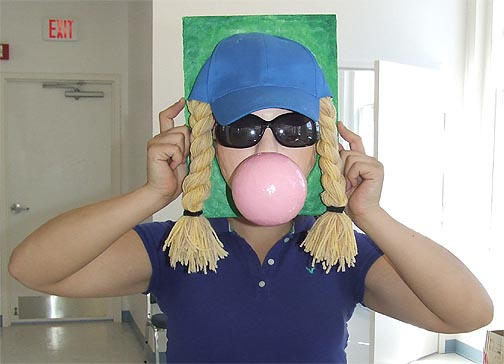
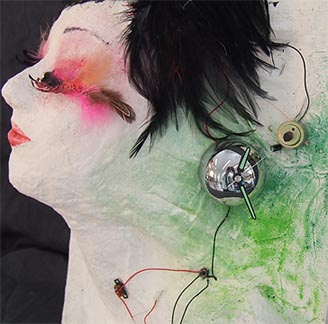
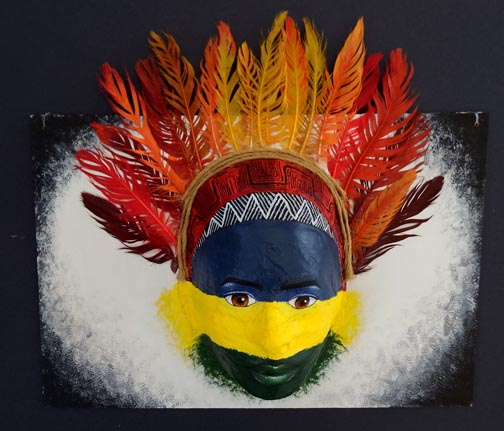
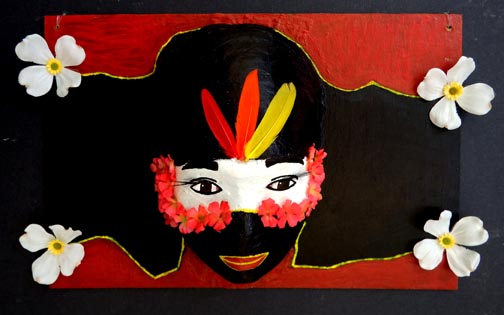
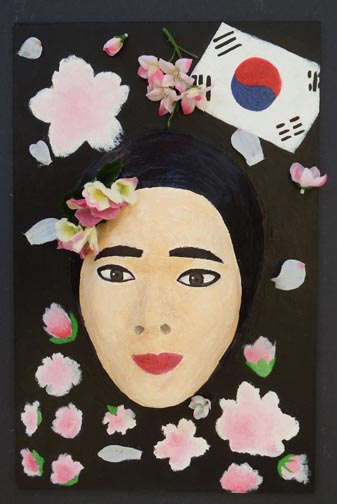
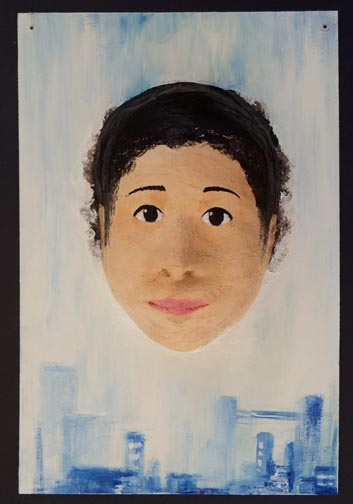
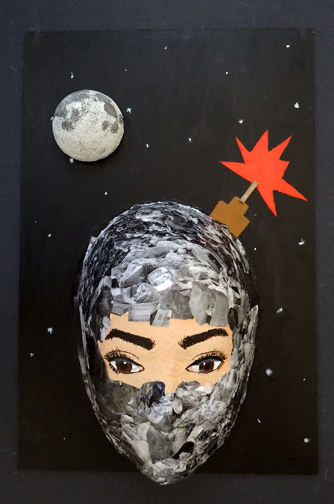
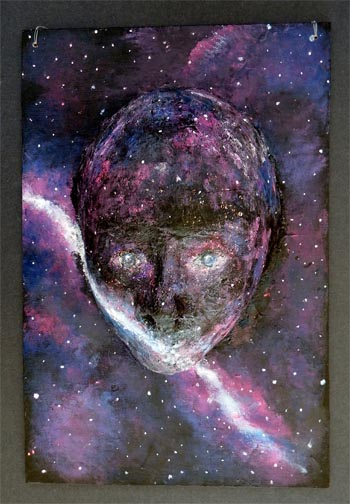
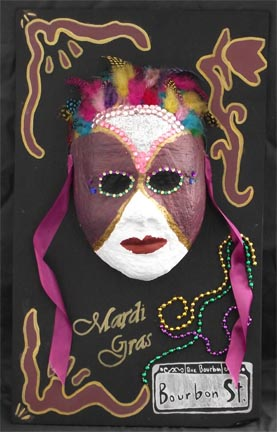
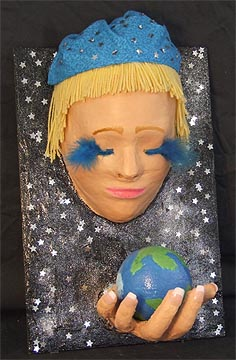
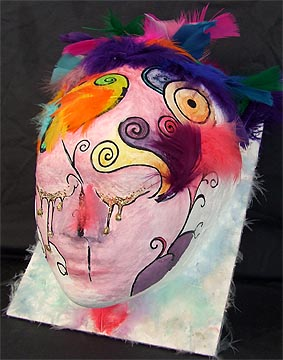
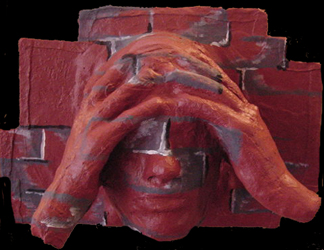
Other Materials: Students used a hot glue gun to mount their masks on a 12″ x 18″ Masonite board. They used plaster gauze to fill in any gaps between the mask and the board, and when it was dry they primed the mask and board with gesso. As you look at the examples above, you can see that yarn, feathers, cardboard, beads, fabric, silk flowers, and many other items were used in the sculptures.
Procedure:
1. Prepare plaster gauze strips and water in an area covered by newspaper.
2. Have the student lie down on the floor or a table. Make sure they are comfortable as they’ll need to be still for several minutes.
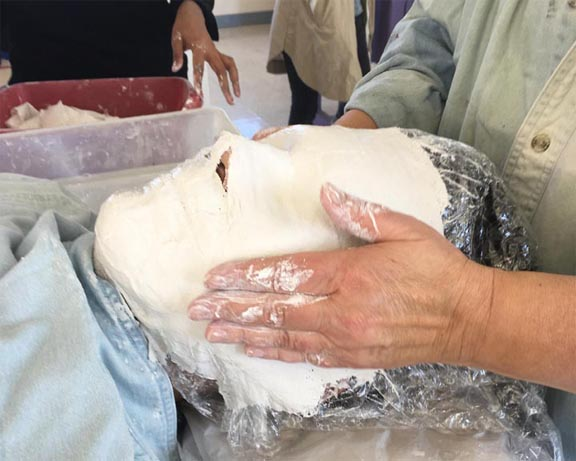
3. Cover the student’s face (and surrounding hair) with large pieces of plastic wrap, leaving the area around the nostrils open. Smooth the plastic wrap as much as possible in order to follow the form of the face. Student must be able to stay completely still in order for the mask to set well and for the facial features to be accurate.
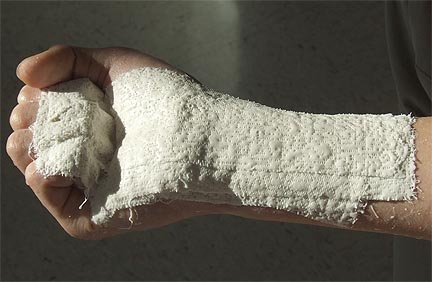
4. Wet strips of plaster gauze in water, use fingers to “squeegee” off excess moisture, and apply to side of face and onto poster board border to about 2″ from face.
8. Continue to apply strips of appropriate sizes until entire face is covered with at least two or three layers of gauze strips.
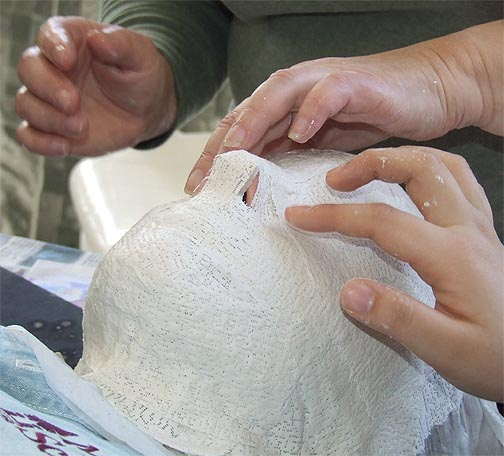
9. Use tiny strips of gauze on area between nostrils. Be sure to smooth gauze as much as possible to avoid a rough textured surface.
10. Once the strips have been applied, allow the cast to harden for approximately 5-10 minutes. (Surprisingly, I NEVER had an issue with students being uncomfortable with this process. In fact, some found it so relaxing that they fell asleep!)
11. When mask has hardened (it will be slightly warm to the touch), carefully remove it from the student’s face and discard the plastic wrap.
12. After the mask has been removed, use plaster gauze strips to finish covering the nose on the mask.