Paper Making:
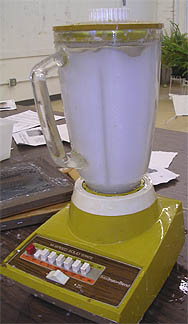
While papermaking “recipes” vary, we used 1-1/2 to 2 sheets of shredded 8.5 x 11 paper (added gradually) to 3-4 cups of water in a blender to produce one sheet of handmade paper.
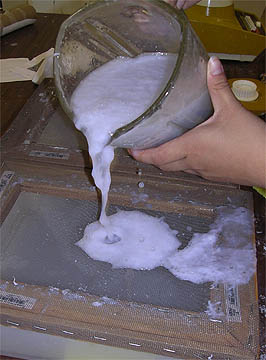
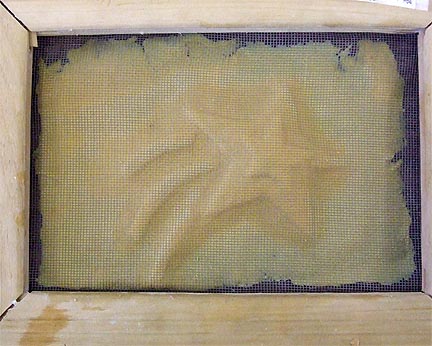
The paper and water were processed for a minute or so, then the mixture was poured over an 8×10 wooden frame which had nylon screen stapled to it. To catch the water, the edges of the frame rested on a rectangular plastic container.
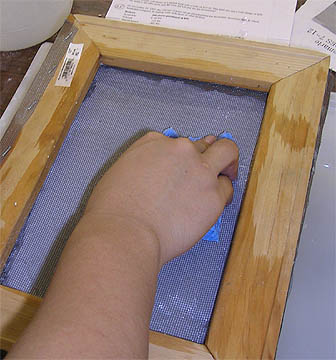
A plastic palette knife was used to scrape the pulp over the opening in the frame, and then a second screen was placed on top, sandwiching the pulp in the middle. A sponge was gently pressed (not wiped!) onto the top screen, pushing water into the pan below. The frames were flipped and sponged on the other side, too.
When the top screen was carefully removed, the new sheet of paper was on the bottom frame.

At first we would invert the new paper onto a stack of newspapers to let it dry, but we discovered that the wet paper would often bond with the newsprint. We began using “Handi-Wipes” on either side of the wet paper before putting it between sheets of newspaper and this worked well. Weights were put on top of the newspaper stack to help the paper stay flat as it dried.
It should be noted that it is VERY important to make sure that the top of the blender is on securely before turning it on. This is for safety reasons, of course, but also to avoid a very impressive mess! (Ask me how I know this…..)
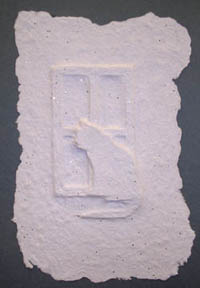
Paper Casting/Embossing:
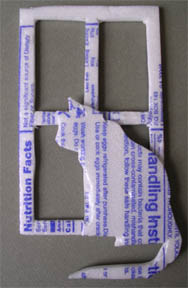
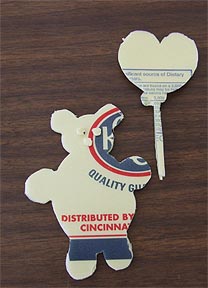
After students were successfully making sheets of handmade paper, they experimented with “casting” and embossing their paper. To do this, they cut out small shapes from Styrofoam egg cartons. They lightly sprayed the work surface and the Styrofoam form with cooking spray (baby oil worked, too) to act as a release agent.
After making the sheet and sponging to remove excess water, they inverted it over their Styrofoam form. The paper was blotted more through the screen with enough pressure to clearly show the shape underneath.
After removing the screen, they covered their embossing with a Handi-Wipe and several layers of newspaper before weighting it down to keep it flat as it dried.
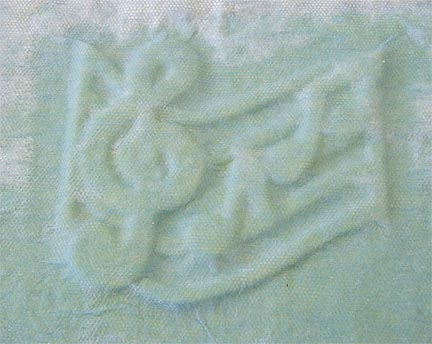
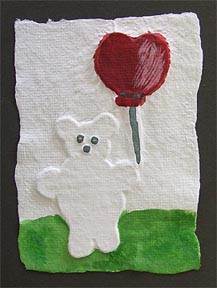
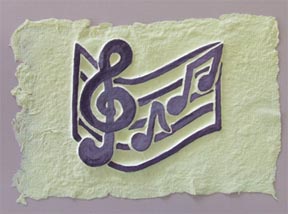
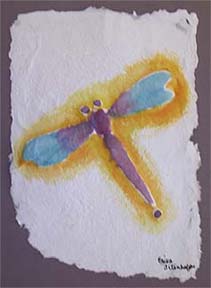
When the pieces were dry, students could choose to leave them natural or paint them.