Basket-making is something that many, many cultures in the world do! We linked our baskets to a study of the art of Africa. While working on their projects, students listened to African folktales on CD. Their favorite stories were those that included Anansi the spider!
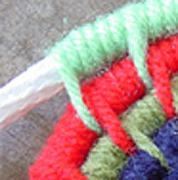
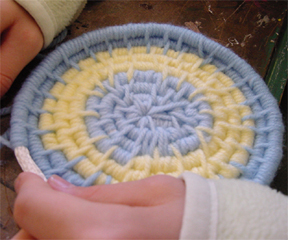
Students started their baskets using 12′ of cotton clothesline rope, a yarn color of their choice (using a piece of yarn as long as they were tall), and a needle with a large eye. They wrapped yarn around the last inch of the clothesline (the cord), pulled it together to make a small loop and wrapped yarn to hold it together. After that, they wrapped the yarn 5 times around the cord, and then used the needle to go into the center of the loop.
Starting the baskets was the hardest part. Once they’d started the coil and had the pattern established, it was very easy for them to do!
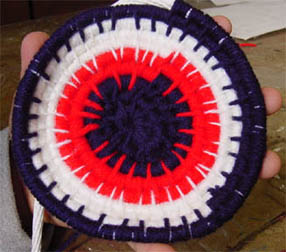
After they completed the first round, they wrapped the yarn around the cord 5 times and then put the needle under the previous round to hold it together. There are many variations on the wrapping pattern and binding stitch, but we found that “wrap 5 and stitch 1” worked pretty well!
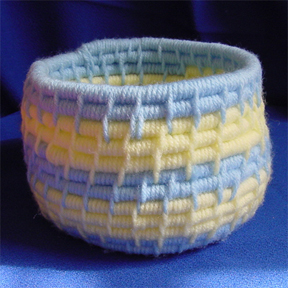
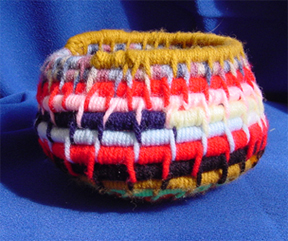
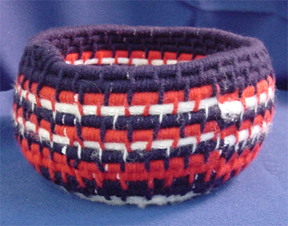
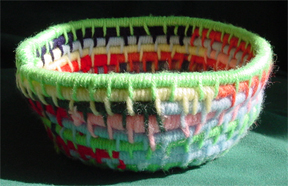
Some students chose to develop a color pattern with the yarn, and other students took delight in the wide selection of yarn colors and changed colors every time they had to add more yarn!
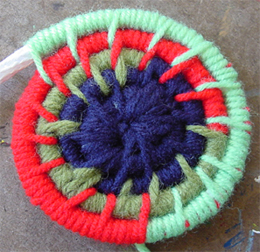
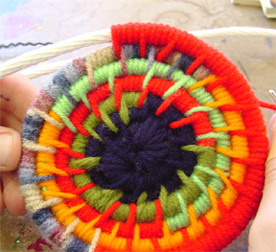
After they had the base as large as they wanted it to be, they started “sculpting” the coils to raise the sides of their baskets.
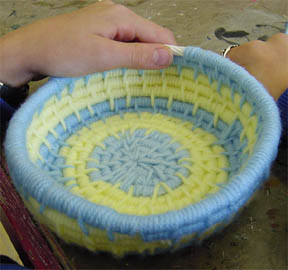
To add more yarn, leave a 1″ “tail” from the previous thread and place the end of a new piece beside it against the cord. Wrap the new yarn around the ends and the cord, and then place a stitch to attach it to the previous round.
To add more cord, simply trim the ends to taper, hold them together, and cover the splice with masking tape. As the cord is completely wrapped with yarn, the splices are not visible. End the basket by tapering the cord and wrapping and stitching.