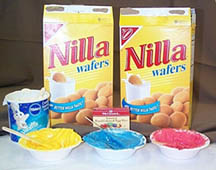
Materials
- Vanilla wafers
- Vanilla (white) frosting
- Food coloring (red, yellow, blue)
- Small bowls (for frosting)
- Paper plates, waxed paper or foil
- Napkins or paper towels
- Plastic knives or craft sticks
Before class, use red, yellow, and blue food coloring to tint three bowls of frosting. (Tints of each color work fine; it’s not necessary to mix a dark blue or dark red for this to work well!) Cover the bowls with paper towels (to hide) and set aside.
As students come into room, ask them to wash their hands, then have them sit in groups of three or four. Begin an introduction or review of color theory. For example, ask students to add the number of primary colors (3) + the number of secondary colors (3) + the number of tertiary colors (6) + a neutral (1).
Once they have answered correctly, distribute 13 vanilla wafers to each group, placing the cookies on an empty plate or a large piece of waxed paper or foil in the center of their workspace.
Ask them to name the primary colors, secondary colors, and tertiary colors. Once they have correctly identified these, uncover the bowls, and scoop frosting of each color onto another plate or piece of waxed paper, one for each group. This will be the shared “palette” for the group.
Give each student a piece of waxed paper (or foil or plate), paper towels, and a plastic knife or craft stick. This will be their individual mixing area and their tool for mixing.
Continue to ask students color theory questions such as, “What are the secondary colors and how do you mix them?” “How would you mix a tertiary color?” Adapt questions according to age group and prior exposure to color theory concepts.
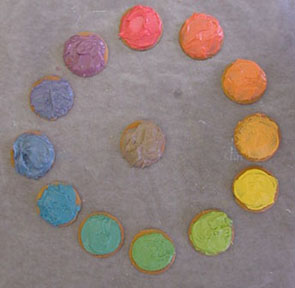
Students will probably figure out what’s going on at this point, but if not explain that they will be working as a team to use the cookies and frosting to produce a color wheel that has primary, secondary and tertiary colors, as well as a neutral.
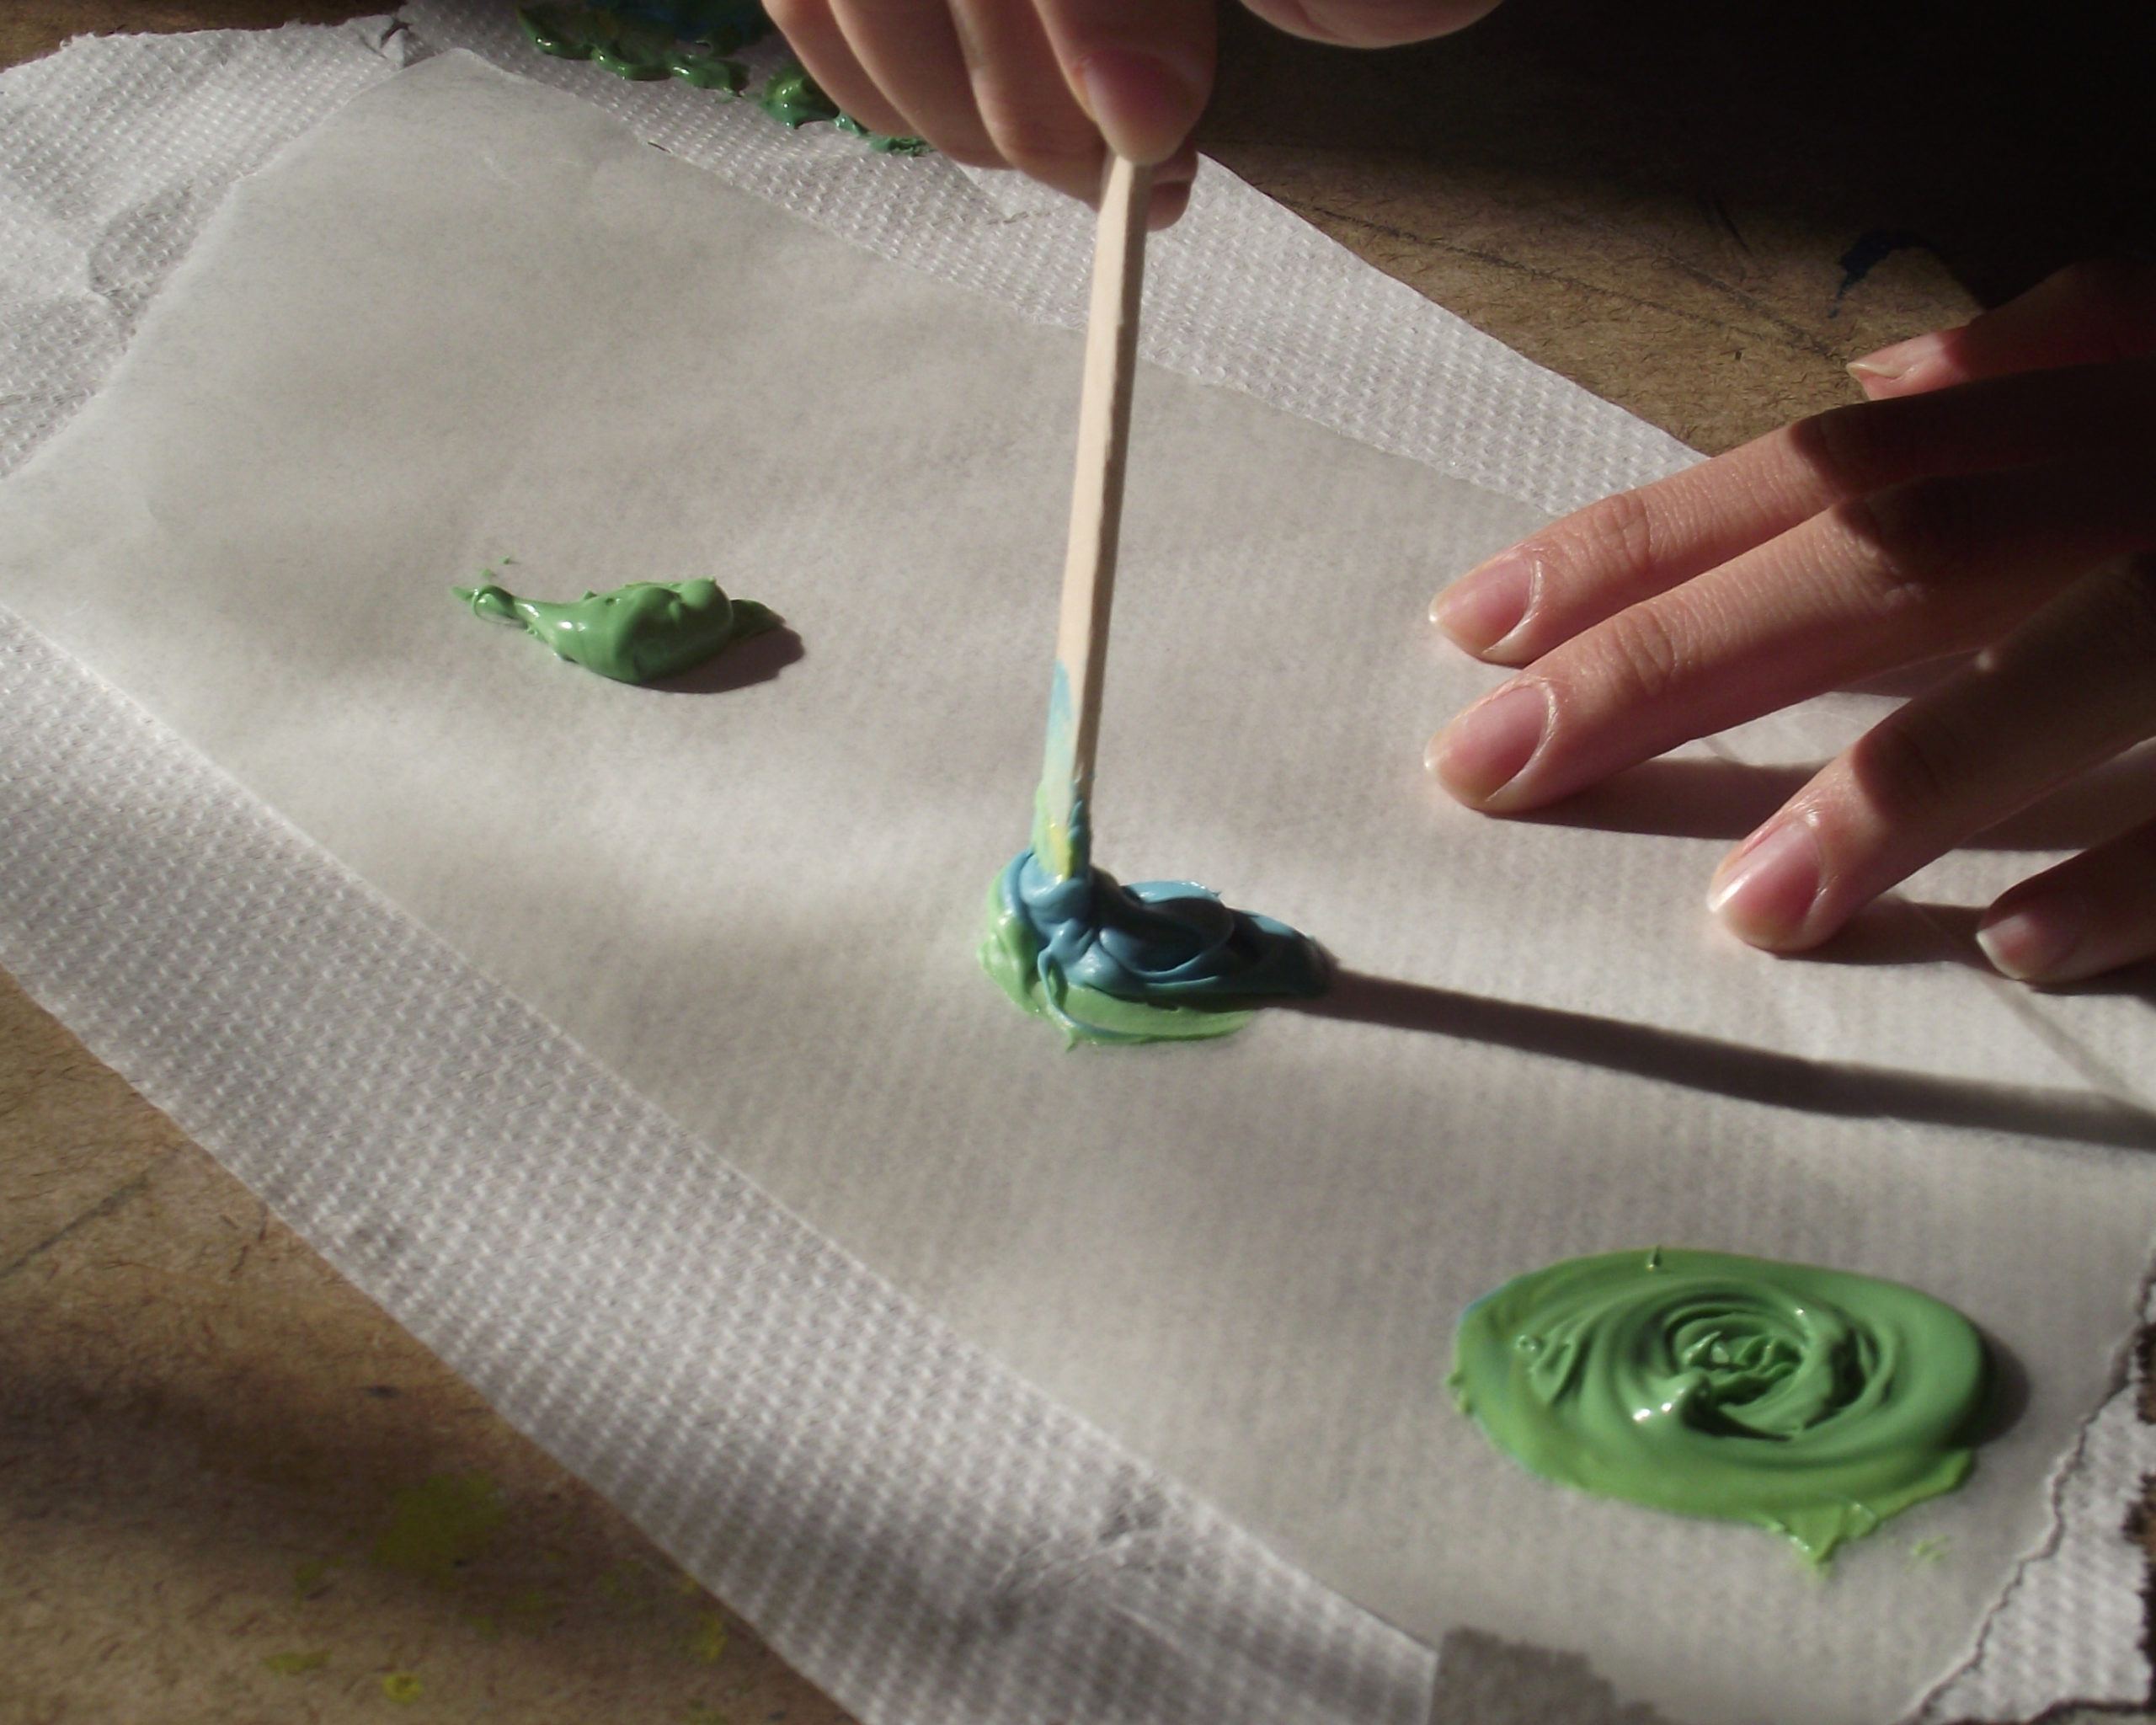
With groups of 3-4, each student will mix the colors for 3 or 4 cookies. Sometimes a group “leader” will assign which colors each group member should make, and it’s best to start with the primary colors and get them placed correctly before proceeding.

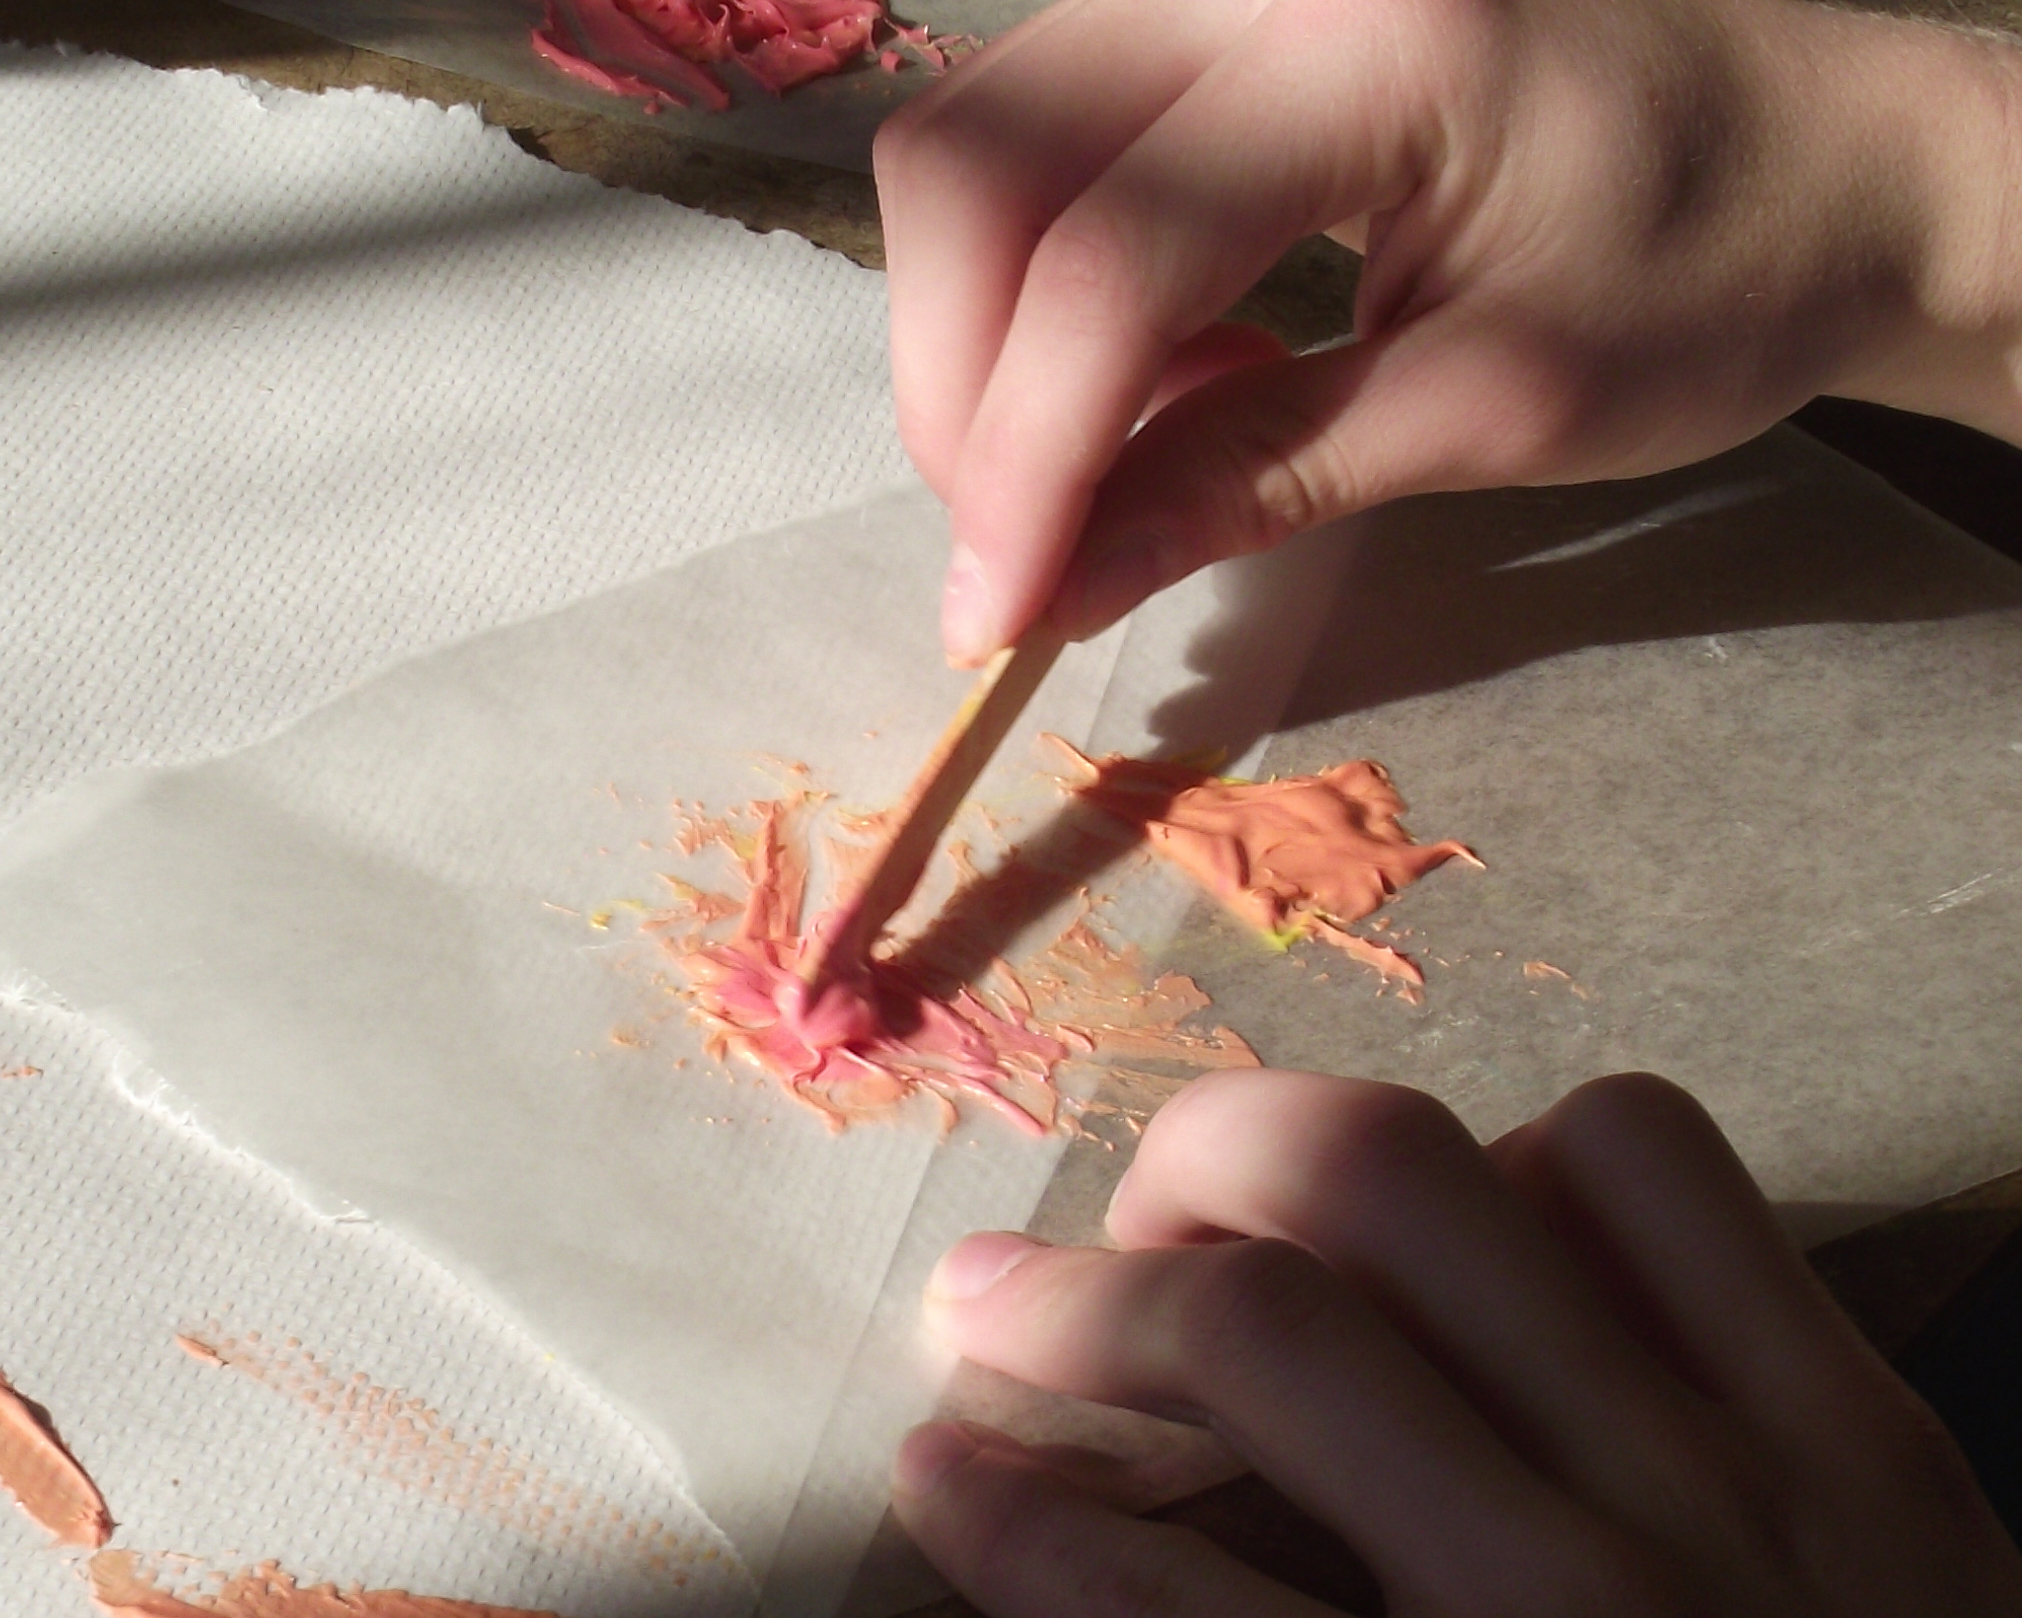
Students should use their craft sticks to pick up a small amount of frosting from the group palette to put on their mixing area. They should use paper towels to carefully wipe off (NOT LICK!) the stick between dipping into the different colors, taking care not to contaminate the colors of the group palette. The last color mixed should be the neutral.

Once the color wheels are done and have been checked for color accuracy and correct placement, students may eat their work!
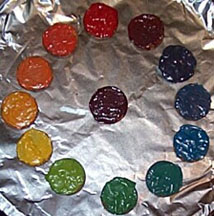
I did this activity with students every year until Spring 2020 when we had to switch to virtual learning. Once we were back in the classroom, I still was not comfortable having them share edible materials. Use your own discretion as to whether Edible Color Wheels are safe and appropriate for your students, but I have to say it was one of my students’ absolute favorite activities–EVER!
Some years they also made tints of various colors or focused on color schemes or made sets of complementary colors, etc. There are a lot of different (and delicious) ways to adapt this lesson plan.
I used 2 containers of frosting for 50 students and 3 full boxes of vanilla wafers (because I wanted unbroken cookies).
