After I learned the basics of screen printing by attending a one-day workshop, and after introducing screen printing to my middle school art students, I was ready to include this unit in my high school art ed curriculum.
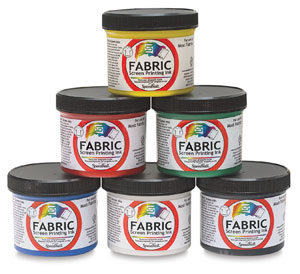
We used “Mask-Ease” to produce the print-ready designs, and water-based fabric inks. (Students provided their own t-shirts the first time we did this project.)
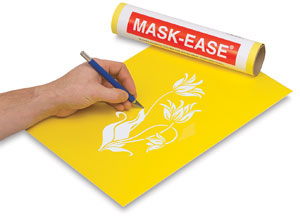
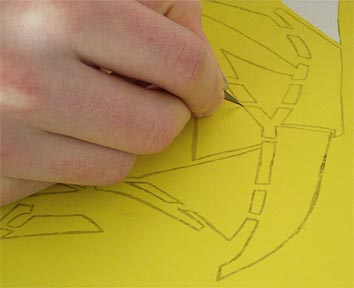
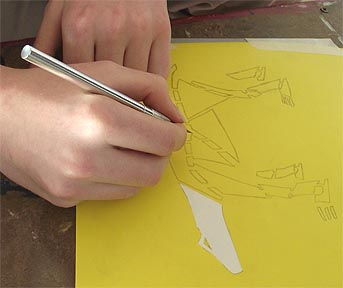
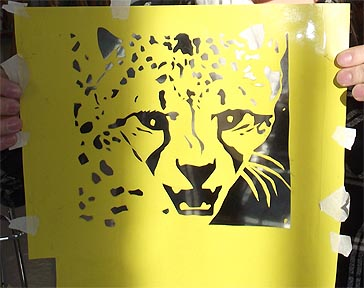
To quickly recap the process, they developed designs of their choice, scaled to fit on an 8.5 x 11 piece of white copier paper, and then reversed the image–especially if their design included text! They transferred their design onto the yellow side of the Mask-Ease and then used X-acto knives to carefully cut away all areas of the design that they want to print, removing just the yellow top layer of the Mask-Ease and trying not to cut through the bottom white layer.
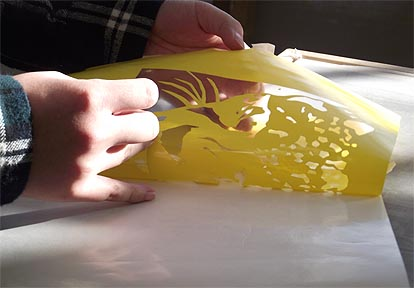
The Mask-Ease product (still available at https://www.dickblick.com/ as of this update) comes with a clear adhesive plastic, and after students finish cutting out their designs, the clear vinyl was adhered to the top of the yellow sheet. This helped to hold in place any random “floaters” (such as the center of the letters “D”, “A” or interior parts of their design that they wanted to leave unprinted). Next, the yellow sheet and adhesive were peeled off of the white sheet.
Next, the yellow Mask-Ease was carefully stuck onto the flat side of the fabric screen and smoothed into place. The clear plastic adhesive was removed.
Masking tape (and the salvaged clear adhesive) was placed around all the edges of the Mask-Ease to make sure that ink only came through the cut-out places in the design. They tested their designs on paper and made some display prints before printing on their t-shirts.
Once they were ready, they inserted a piece of cardboard inside of their t-shirt and taped back the sleeves. They turned the frame over and centered the design (which was now facing in the right direction) on the shirt.
Ink was transferred to the frame, and student helpers held down the corners of the frame to keep it steady. The ink was pulled down over the design, then the squeegee was turned around, the ink was pushed back to the top of the screen, then pulled toward the bottom again. Students finished with a “dry pass” of the squeegee over their design to remove excess ink.
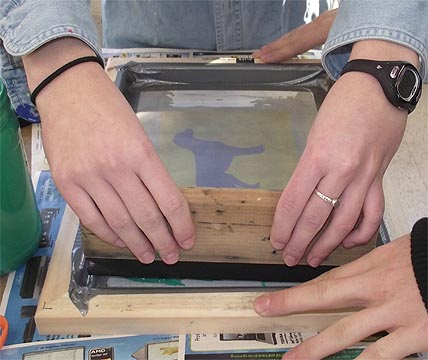
The frame was carefully lifted up to reveal the print underneath. Numerous prints could be made in one session, but at the end of the class, students had to scrape the excess ink off the screen with the spatula (and return it to the container), remove and discard the Mask-Ease and the masking tape. and thoroughly wash off all of the ink from the screen.
(Note: To ensure that the inks were permanent and laundry-safe on fabric, they had to be heat-set. We did this by using a cover cloth between the iron and the t-shirt and ironing over the design for 3-5 minutes.)
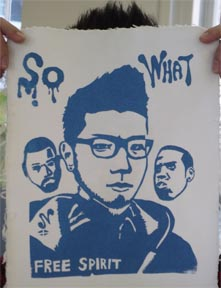
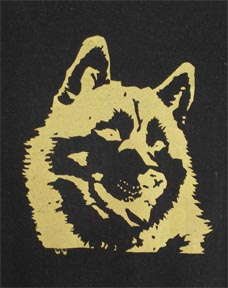
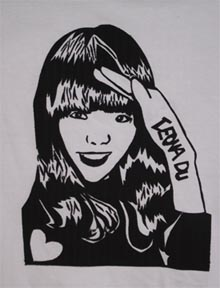
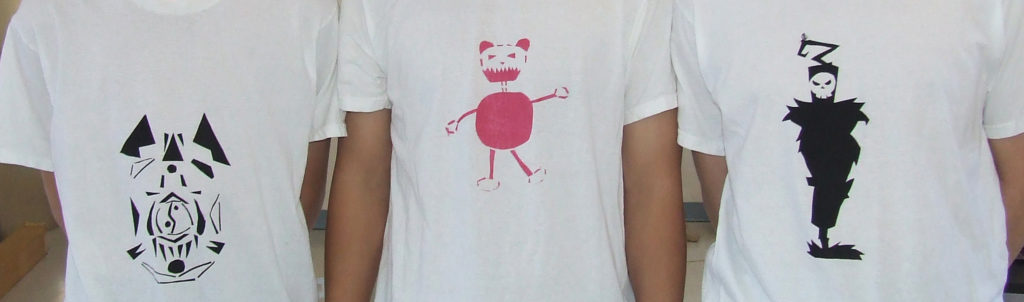
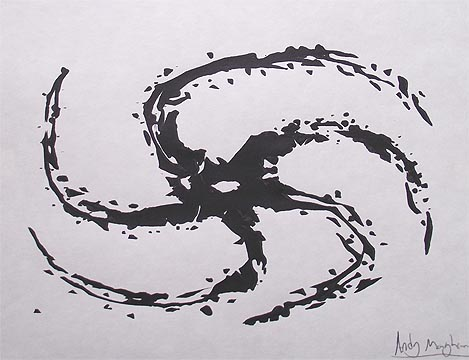
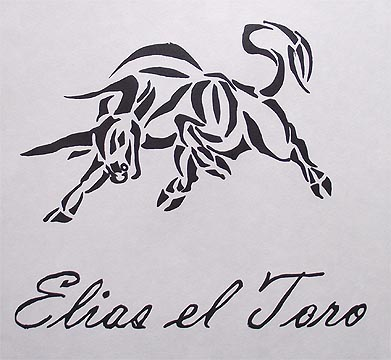
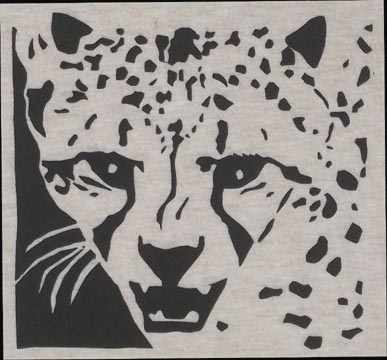
The kids really enjoyed screen printing. Here are some of the designs they created: