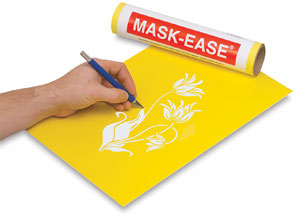
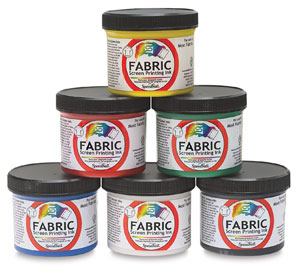
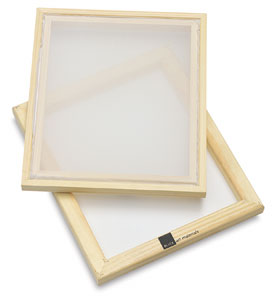
After attending a one-day workshop on screen printing, I was ready to introduce my students to this fun art form. I ordered Mask-Ease (which is still available on Blick Art Materials), quart containers of water-based Speedball fabric inks in 4 different colors, two 110 mesh screen frames, and a couple of screen printing squeegees.
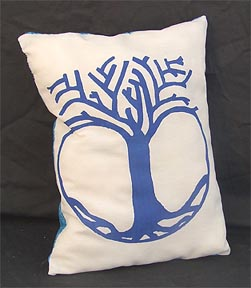
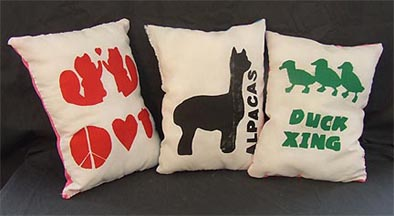
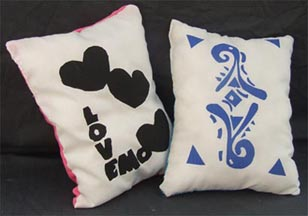
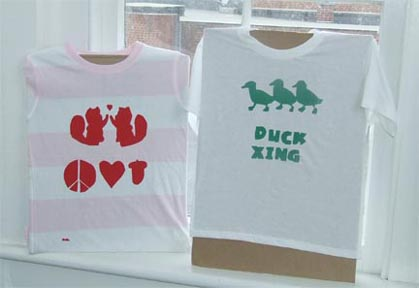
Students developed designs scaled to fit on an 8.5 x 11 piece of white copier paper. Their goal was to print the design on a piece of 9″ x 12″ white cotton fabric (which would later become the top of a hand-sewn pillow) and on one or more t-shirts.
Once they had drawn their designs on the paper–and were made aware that it would “reverse” when printed–they held their drawings against a window in order to trace them “backward.” Mask-Ease material (yellow top with white backing) was taped to a table, a sheet of carbon paper was placed on top of the Mask-Ease and their “backward” design was taped on top of it. They traced over the design with a dull pencil, and the carbon paper (the first that most of these kids had ever seen!) transferred the design to the Mask-Ease material. (It’s possible that graphite, alone, might transfer the design onto the Mask-Ease, but since we had old school carbon paper, we used it!)
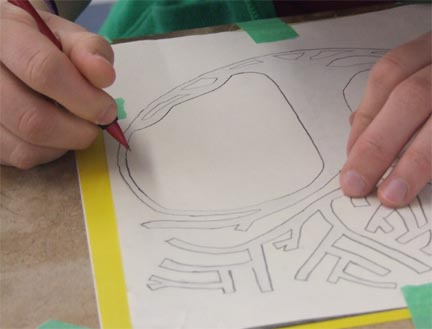
They removed the copier paper and the carbon paper and placed a piece of cardboard underneath their sheet of Mask-Ease. Using X-acto knives, they carefully cut away all areas of the design that they wanted to print, removing just the yellow top layer and trying not to cut through the bottom white layer.
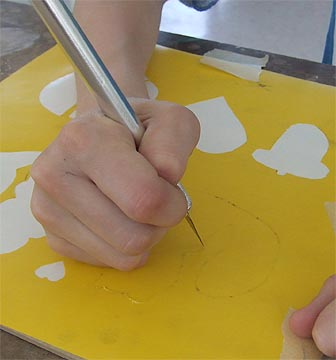
The Mask-Ease product comes with a clear adhesive plastic/vinyl (very much like “Contact paper”), and after students finished cutting out their designs, the clear vinyl was adhered to the top of the yellow sheet. This helped to hold in place any random “floaters” (such as the center of the letters “D”, “A” or interior parts of their design that they wanted to leave unprinted).
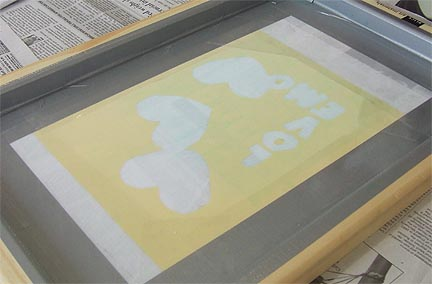
After this step, the white paper backing was removed from the yellow sheet and the yellow Mask-Ease with their design on it was carefully stuck onto the flat side of the fabric screen and smoothed into place.
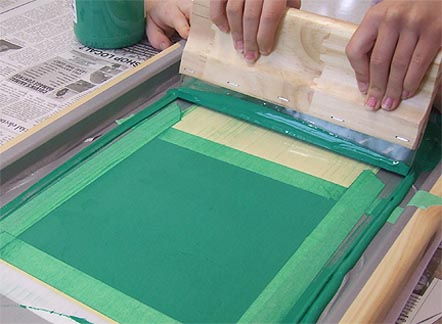
Once the yellow vinyl was on the screen, the clear plastic adhesive was carefully removed and the screen was turned over. Masking tape (and the salvaged clear adhesive) was used around all the edges to make sure that ink didn’t bleed beyond the edge of the Mask-Ease. In the pictures, you can see that a border of gray duct tape had previously been placed around the edges of the fabric screen in order to create a printing “window.”
They placed cardboard under a piece of 9×12 white cotton fabric and prepared to print on that, first. This would serve as a “test print” and would be later used for the pillow. They also put a piece of cardboard inside of their t-shirts and taped the excess fabric and sleeves on the back to keep them out of the way and to create a smooth front for their shirt.
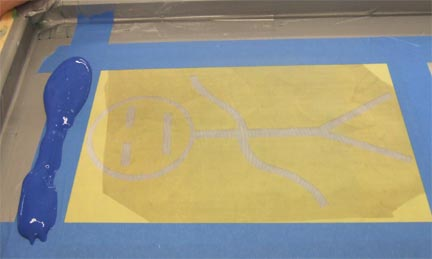
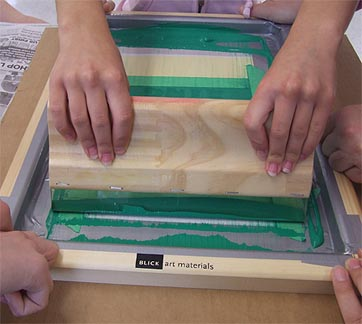
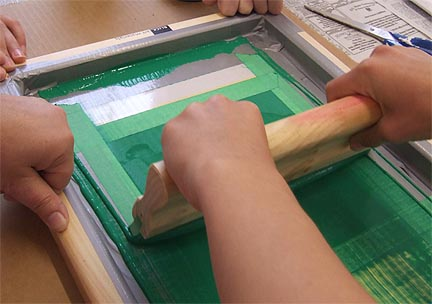
They centered the screen on the piece of fabric, and ink was scooped onto the screen frame, just above their design. As “helper” students held down the corners of the frame, the student who was printing used a squeegee to pull the ink down across the design. The squeegee was turned around, the ink was pushed back to the top of the screen, then pulled toward the bottom again. Students finished with a “dry pass” of the squeegee over their design to remove excess ink.
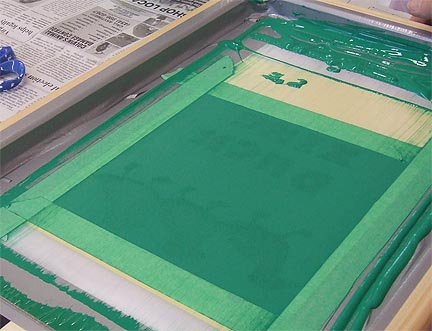
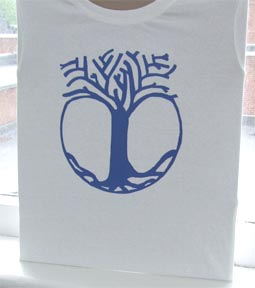
The frame was carefully lifted up from the bottom to reveal the printed fabric underneath. The fabric was left on the cardboard to dry, the first t-shirt was placed on the table, and the process was repeated. The results were good!
After a student finished printing, excess ink was scraped off the squeegee and the screen with a spatula and returned to the container. The screens were taken to a sink where the tape was removed and all the “Mask-Ease” vinyl was peeled off and discarded. (When using Mask-Ease, all printing must be done at one time. There are other methods and materials used to create reusable screen printing stencils.) Both sides of the fabric screen were scrubbed with dishwashing liquid, and the squeegee was also washed and left to dry.
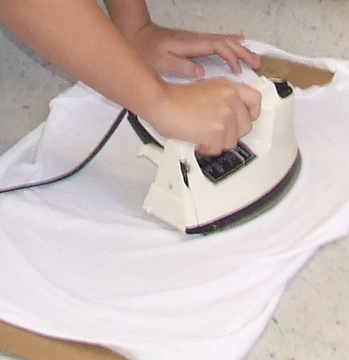
When the printed items (shirts and pillow tops) were dry, they were heat set using a household iron. A cover cloth was used between the iron and the printed design (with the setting matching the fabric), and the entire design was ironed over for 3-5 minutes, moving the iron constantly. Once this step is done, printed items can be safely laundered.
In addition to learning the basics of screen printing, students also gained some simple hand-sewing skills!
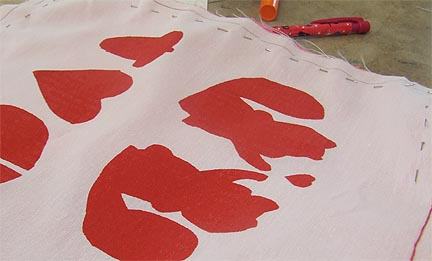
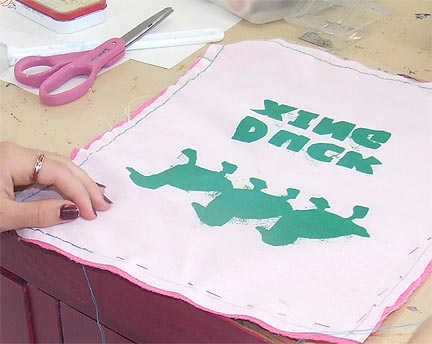
After heat-setting the design on the 9″ x 12″ piece of white cotton fabric, they cut a second piece of fabric the same size. They placed the “right” sides of the two pieces together, and pinned them together to secure them.
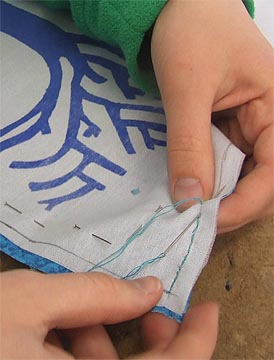
As many students had never sewn before, they used a ruler to measure and mark a 1/4″ line along the edges of their pillow top. The line would serve as their sewing guide to ensure that their seams were straight and that they’d catch enough of the fabric for the seams to hold when the sewn pieces were turned right side out. Needles were threaded, and a knot was placed in the doubled piece of thread.
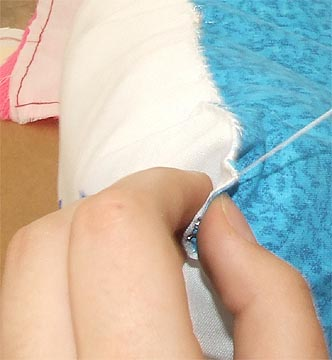
They used a back stitch to sew the two pieces of fabric together, and I encouraged them to use small stitches (no longer than about 1/4″).
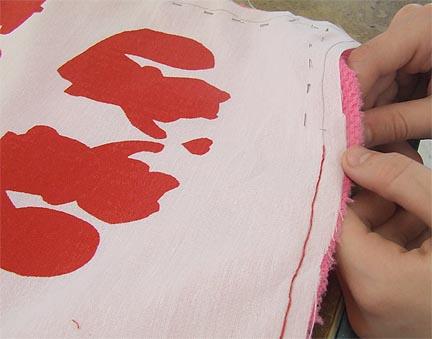
They sewed all the way around the edges on the lines until they were within about 3-inches of the starting corner. At that point they tied off their thread and carefully turned the pillows inside out. They used polyester fiberfill to stuff their pillows, and sewed the opening together.
The kids had so much fun learning how to do screen printing, and then using their new skills to make t-shirts and small pillows!